
AeroPress Grind Size Guide
Editorial standards: this guide uses current AeroPress and grinder-manufacturer guidance alongside extraction principles and practical dial-in logic. CoffeeGearHub does not claim hands-on testing where it has not occurred.
At a glance
What this guide covers
This guide covers the practical AeroPress grind range, current grinder starting references, taste-based dial-in logic, press resistance, recipe variables, filter effects, troubleshooting, and grinder examples without pretending one universal setting fits every grinder.
Editorial analysis
Grind size is the first dial, not the only dial
Finer grinding increases extraction and resistance; coarser grinding reduces both. Dose, water temperature, contact time, agitation, roast, and filter type still matter, so the fastest route to a better cup is to change one variable at a time.
The 30-Second Answer
Use medium-fine as the AeroPress default: finer than drip coffee, coarser than true espresso. If the cup is thin or sour, move a little finer. If the press becomes difficult or the cup is harsh and drying, move a little coarser. Change one variable at a time.
Why Grind Size Makes or Breaks Your AeroPress
If you’ve ever brewed two cups from the same bag of coffee with the same AeroPress and gotten wildly different results, grind size is almost certainly why. It’s the single biggest lever you have over flavor — more influential in most cases than water temperature, brew time, or even the beans themselves.
This guide covers practical grind ranges, the extraction science behind them, a protocol for dialing in any coffee in 2–3 brews, and grinder recommendations at every budget.
Best Grind Size for AeroPress: The Practical Ranges
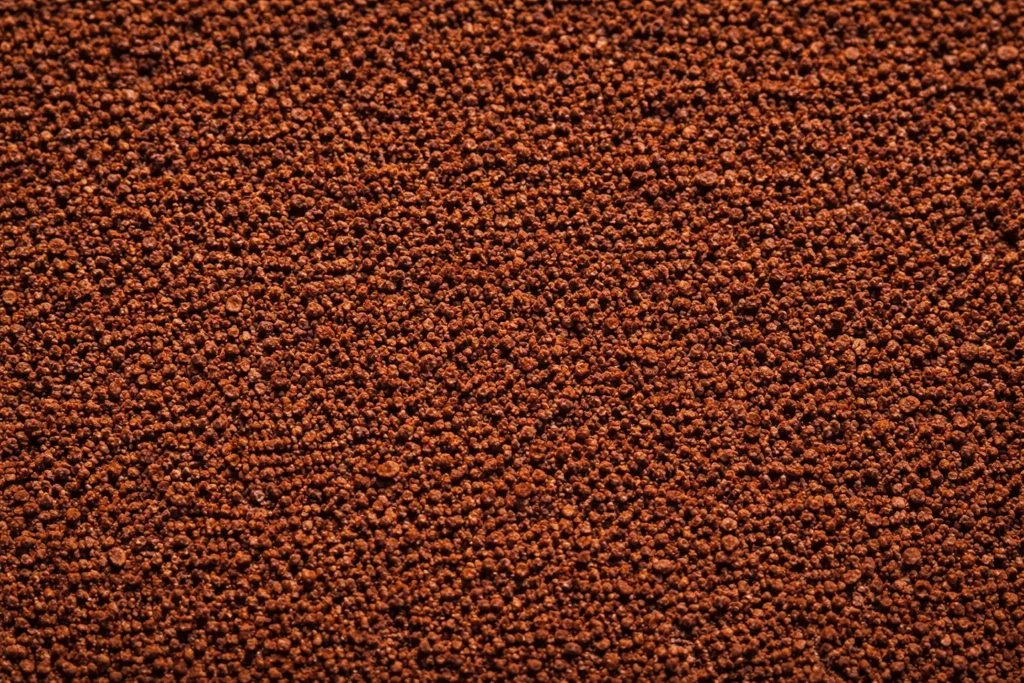
AeroPress currently recommends medium-fine as the default — finer than typical drip coffee but coarser than true espresso. Start there, then use taste and press resistance to adjust: sour or thin often benefits from going a little finer; harsh, drying, or unusually hard-to-press brews usually need a coarser setting or less agitation.
- Daily balanced cup: medium-fine (table salt)
- Inverted method with longer steep: medium to medium-fine
- Concentrate, iced, or milk drinks: fine (fine sand, not flour)
- Dark roast: often benefits from slightly coarser grinding or lower extraction pressure, but adjust by taste rather than assuming a fixed offset
- Light roast: may benefit from slightly finer grinding or more extraction, but adjust by taste rather than assuming a fixed offset
The Grind-Range Table: Fastest Way to Dial In
Start at Medium-Fine, then move one row at a time based on what you taste and feel.
| Grind range | Texture reference | What you may notice | When it can work | First adjustment |
|---|---|---|---|---|
| Coarse | Sea-salt-like | Easy press, fast flow, potentially thin extraction | Longer immersion experiments | If sour or hollow, go finer |
| Medium | Typical drip territory | Easy press; can work with longer contact time | Some inverted or darker-roast recipes | If weak, try finer before changing several variables |
| Medium-fine — AeroPress default | Between drip and espresso | Good balance of extraction and pressability | Most standard recipes | Adjust one small step at a time by taste |
| Fine | Approaching espresso | More resistance and faster extraction | Concentrated recipes or experiments | If harsh or difficult to press, go coarser |
| True espresso-fine | Powdery/fine | High resistance and greater stall risk | Usually not the default for standard AeroPress brewing | Move coarser if pressing becomes difficult |
Starting Grinder Settings: Current Reference Points
Grinder numbers are not interchangeable. Use a manufacturer or AeroPress reference when one exists, then fine-tune one step at a time.
| Grinder | Starting reference | Source context | How to adjust |
|---|---|---|---|
| Baratza Encore | 12 | AeroPress’s current medium-fine starting-point chart | Sour/thin → a little finer; harsh/hard press → a little coarser |
| Baratza Virtuoso+ | 12 | AeroPress’s current medium-fine starting-point chart | Use taste and press feel, not the number alone |
| KINGrinder K6 | 60–90 clicks for the maker’s medium-fine band | KINGrinder current grind-size reference; not an AeroPress-specific preset | Start within the band and adjust to your recipe |
| Other burr grinders | Medium-fine, between drip and espresso | AeroPress current general guidance | Use the manufacturer’s dial labels or chart as the first reference |
Important: do not copy a setting from a different grinder model. Burr geometry and adjustment scales differ even when the printed numbers look similar.
How AeroPress Grind Size Compares to Other Brew Methods
AeroPress sits between drip and espresso on most grinder dials, but closer to drip. Coming from pour-over or drip, start 1–3 steps finer.
| Brew method | Grind range | Texture | Contact time | Why different |
|---|---|---|---|---|
| French press | Coarse | Breadcrumbs / sea salt | 3–5 min | Long immersion; coarse reduces sludge and over-extraction |
| Drip | Medium | Sand / kosher salt | 3–5 min | Gravity flow; medium prevents clogging |
| Pour-over | Med → med-fine | Salt → fine salt | 2:30–4:00 | Often slightly coarser than AeroPress due to longer time |
| AeroPress | Medium-fine | Between drip and espresso | Recipe-dependent immersion + press | Shorter brew window benefits from slightly finer grind |
| Moka pot | Fine (not espresso) | Fine sand | 4–6 min | Pressure-driven; too fine stalls |
| Espresso | Extra fine | Powder | 25–30s | High pressure requires very fine grind |
How AeroPress Extraction Actually Works
AeroPress is primarily an immersion brewer: coffee and water steep together, then the press filters the brew. Most extraction happens during the steep; the press mainly separates liquid from the bed.
Grind size controls extraction rate via surface area and diffusion distance: finer extracts faster; too coarse under-extracts (sour/hollow), too fine over-extracts (bitter/drying) and can stall the press.
Surface Area & Diffusion Science
Finer grind increases surface area and shortens diffusion distance, making it easier to reach the “sweet” middle of extraction within AeroPress’s shorter brew window.
- Early extracts: acids/salts (brightness; can be sharp alone)
- Mid extracts: sugars/aromatics (sweetness + “coffee flavor”)
- Late extracts: bitters/astringents (drying finish)
Permeability, Fines & Plunge Pressure
Finer particles pack tighter and reduce permeability, increasing resistance. If you press too hard you risk channeling; if you press too slowly on a very fine grind you can unintentionally increase contact time and push extraction into bitter/drying territory.
Fines, Muddiness & How to Get Clarity
A cup that tastes simultaneously sour and muddy is often “boulders + fines”: coarse particles under-extract while fines over-extract and clog/dirty the cup.
- Use paper (or double paper) to catch fines
- Reduce agitation (swirl gently instead of vigorous stirring)
- Go 1 step coarser and add 10–20 seconds steep time
- Upgrade grinder for narrower particle distribution
🔬 If your cup tastes both sour and bitter: that’s classic inconsistent grinding. It’s the #1 sign a burr grinder upgrade will produce immediate improvement.
Two easy grinders to reference
Electric repeatability vs manual portability
The Encore has a current AeroPress starting-point reference of 12; the K6 gives a broad current medium-fine range with fine external adjustment.
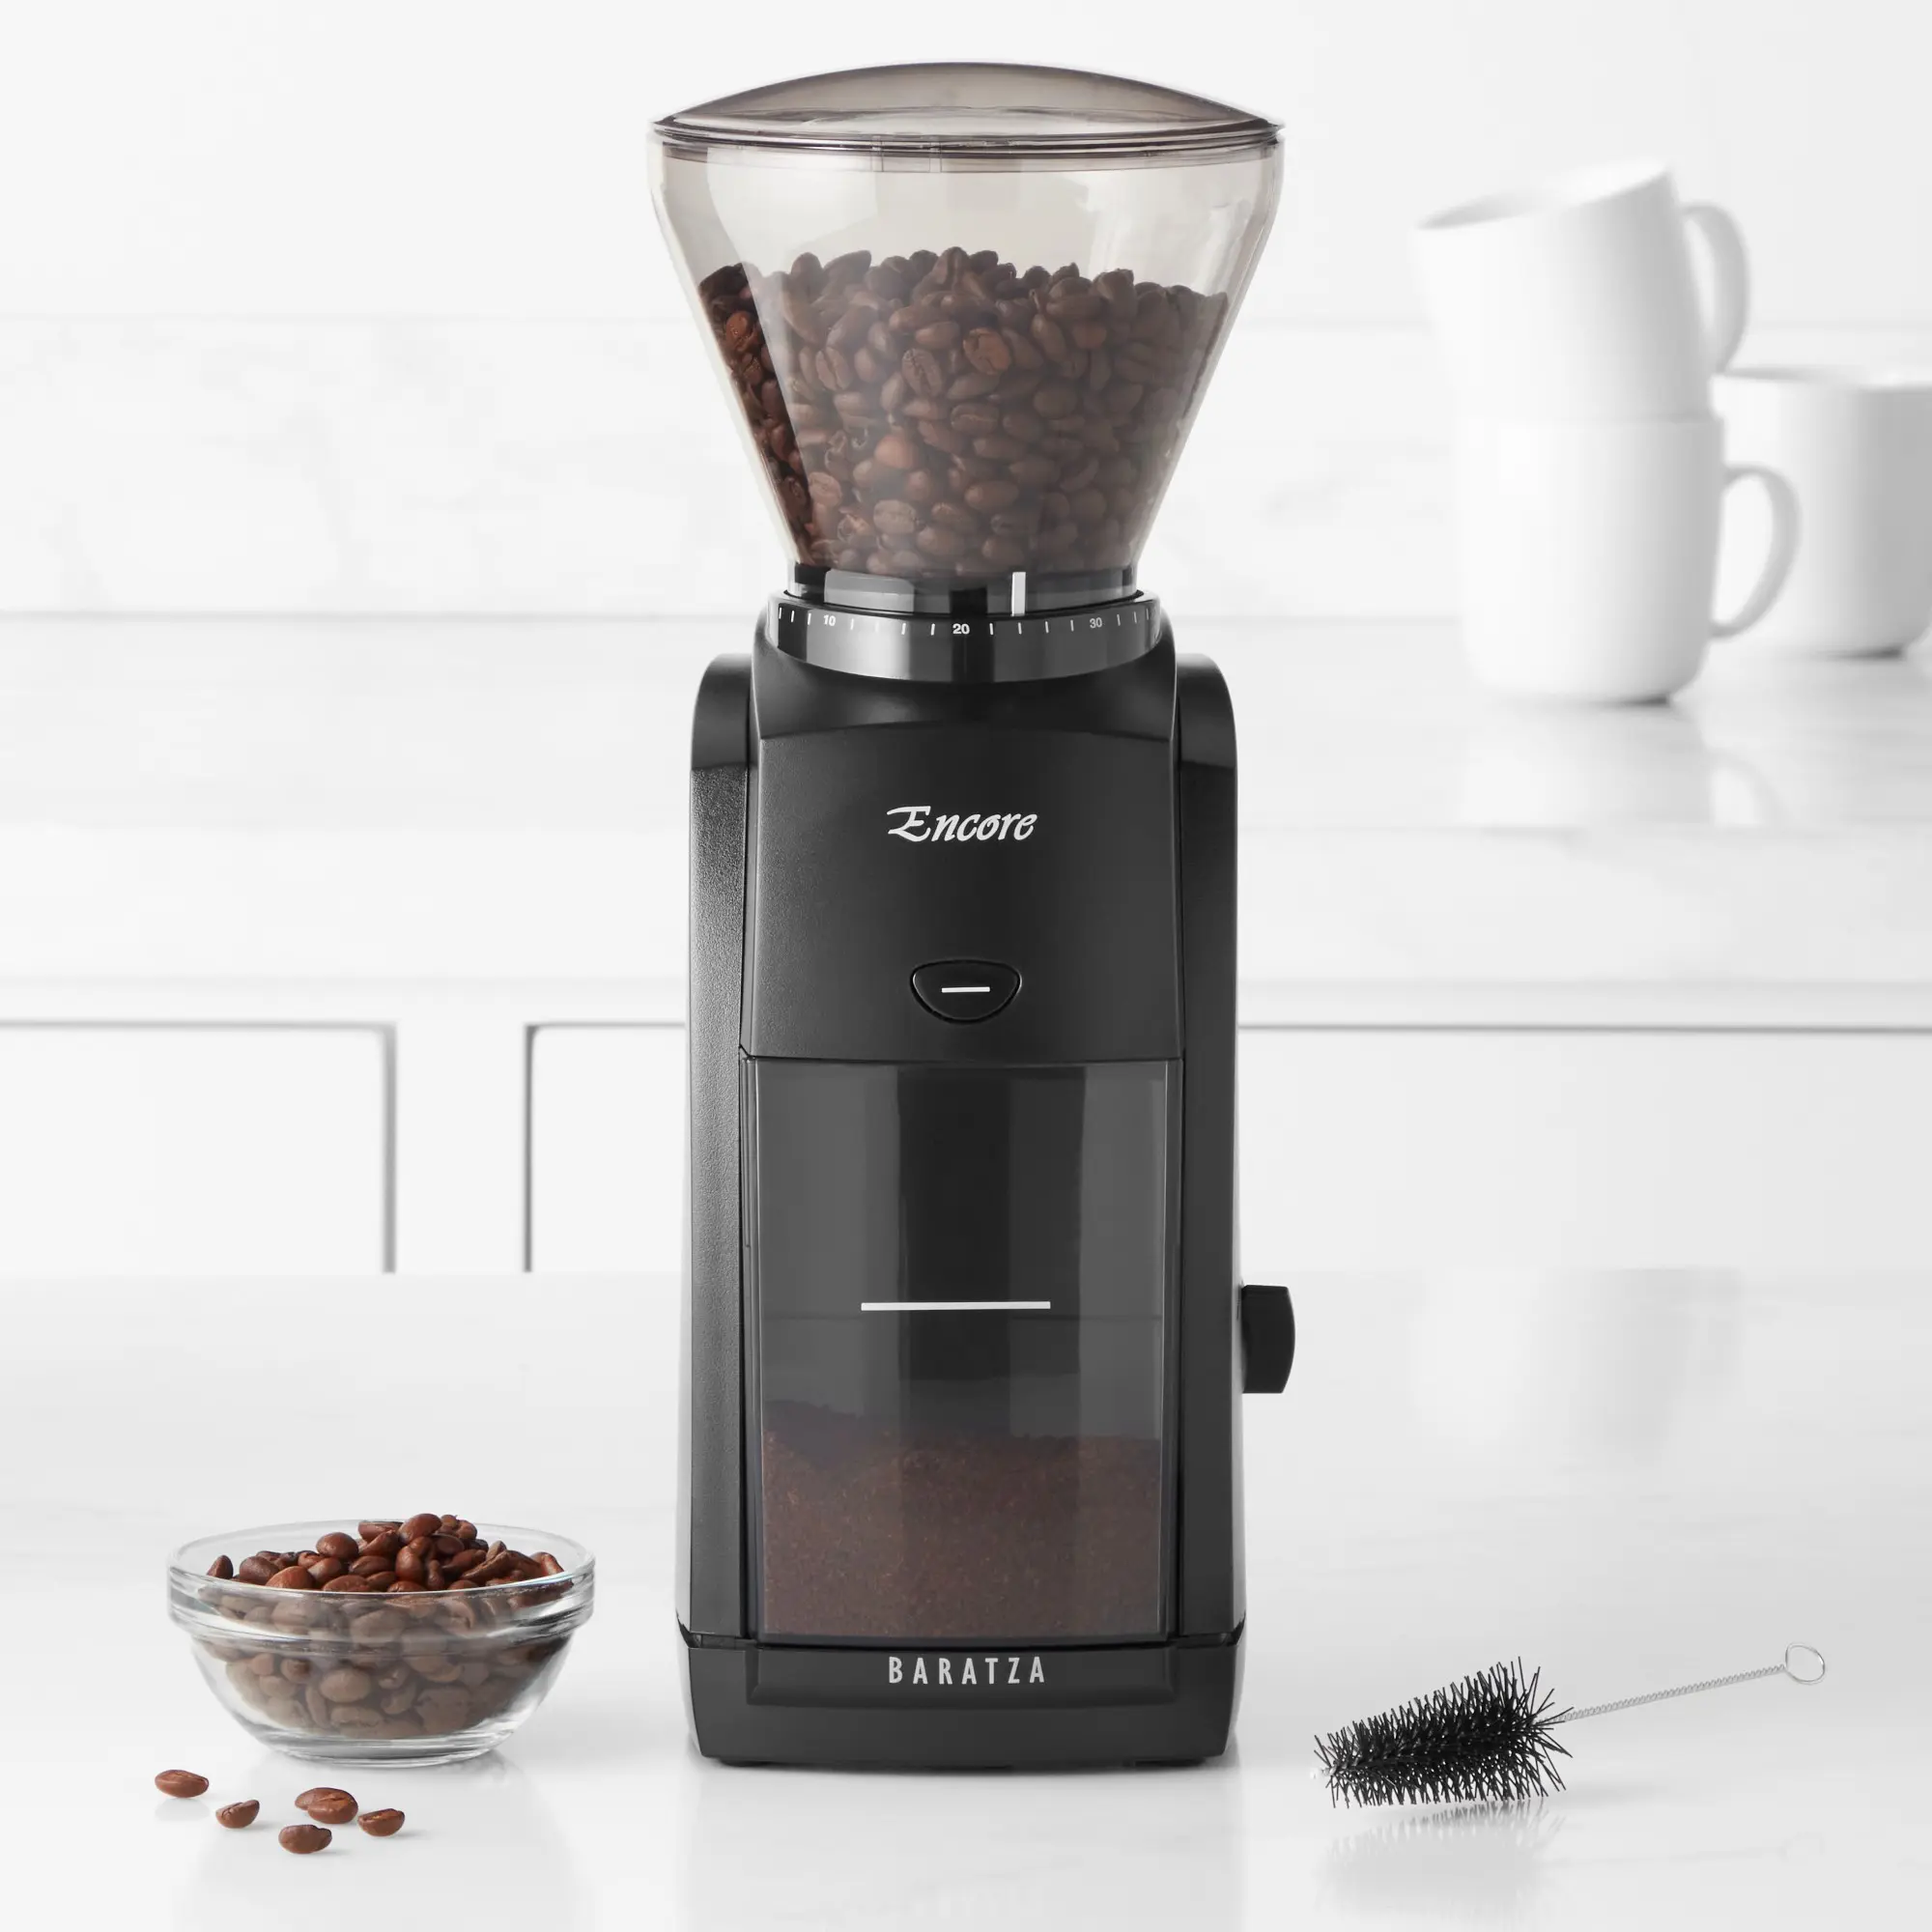 Baratza EncoreElectric burr grinder with 40 settings; AeroPress currently suggests 12 as a medium-fine starting point.Check current Amazon offer →
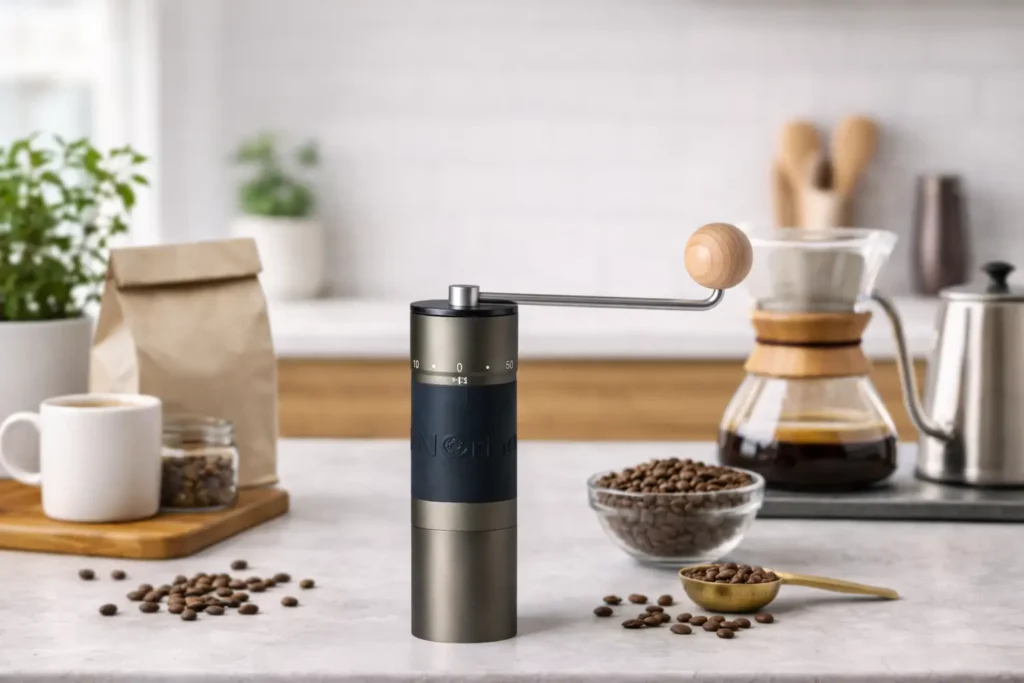 KINGrinder K6Manual grinder; KINGrinder’s current medium-fine reference spans roughly 60–90 clicks.Check current Amazon offer →
Affiliate disclosure: These Amazon links may earn CoffeeGearHub a commission at no additional cost to you. Prices and availability can change.
Essential Tools Before You Dial In
To dial in reliably, a digital scale and a temperature-controlled kettle remove guesswork so grind adjustments give clean feedback.
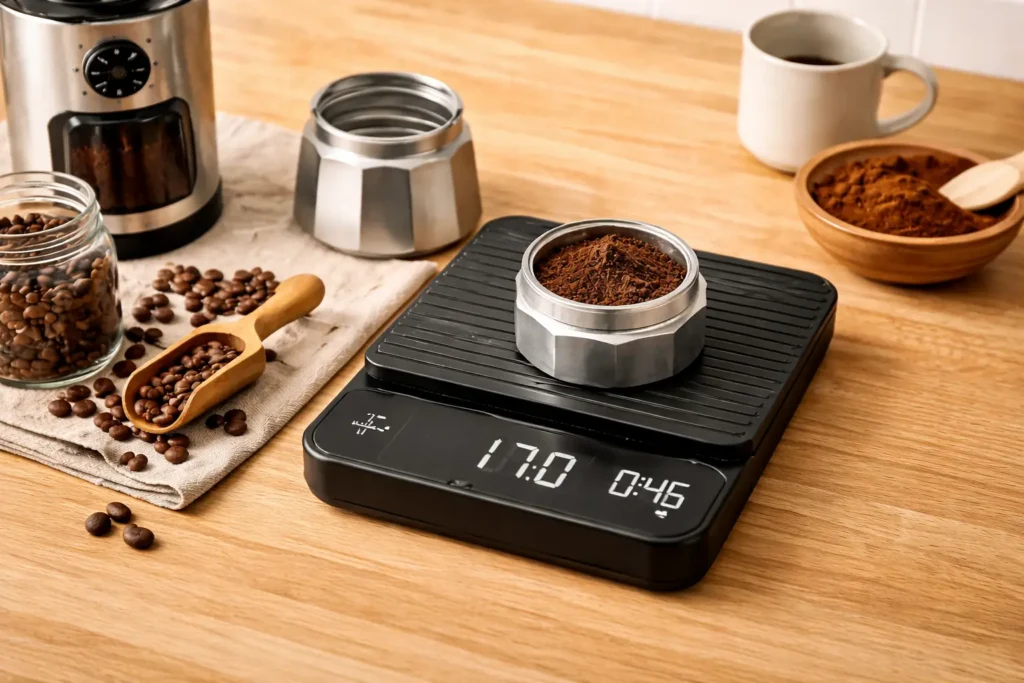
A Coffee-Capable Digital Scale
You can’t reliably dial in AeroPress grind size without weighing dose and water. Look for 0.1g resolution and a timer.
- Eliminates dose variability so grind changes show up clearly
- Makes the testing protocol repeatable
- Pays for itself in fewer wasted brews
Disclosure: CoffeeGearHub may earn from qualifying purchases.
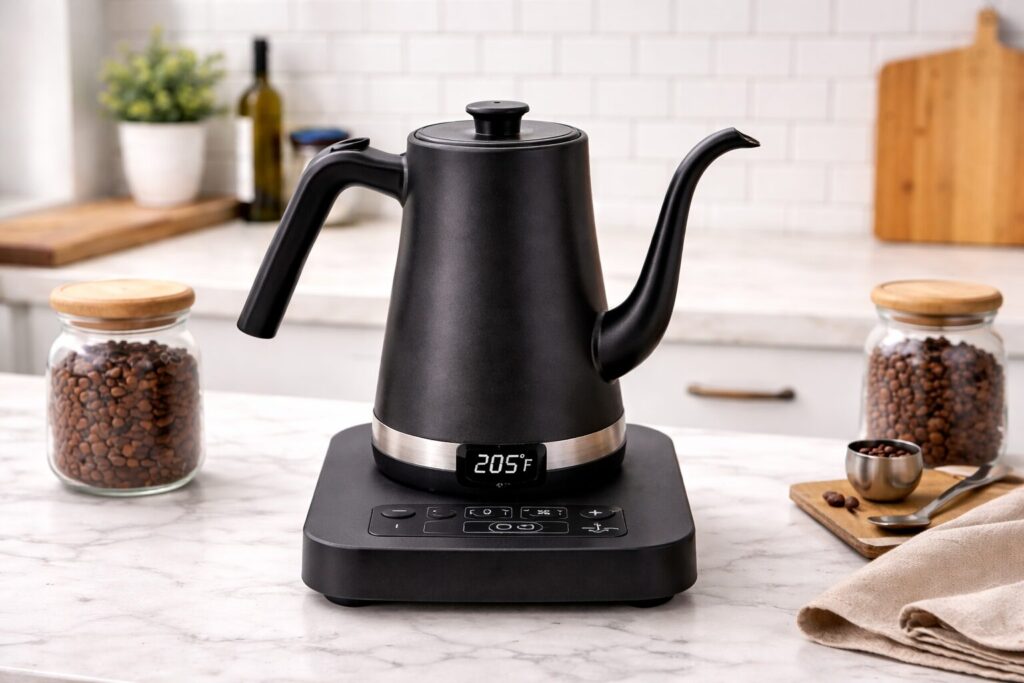
Temperature-Controlled Gooseneck Kettle
Temperature is a major extraction lever (especially light and dark roasts). A temp kettle removes guessing during grind testing.
- Light roast: 96–100°C helps sweetness
- Dark roast: 85–91°C reduces harshness
- More consistent dialing-in
Disclosure: CoffeeGearHub may earn from qualifying purchases.
The CoffeeGearHub Dial-In Framework
Dial-in works fastest when you isolate grind first, then use time/temperature for fine tuning.
Baseline “Control” Recipe
- Coffee: 15 g (weighed)
- Water: 245 g
- Temperature: 93°C / 200°F
- Filter: paper
- Steep: 1:15
- Agitation: 1 gentle swirl (or 6-second stir)
- Press: 20–30 seconds, steady
This is intentionally repeatable. It’s a diagnostic recipe that makes grind changes easy to hear.
Taste → Fix Order
- Sour or sharp: grind slightly finer
- Bitter/drying or hard press: grind slightly coarser
- Almost there: steep ±15–30 seconds
- Dark roast harsh: lower temp 3–6°C
- Balanced but weak: increase dose (strength issue)
Rule: change one variable per brew.
The Testing Protocol: Dial In Any Coffee in 2–3 Brews
Goal: clean feedback. Keep everything fixed except grind.
- Brew #1 baseline: brew the control recipe. Note press time + finish.
- Log 3 things: press time, press effort, and a one-word finish (clean / sour / drying / hollow / muddy).
- Adjust grind: 1–2 steps (electric) or 2–4 clicks (hand). Change nothing else.
- Brew #2: repeat exactly. Compare sweetness + finish.
- Brew #3 (optional): smaller move in same direction (or reverse if you overshot).
Stop when: sweetness is obvious, finish is clean, and press is smooth.
Grind by Brew Style: Standard, Inverted, Concentrate
Different AeroPress styles change contact time and flow behavior. Use this as your quick selector.
| Style | Why it’s different | Start grind | Steep window | Best for |
|---|---|---|---|---|
| Standard | Some drip-through during steep | Medium-fine | 1:30–2:00 | Clean, bright cups |
| Inverted | True immersion control | Medium to med-fine | 2:00–2:45 | Sweetness + body |
| Concentrate | High dose, low water, then diluted | Fine (not powder) | 0:45–1:20 | Iced + milk drinks |
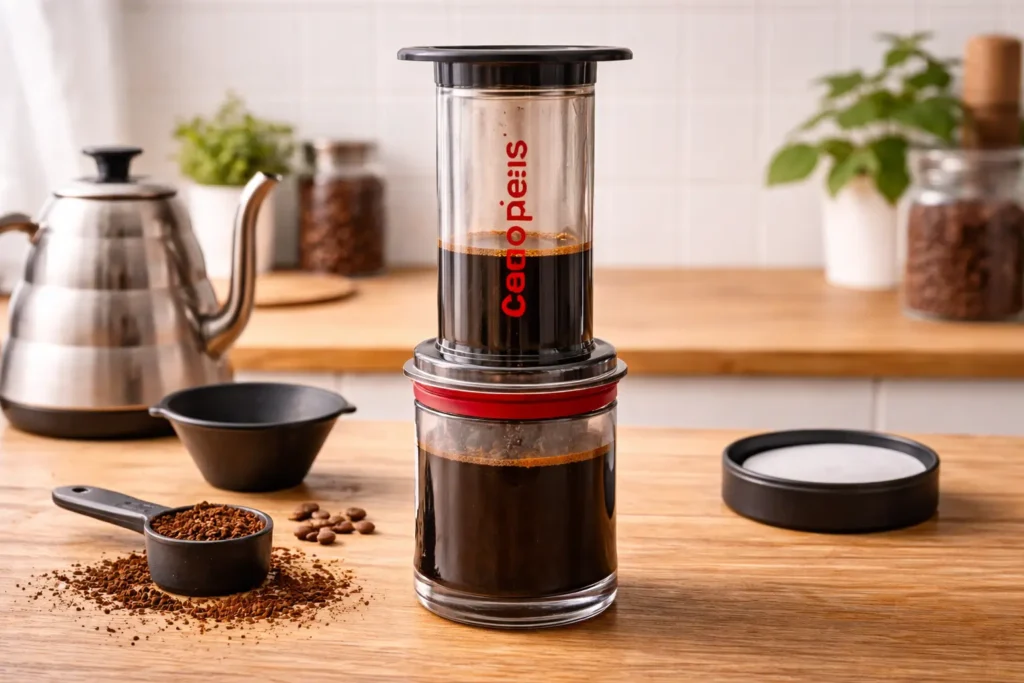
AeroPress Go: Grind and Dose Adjustments
The Go’s smaller chamber changes dose and water volume, but the grind range stays the same.
| Parameter | Original | Go | Why it differs |
|---|---|---|---|
| Dose | 15–18g | 12–15g | Scale down ratio for smaller volume |
| Water | 230–260g | 180–220g | Avoid overflow/leaks |
| Grind | Medium-fine baseline | Medium-fine baseline | Same particle target |
| Steep | 1:15–2:30 | 1:00–2:00 | Lower volume can extract faster |
| Press target | 20–30s | 20–30s | Same diagnostic signal |
💡 Go travel shortcut: scale any standard recipe down ~20% coffee and water, keep the same grind, and trust press feel (smooth 20–30s).
Two Recipe Playbooks with Grind Targets
These cover the common daily cup and an iced/milk concentrate base.
Playbook #1 — Daily Sweet Cup
- Coffee: 15g
- Water: 245g
- Temp: 93°C / 200°F
- Filter: paper
- Grind: medium-fine
- Method: steep 1:15 → 1 gentle swirl → press 20–30s
Fix sour: finer. Fix bitter: coarser or swirl less.
Playbook #2 — Iced Concentrate
- Coffee: 18g
- Water: 100–110g
- Temp: 90–95°C
- Filter: paper
- Grind: fine (not powder)
- Method: stir 10s → steep to 0:50 → press gently 25–40s
Fix harsh: coarser or shorten steep by ~10s.
Roast Level: Grind + Temperature Targets
Light roasts often need finer grind + hotter water; dark roasts often need coarser grind + cooler water to avoid harshness.
☀️ Light Roast
- Grind: 1–2 steps finer
- Temp: 96–100°C
- Steep: 2:00–2:30
🌤 Medium Roast
- Grind: baseline medium-fine
- Temp: 91–94°C
- Steep: 1:15–2:00
🌑 Dark Roast
- Grind: 1–2 steps coarser
- Temp: 85–91°C
- Steep: 1:00–1:30
Paper vs Metal Filters
Paper catches fines and oils for clarity; metal increases body and lets fines through (often needing a slightly coarser grind and less agitation).
Paper
- Cleaner cup, easier dial-in
- Baseline: medium-fine
- Double paper for max clarity
Metal
- More body and oils
- Go 1–2 steps coarser than paper
- Reduce agitation; stop before the hiss
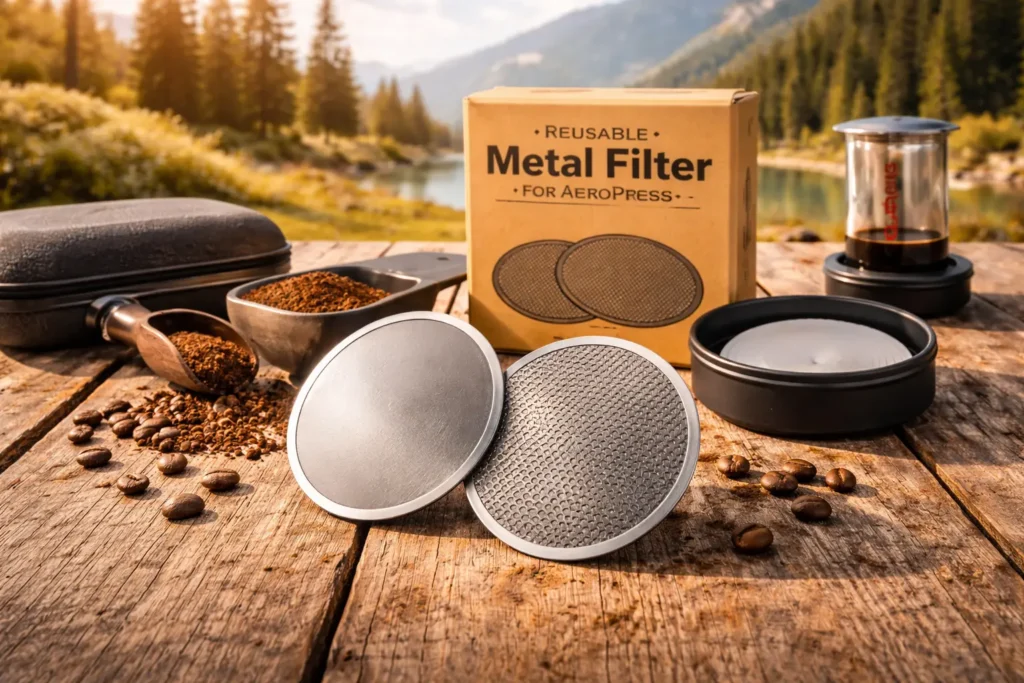
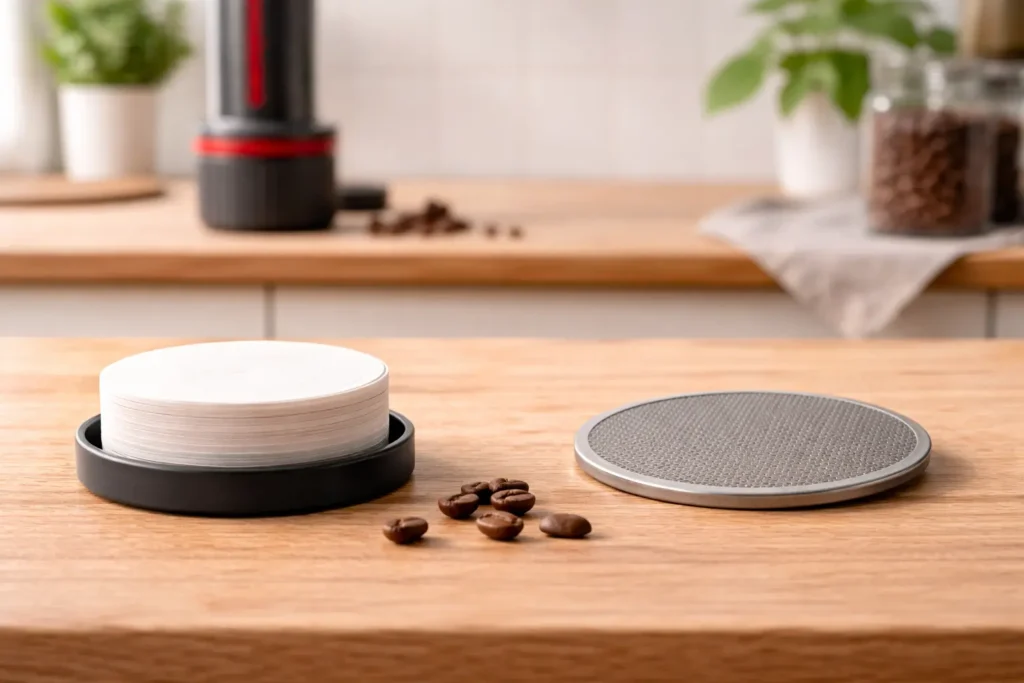
Fellow Prismo or Able Disk Fine (Metal Filter)
If you want a body-forward cup without excessive silt, these are the most popular quality metal options. Prismo’s valve helps concentrate-style brews.
- Less sediment than generic mesh filters
- Reusable indefinitely
- Prismo valve supports “espresso-style” concentrates
Disclosure: CoffeeGearHub may earn from qualifying purchases.
Temperature, Agitation and Time: The Secondary Levers
| Lever | Increase it to… | Decrease it to… | Best use case |
|---|---|---|---|
| Temperature | Boost extraction and sweetness | Reduce harshness | Light roast sour → raise. Dark roast bitter → lower. |
| Agitation | Speed up extraction | Reduce fines impact | Paper: moderate OK. Metal: minimal. |
| Time | Increase extraction without going finer | Avoid late-stage bitterness | When you’re between grind settings |
Strength vs Extraction
Strength = dose-to-water ratio (concentration). Extraction = flavor balance (grind, temp, time, agitation). If it tastes balanced but weak, adjust ratio—not grind.
- Balanced but weak: +1–2g dose or -10–20g water
- Sour/thin: go finer or brew longer/hotter (extraction issue)
- Bitter/drying: go coarser or brew shorter/cooler (extraction issue)
- Good flavor but too strong: add bypass water after pressing
Bean Freshness and Water Quality
If cups stay flat despite dial-in, check roast date and water. Fresh beans and decent water are non-negotiable for “sweetness pop.”
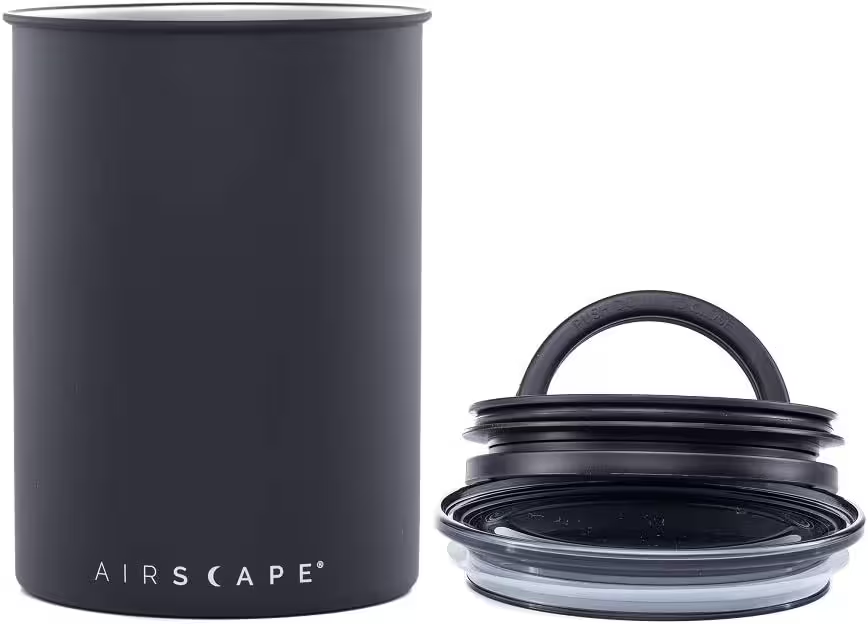
Airtight Coffee Storage Canister
Protecting beans from oxygen preserves sweetness and aromatics, making dial-in results more consistent from day to day.
Disclosure: CoffeeGearHub may earn from qualifying purchases.
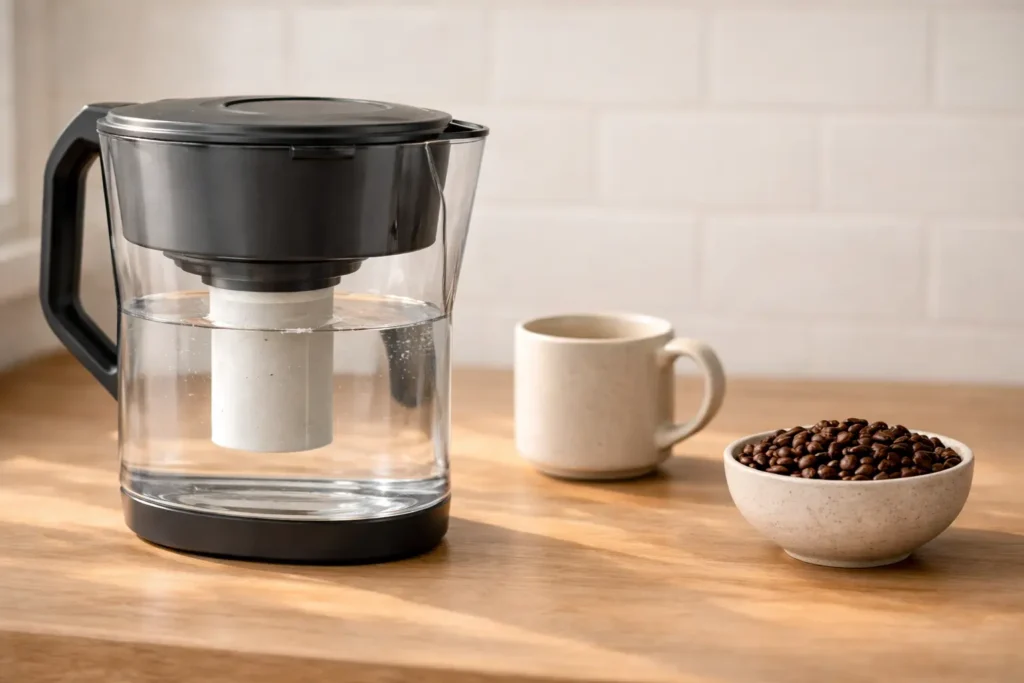
Coffee-Friendly Water Filter Pitcher
If your tap water tastes “off” (chlorine/metallic), your coffee will too. Filtering improves clarity and makes grind changes easier to taste.
Disclosure: CoffeeGearHub may earn from qualifying purchases.
Troubleshooting Matrix: Taste → Fix
Start with grind, then use time/temperature only after grind is close.
| Symptom | What it usually means | Fix (in order) |
|---|---|---|
| Sour + fast press | Too coarse / under-extracted | Finer → +15–30s steep → hotter (light roasts) |
| Bitter + hard/slow press | Too fine / too many fines | Coarser → less agitation → shorter steep → cooler (dark roasts) |
| Muddy/silty | Fines + metal or aggressive stirring | Paper/double paper → swirl only → slightly coarser |
| Balanced but weak | Strength issue | +1–2g dose or reduce water; don’t change grind |
| Press stalls | Clogged bed | Coarser → reduce agitation → gentle steady press |
| Sour AND bitter | Inconsistent grind distribution | Grinder upgrade (burr) |
Burr vs Blade Grinders: Why Consistency Is Everything
Blade grinders create “boulders + fines,” causing simultaneous under- and over-extraction. Burr grinders create a narrower particle distribution so your adjustments behave predictably.
Highest-impact AeroPress upgrade: if you’re using a blade grinder, switching to any decent burr grinder is the fastest path to better coffee.
Grinders That Make AeroPress Dial-In Easy
For AeroPress, you do not need a grinder built around espresso alone. You need repeatable medium-fine adjustment, reasonable uniformity, and a workflow you can reproduce.
Baratza Encore — Simple Electric Reference
AeroPress currently lists setting 12 as a starting point for medium-fine grinding on the Encore. The grinder’s 40 numbered settings and repairable Baratza platform make it easy to record adjustments and repeat them.
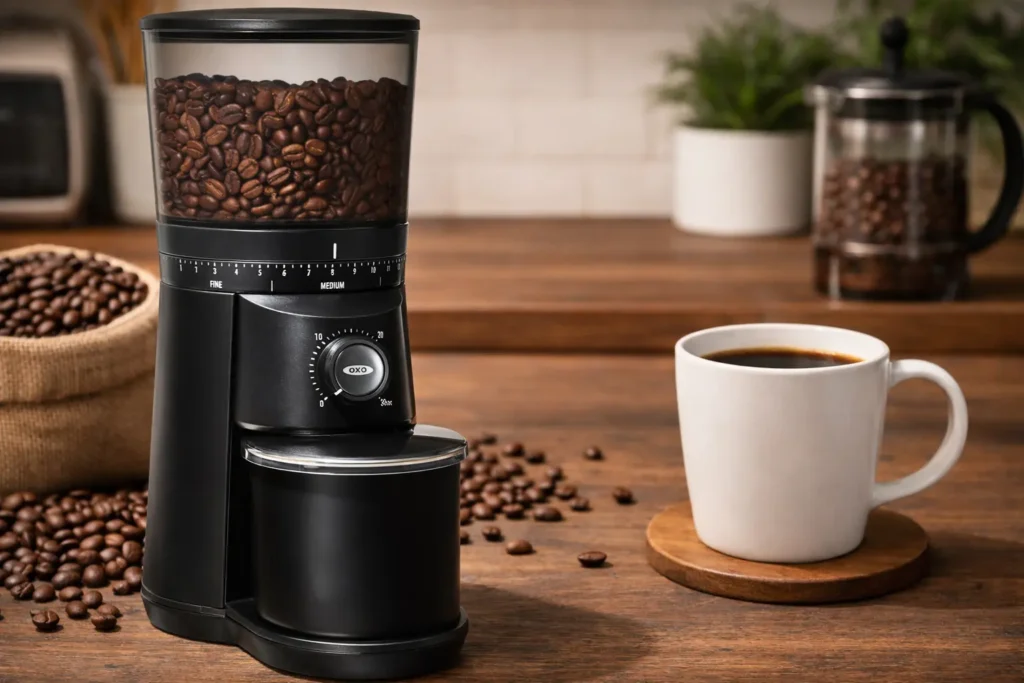
OXO Brew Conical Burr — Straightforward Electric Workflow
OXO offers 15 settings plus microsettings and a one-touch timer. For AeroPress, begin around the finer side of OXO’s medium range and adjust by taste and press resistance rather than treating one dial number as universal.
KINGrinder K6 — Manual Fine-Adjustment Option
KINGrinder’s current chart places medium-fine grinding at roughly 60–90 clicks. That is the useful reference band for AeroPress experiments; the exact sweet spot still depends on dose, beans, filter, and contact time.
Current step-up alternative: Fellow Opus 2
The original Opus has been superseded by Opus 2. The current model uses 48mm conical burrs and stepless adjustment across espresso through cold brew. That broad range is useful if AeroPress is only one of several methods you expect to dial in. The old Opus affiliate link is not being presented as though it were the current model.
| Grinder | Format | AeroPress starting reference | Best fit |
|---|---|---|---|
| Baratza Encore | Electric | 12 (AeroPress current chart) | Repeatable home filter/AeroPress use |
| OXO Brew Conical Burr | Electric | Finer side of medium, then taste-adjust | Simple push-button workflow |
| KINGrinder K6 | Manual | 60–90 click medium-fine maker range | Portable, quiet manual adjustment |
| Fellow Opus 2 | Electric | Use its stepless dial to target medium-fine | Multi-method home including espresso |
Final Takeaway
Medium-fine is the baseline. Taste and press resistance are the feedback loop. Change one variable at a time, and move coarser if the press becomes unusually difficult or the cup turns harsh; move finer when the brew is thin, fast, and under-extracted.
FAQs: AeroPress Grind Size
What grind size is best for AeroPress?
What about pre-ground coffee — which grind should I buy?
Why does my AeroPress taste sour?
Why is my AeroPress bitter, drying, or hard to press?
Balanced but weak — should I grind finer?
CoffeeGearHub shortlist
Compare CoffeeGearHub product pages
Review grinder specifications and current verified merchant offers on CoffeeGearHub before leaving the site.