
Best Grinders for AeroPress (2026): The Ultimate Guide
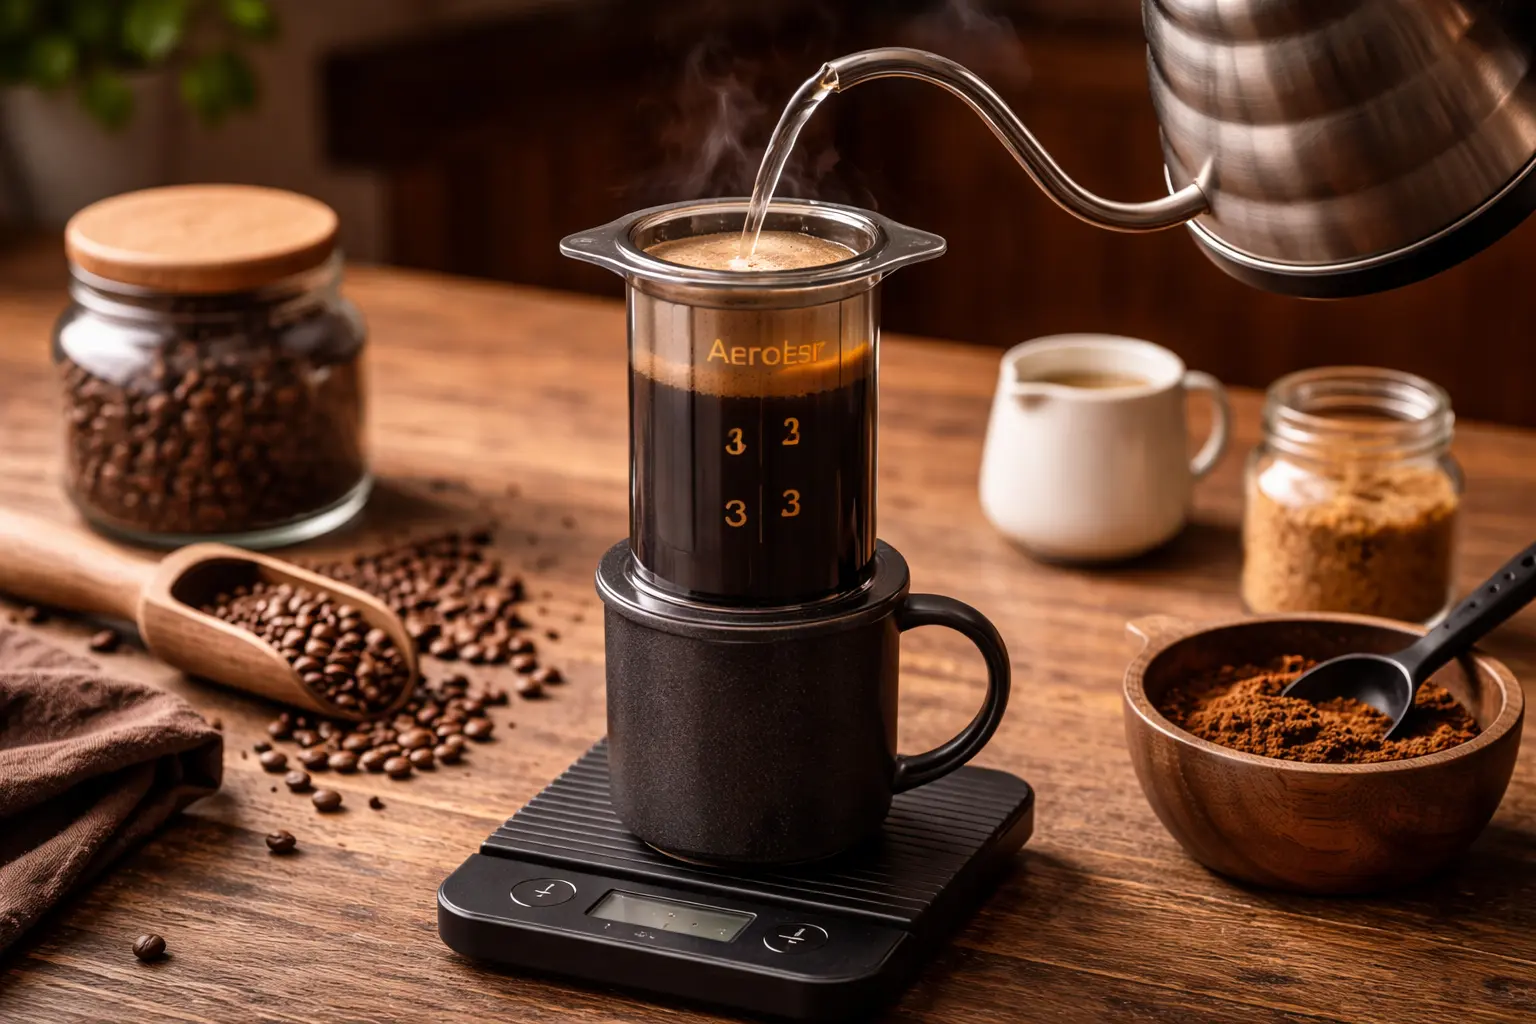
Editorial standards: this guide compares AeroPress grinders by grind consistency, adjustment range, portability, workflow, and value. Product recommendations are based on published specifications and practical brew-method fit unless hands-on testing is explicitly stated.
At a glance
What this guide covers
AeroPress does not require an espresso-only grinder, but it benefits from a consistent medium-fine range, repeatable adjustment, and a workflow that matches whether you brew mainly at home or while traveling.
Editorial analysis
AeroPress rewards consistency without demanding espresso-level complexity
Because AeroPress recipes span a wide range of ratios and steep times, a grinder with clean medium-to-medium-fine performance is usually more useful than one optimized only for ultra-fine espresso settings.
Choose between electric convenience and manual portability first, then compare adjustment repeatability, grind uniformity, cleanup, and whether the grinder also needs to serve drip or pour-over.
The 30-Second Answer
For most people brewing AeroPress at home, the Baratza Encore is the easiest daily grinder: consistent medium-fine grounds, simple settings, and long-term repair support. If you brew one cup at a time or travel with your AeroPress, the KINGrinder K6 is the stronger manual pick, with precise external adjustment and no motor to pay for.
On a tighter budget, the Timemore C3 (manual) and the OXO Brew Conical Burr (electric) are the best low-cost upgrades over a blade grinder or pre-ground coffee.
Compare current options
Start with these representative choices
These two grinders show the clearest AeroPress split: an easy electric home workflow and a high-value manual option that travels well.
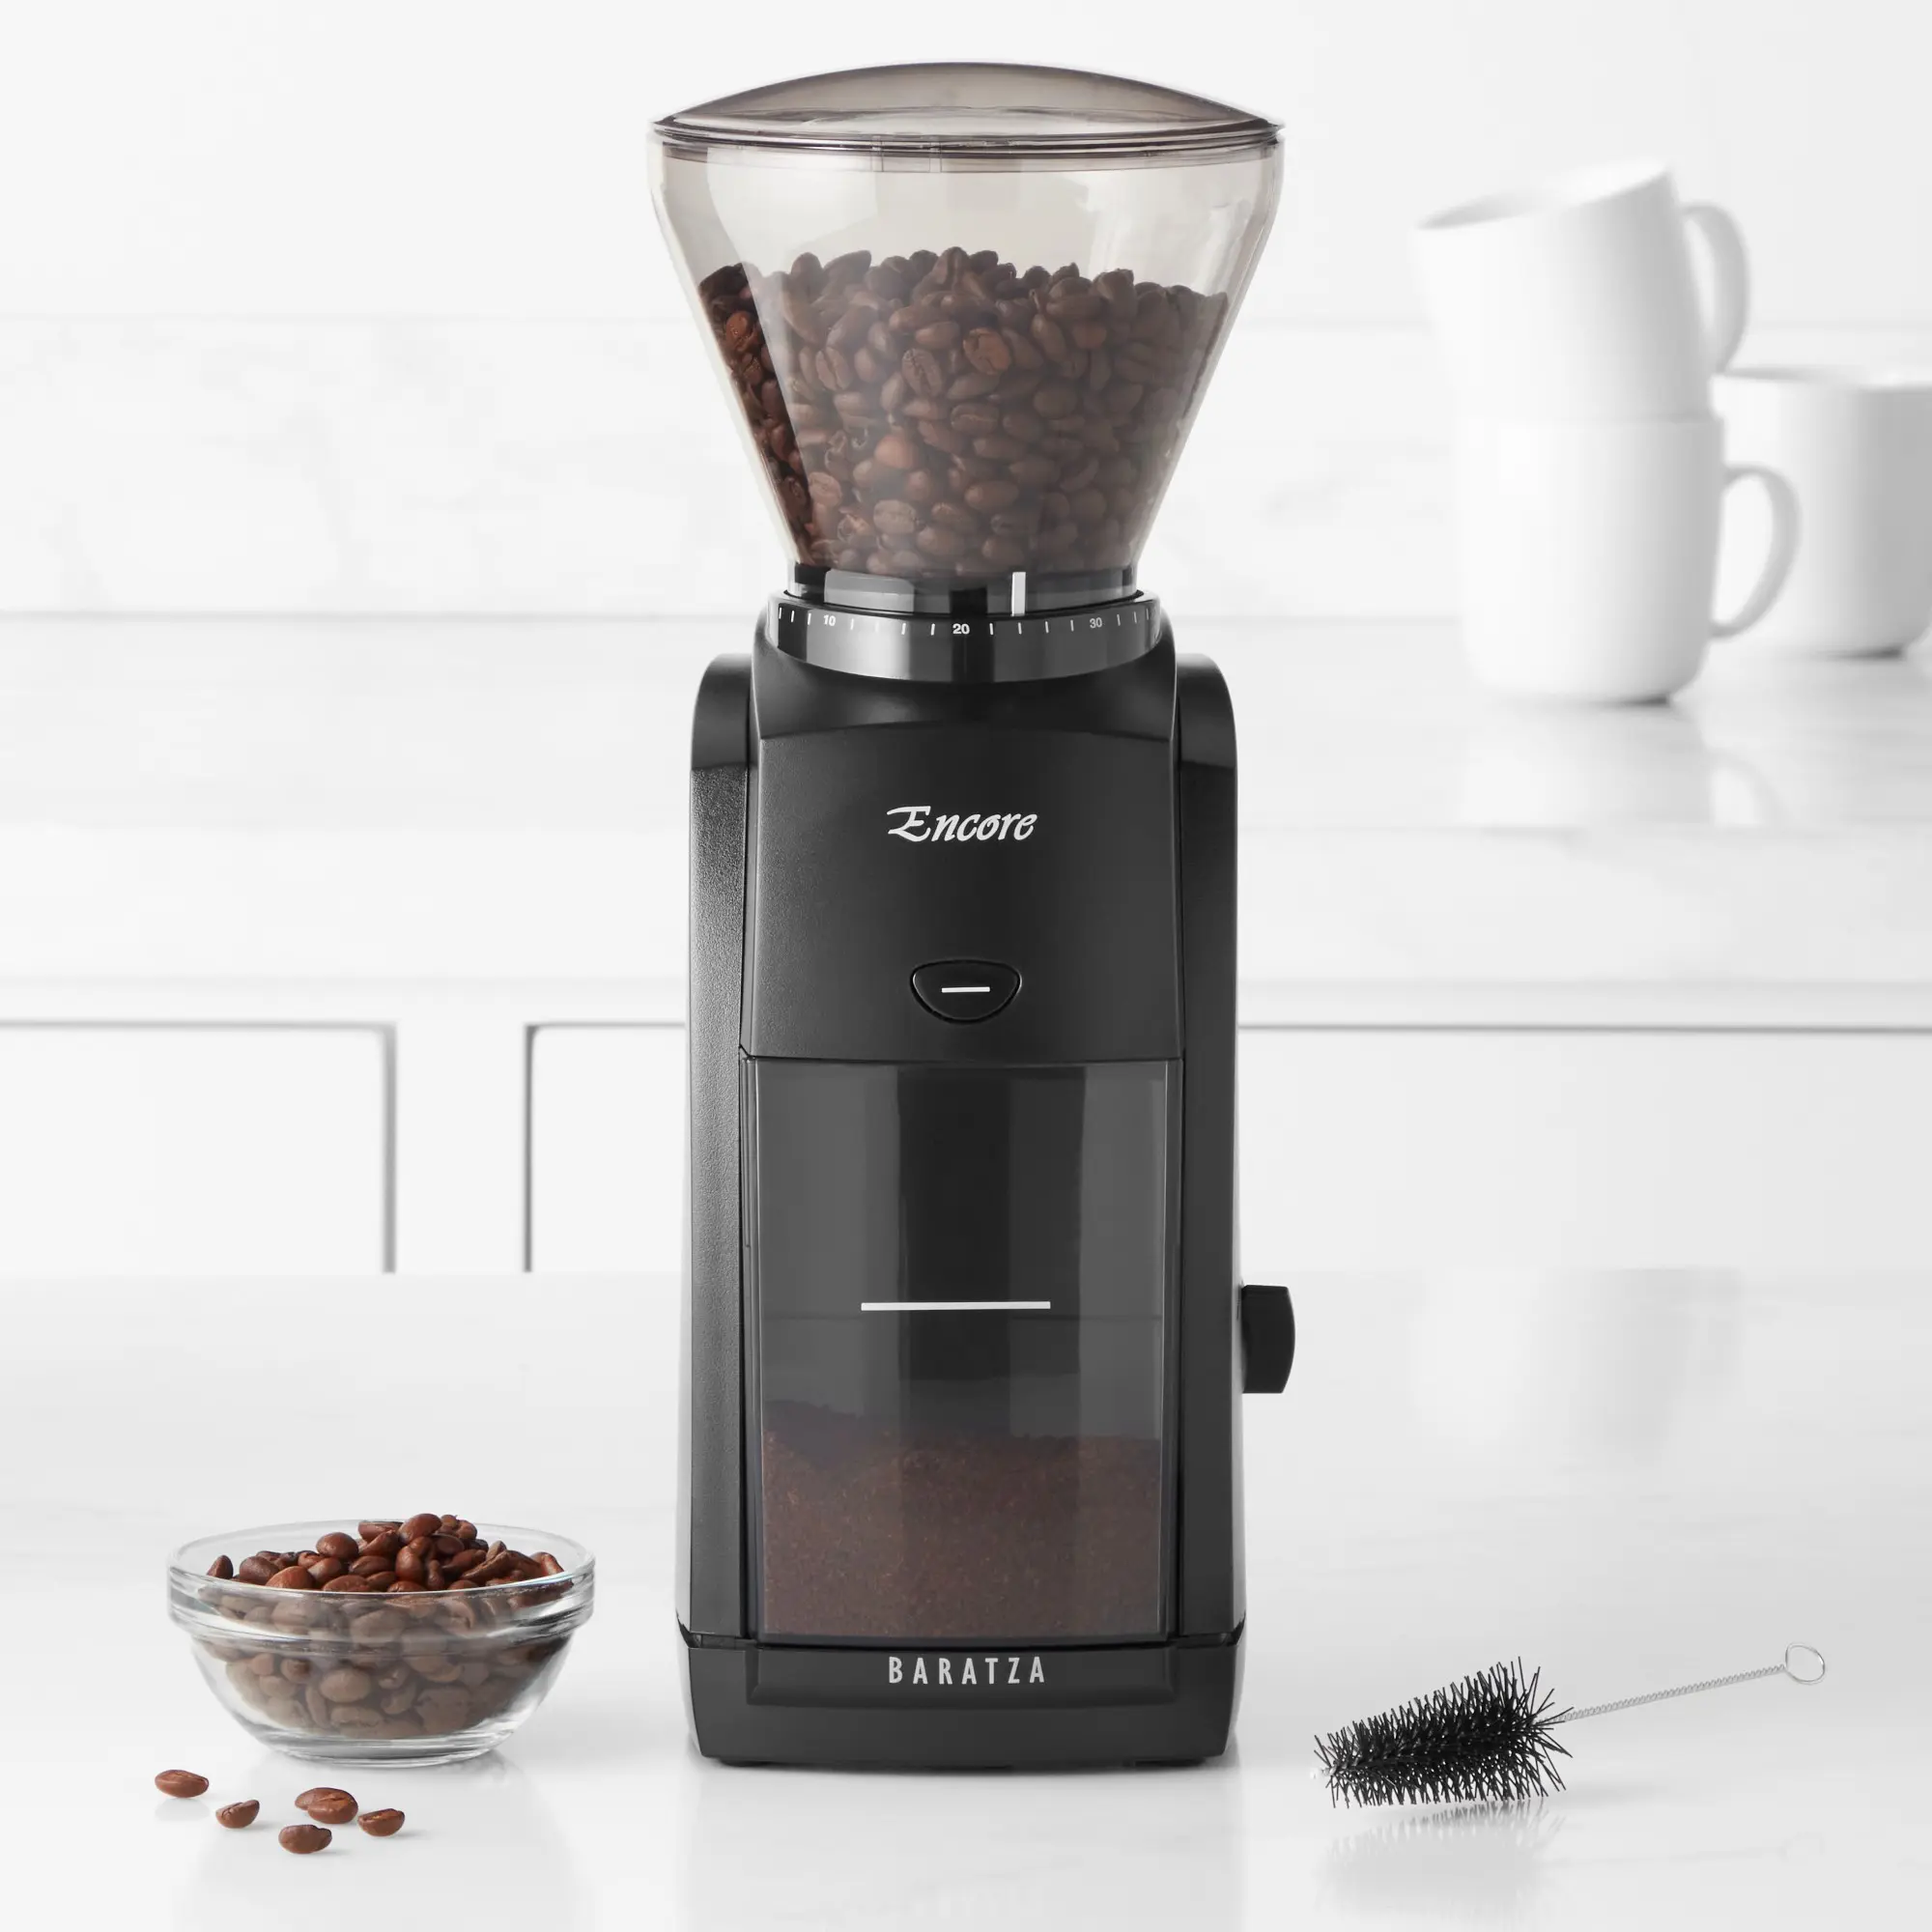
Baratza Encore — Easy Electric Home Choice
A straightforward electric grinder for repeatable daily AeroPress and filter-coffee use.
Best starting point if: it is the useful reference point when convenience, serviceability, and repeatable settings matter more than portability.
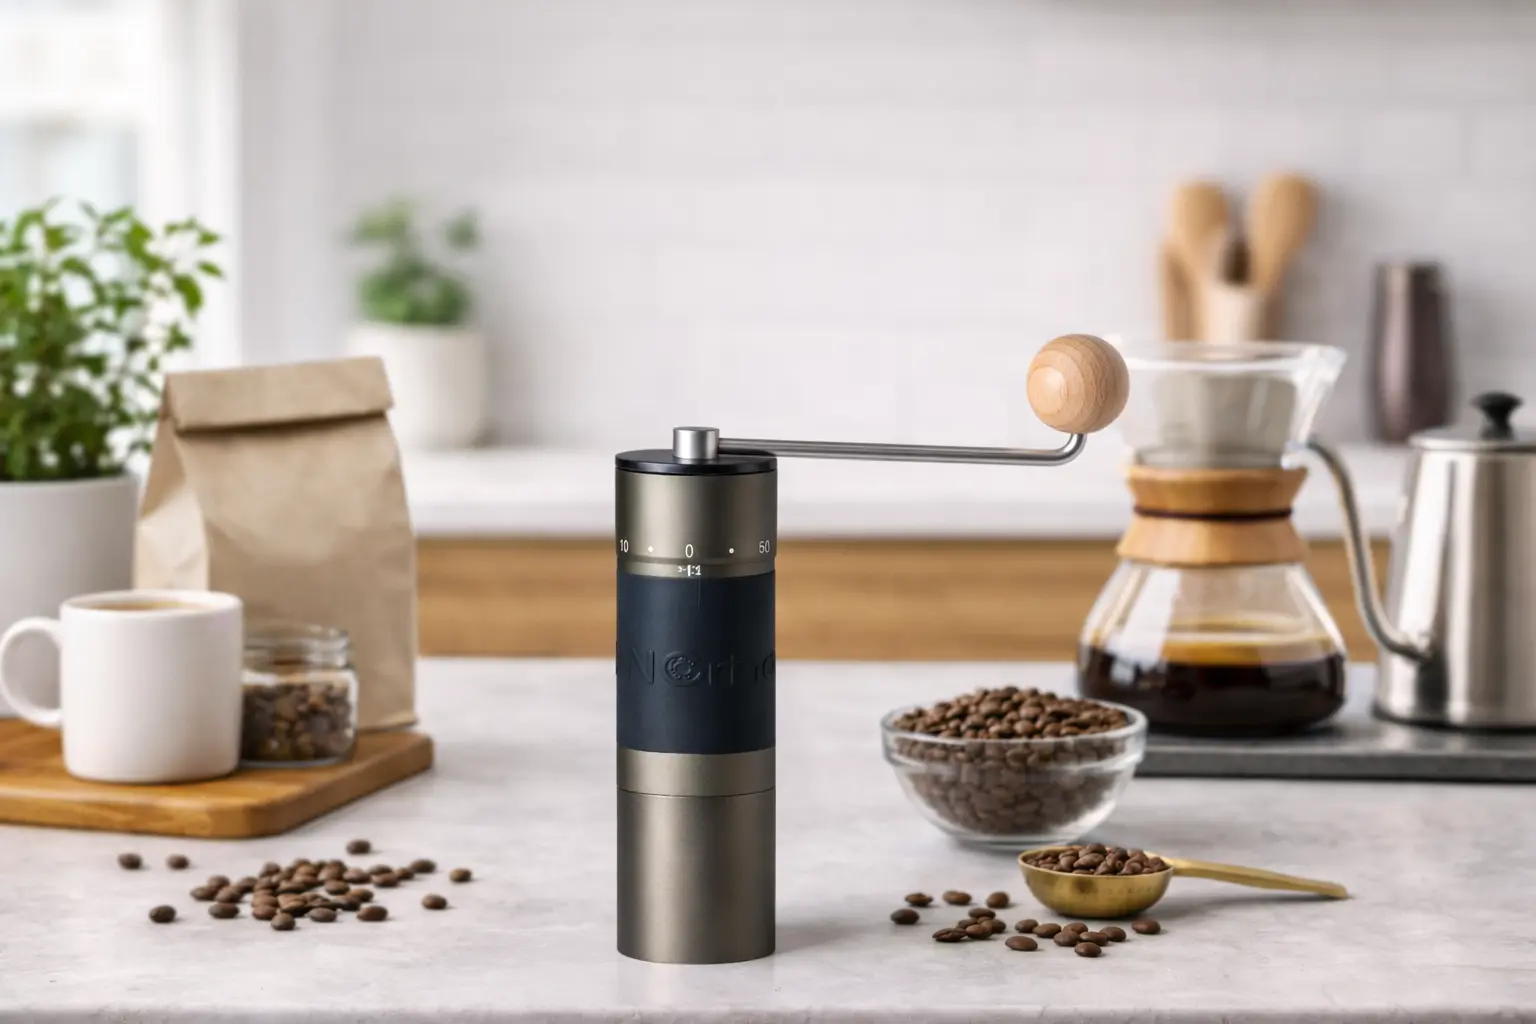
KINGrinder K6 — Manual Performance and Travel
A compact manual grinder with fine external adjustment and a wide enough range to cover AeroPress plus other common methods.
Best starting point if: it represents the manual route for users who want strong grind quality without carrying an electric grinder.
Affiliate disclosure: Amazon links may earn CoffeeGearHub a commission at no additional cost to you. Prices, sellers, bundles, and availability can change.
What Actually Matters in an AeroPress Grinder (The Non-Hype Checklist)
Grinder marketing is full of claims about “premium burrs” and “espresso capability.” For AeroPress, almost none of that matters. AeroPress lives firmly in the medium-fine range — and in that zone, three things move the needle far more than brand names or motor size.
1. Particle Distribution: Fewer Fines = Cleaner Cups
Every grinder produces a spread of particle sizes. A wider spread makes extraction less repeatable: very small particles extract faster, while larger particles extract more slowly. With AeroPress paper filters, excessive fines can also increase resistance and make pressing harder; a metal filter allows more fines and oils through, increasing body. A burr grinder generally gives you a narrower, more repeatable distribution than a blade grinder, which makes dialing in easier.
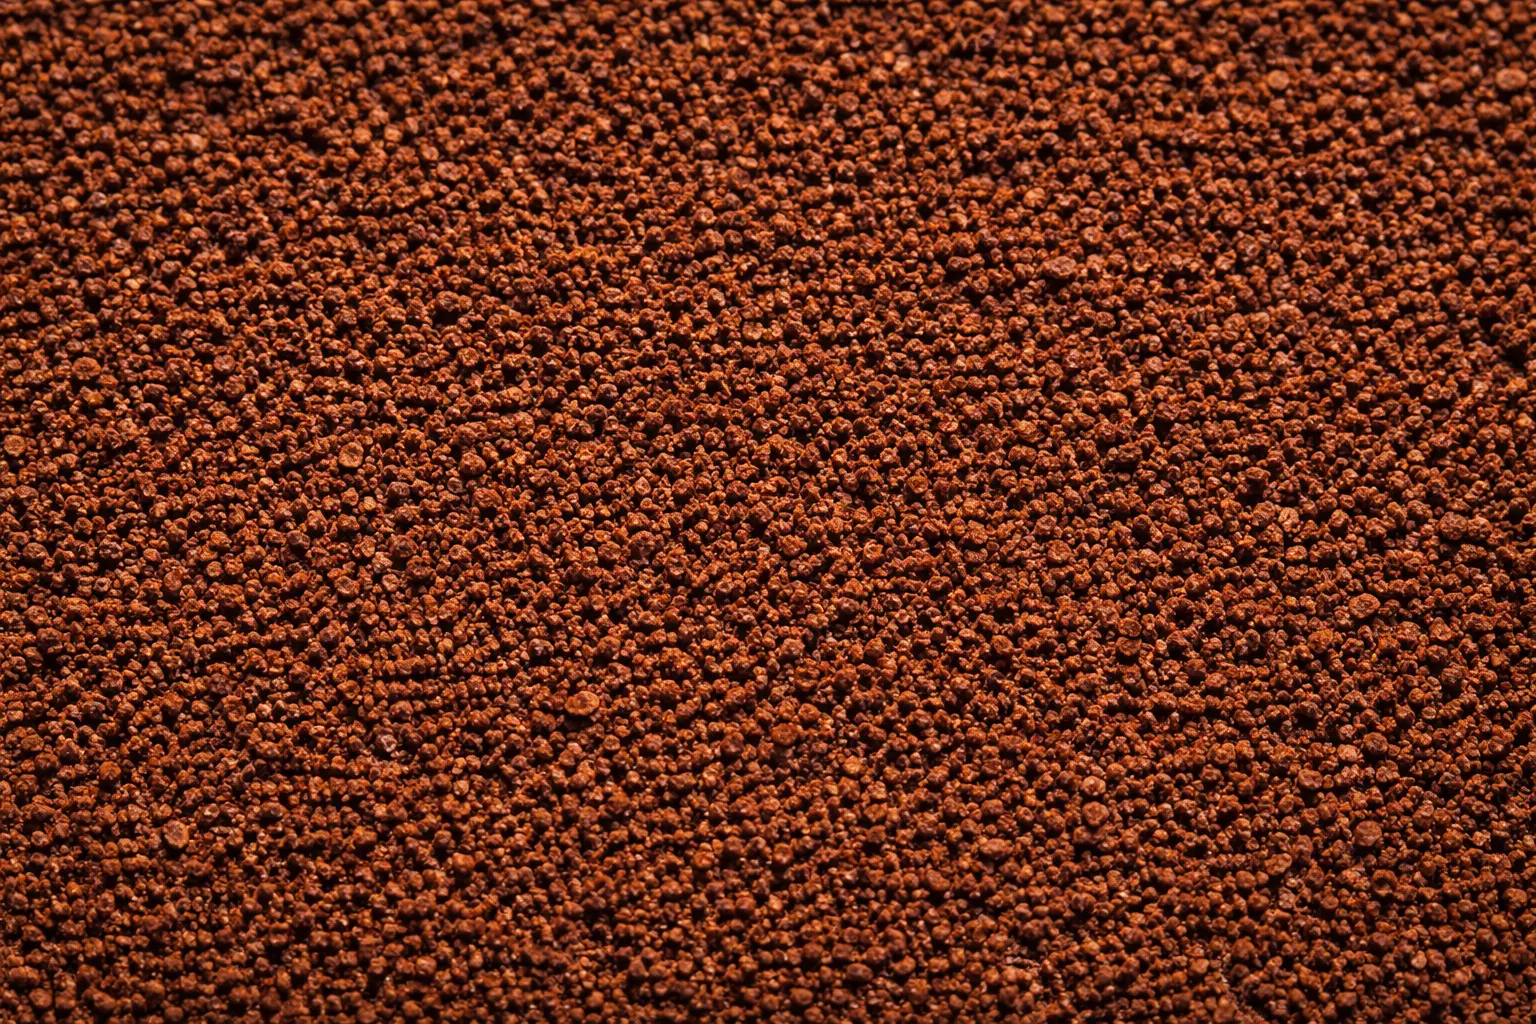
2. Adjustment Resolution: Micro-Steps Beat Big Jumps
AeroPress dialing-in often requires very small grind tweaks. If your grinder has large steps between settings, you’ll frequently find yourself “jumping past” the sweet spot: one setting tastes sour, the next tastes harsh. Many manual grinders have finer resolution in the medium-fine range than budget electrics, which is a big reason experienced home brewers often prefer them. When evaluating a grinder, ask: “Can I make a tiny adjustment without ending up in a completely different flavor territory?”
3. Workflow Consistency: Static + Retention Create Hidden Variables
Two grinders with similar burrs can still feel different in daily use because of workflow. Static can make grounds cling to the grinder or catch cup and complicate transfer. Retention can mix a small amount of older coffee into a fresh dose. If repeatability matters, weigh the dose, keep the chute reasonably clean, and treat static and retention as workflow variables rather than assuming a fixed amount of loss.
The honest bottom line: For AeroPress, you don’t need “espresso-capable” grinding. You need consistent medium-fine with fine enough adjustment steps and a workflow you’ll actually maintain daily. That’s it.
Burr vs. Blade Grinders for AeroPress: Why It Changes the Cup
This section exists because a significant portion of people getting into AeroPress already own a blade grinder and wonder whether upgrading is actually worth it. The short answer: yes, and more than almost any other upgrade you can make.
A blade grinder chops beans without a fixed burr gap, so the result is usually a wider mix of fine and coarse particles. In an AeroPress, that can make extraction and press resistance less predictable. With a paper filter, excess fines are more likely to increase resistance; with a metal filter, more fines and oils can reach the cup. A burr grinder makes the recipe easier to repeat because grind size is more controllable.
A burr grinder works by crushing beans between two abrasive surfaces set a specific distance apart. Because the gap is fixed, the vast majority of particles come out within a narrow size range. The flavor result is cleaner, more balanced, and — critically — repeatable. You can dial in a setting and trust it tomorrow morning.
| Feature | Blade Grinder | Burr Grinder |
|---|---|---|
| Particle consistency | Very inconsistent (fines + boulders) | Tight distribution |
| Flavor result | Less predictable extraction | More repeatable extraction |
| Adjustability | None (just grind longer) | Precise step-by-step control |
| Repeatability | Low (every grind is different) | High (same setting = same cup) |
| Best use case | Basic or occasional use | Repeatable coffee brewing |
If you’re currently using a blade grinder and your AeroPress tastes inconsistent, a burr grinder is often a useful upgrade because it gives you repeatable settings. It will not replace recipe dialing-in, but it makes grind changes easier to measure and reproduce.
Manual vs. Electric Grinders for AeroPress: How to Decide
This is one of the most common questions in AeroPress communities, and the answer is genuinely “it depends on your life” — not a cop-out. Here’s a clear breakdown.
When to Choose a Manual Grinder
Manual grinders win in a specific set of circumstances. If you value travel compatibility, a quality manual like the KINGrinder K6 or Timemore C3 can fit easily in a travel coffee kit and pairs naturally with an AeroPress Go. Manual grinders are also significantly quieter — if you brew early in the morning before others wake up, this matters. At comparable entry and mid-range budgets, manual grinders can put more of the product cost into the burr set and adjustment mechanism because there is no motor or electrical system to fund.
The trade-off is the hand-grinding step itself. Time and effort vary with bean density, dose, grind setting, and the grinder, so buyers should decide whether that extra routine fits how they brew each morning. Be honest with yourself about which camp you’re in before buying.
When to Choose an Electric Grinder
Electric grinders win on convenience and multi-brew scenarios. If you’re making multiple cups in the morning, brewing for two or more people, or also making drip coffee regularly alongside AeroPress, an electric grinder makes the routine dramatically faster. You set a dose, press a button, done. The Baratza Encore in particular has earned its reputation because it’s genuinely reliable, produces consistent medium-fine results day after day, and — importantly — Baratza has excellent parts availability and repair support, and Baratza’s parts support can make the Encore a longer-term ownership choice than many less serviceable grinders.
The trade-off: electric grinders introduce static (which varies widely by model), have some level of retention, and are not travel-friendly. They also make more noise, which matters in some households.
| Your situation | Recommended type |
|---|---|
| Solo brewer, one cup per morning | Manual (budget wins here) |
| Two or more cups daily | Electric (faster, less fatigue) |
| Travel + AeroPress kit | Manual (compact, light) |
| Also making drip/pour-over | Electric (versatility + speed) |
| Early morning, quiet household | Manual (nearly silent) |
| Lower-budget priority | Manual (more of the cost goes toward burrs and adjustment rather than a motor) |
| Convenience-focused budget | Either, depending on whether electric speed is worth the extra cost to you |
AeroPress Grind Size Map (By Goal, Not Guesswork)
The most common AeroPress advice — “grind like sand” or “medium-fine” — is a fine starting point, but it doesn’t tell you why or what to do when it doesn’t work. This map gives you the full picture: what grind to target, what the finished cup should taste like, and what to adjust if it misses.
The AeroPress brew window is short (usually 1:30–3:00 total), which means extraction is fast. You need enough surface area (fine enough grind) to extract properly in that window, but not so much that extraction overshoots into bitterness before you’ve pressed. Medium-fine hits this balance for most recipes.
| Brew goal | Grind target | Reference texture | What it should taste like | Fix if wrong |
|---|---|---|---|---|
| Clean daily cup (standard method) | Medium-fine | Table salt | Balanced sweetness, bright clarity, smooth | Sour → finer; Bitter → coarser |
| Fuller body (inverted method) | Medium-fine → slightly finer | Fine table salt | Rounder, heavier mouthfeel, more sweetness | Muddy → coarser + less stirring |
| Concentrate for milk drinks | Fine (not espresso fine) | Fine granulated sugar | Dense, bold, chocolatey, holds up to milk | Harsh → coarser or shorter steep |
| Iced AeroPress | Medium-fine | Table salt | Bright, crisp, no muddiness when cold | Thin → finer or add +1–2g dose |
| Light roast (single origin) | Slightly finer than medium-fine | Fine table salt | Bright fruit notes, sweet, complex | Sour → finer still, longer steep |
| Dark roast | Slightly coarser than medium-fine | Coarse table salt | Rich, low bitterness, smooth | Harsh → coarser, shorter steep |
Important: “Medium-fine” means different things on different grinders. On a Baratza Encore, it’s roughly setting 12–16 out of 40. On a KINGrinder K6, the current external-adjustment system uses 60 clicks per rotation at 16 μm per click; KINGrinder’s current chart places medium-fine grinding around 60–90 clicks from zero. Always start from the manufacturer’s recommended AeroPress setting and adjust by taste rather than by number alone — numbers don’t transfer between grinder models.
The 3-Step AeroPress Dial-In System (Works With Any Grinder)
Most dial-in advice fails because it changes too many variables at once. Change grind and brew time and dose all at the same time, and you’ll never know which change helped. Use this system to converge on the sweet spot efficiently — usually within 3–5 brews on any new bag of beans.
Step 1: Lock Your Base Recipe for 3 Brews
Don’t touch anything else until you’ve used this recipe unchanged:
- Dose: 16g coffee (weigh it — don’t scoop)
- Water: 240g at 195–205°F (just off boil for most kettles)
- Steep: 2:00 (start timer when you add water)
- Press: 25–30 seconds, slow and steady
- Filter: paper (baseline — metal filters introduced later if desired)
Taste the result carefully. Is it sour/thin? Bitter/harsh? Muddy? Watery? Note your answer.
Step 2: Adjust Grind Only — One Small Move at a Time
Keep the recipe identical. Change only grind, one increment at a time.
- Sour / thin: grind one step finer, keep everything else the same
- Bitter / harsh: grind one step coarser, keep everything else the same
- Muddy / silty: grind one step coarser AND reduce stirring
- Watery / hollow: grind one step finer (if it’s already at medium-fine, increase dose by 1g instead)
Repeat until the flavor is close. “Close” means it tastes good, not perfect — you’re looking for sweetness, balance, and absence of sharp sourness or dry bitterness.
Step 3: Only Then Fine-Tune Time or Ratio
Once grind is dialed in, use time or dose to finalize. Add 15–30 seconds to steep if you want more extraction depth without going finer. Add 1–2g of coffee if you want more strength without changing flavor balance. Reduce dose if it’s too strong but flavor is good. This two-stage approach prevents the most common dial-in mistake: chasing a flavor problem with the wrong variable.
💡 New bag of beans? Expect to dial in again. Roast levels, origins, and freshness all shift where a bean wants to be. A light Ethiopian roast will need a different grind setting than a medium-dark Brazilian from the same grinder. The process becomes fast once you’ve done it a few times.
AeroPress Grinder Comparison Table (Full Matrix)
This table focuses on what matters for AeroPress specifically — not broad specs, but medium-fine performance, adjustment resolution, workflow quality, and portability. Use it alongside the deep reviews below.
| Grinder | Type | Best for | Medium-fine consistency | Adjustment resolution | Speed | Static risk | Retention risk | Noise | Travel | Value |
|---|---|---|---|---|---|---|---|---|---|---|
| Baratza Encore | Electric burr | Daily home AeroPress + drip | Excellent | Good (40 steps) | Fast | Medium | Medium | Medium | Low | High |
| Fellow Opus | Electric burr | Multi-brew households | Very good | Good | Fast | Medium | Medium | Medium | Low | Good |
| OXO Conical Burr | Electric burr | Budget electric upgrade | Good–Very good | Fair | Fast | Medium | Medium | Medium | Low | Good |
| Kingrinder K6 | Manual burr | Best manual performance | Excellent | Very good (60 clicks/rotation; 16 μm per click) | Manual; speed varies by coffee, dose, and user | Low | Very low | Very low | High | Very high |
| Timemore C3 | Manual burr | Best budget manual | Very good | Good | Manual; speed varies by coffee, dose, and user | Low | Very low | Very low | High | Excellent |
| Porlex Mini II | Manual burr (ceramic) | Ultra-portable travel | Good | Fair (larger steps) | Slow–Medium | Low | Very low | Very low | Very high | Good |
How to pick in 10 seconds: Daily home convenience → Encore. Best travel kit → Kingrinder K6. Best low-cost upgrade → Timemore C3 (manual) or OXO (electric). Ultra-compact pack-light travel → Porlex Mini II. Multi-brew modern kitchen → Fellow Opus.
Best Manual Grinders for AeroPress (Deep Reviews)
Manual grinders are a strong value path for AeroPress because they are quiet, compact, and can offer precise medium-fine adjustment without paying for a motor. The key is choosing a model with consistent burrs and adjustment steps small enough to dial in precisely.
Kingrinder K6 — Best Manual Performance
Who it’s for: You want a precise, travel-friendly manual grinder for AeroPress and are comfortable adding hand grinding to the brewing routine.
The K6 uses a 48mm heptagonal stainless-steel burr set in an aluminum body. Its external adjustment provides 60 clicks per rotation at 16 μm per click, and KINGrinder’s current chart places medium-fine grinding around 60–90 clicks. That gives AeroPress users a broad, recordable adjustment range without requiring an electric grinder.
- What it does best: External, recordable adjustment; broad medium-fine range; quiet manual operation; tool-free disassembly for cleaning
- Real trade-offs: Costs more than budget manuals; still requires hand effort for each cup; not ideal for 3+ cups at once
- Dial-in starting point: Start in KINGrinder’s current medium-fine range (about 60–90 clicks from zero), then adjust by taste and flow while keeping the rest of the recipe stable
- Common issue + fix: If bitterness appears as you go finer, stir less and press more slowly before adjusting grind further — aggressive agitation over-extracts fines
Timemore Chestnut C3 — Best Budget Manual Upgrade
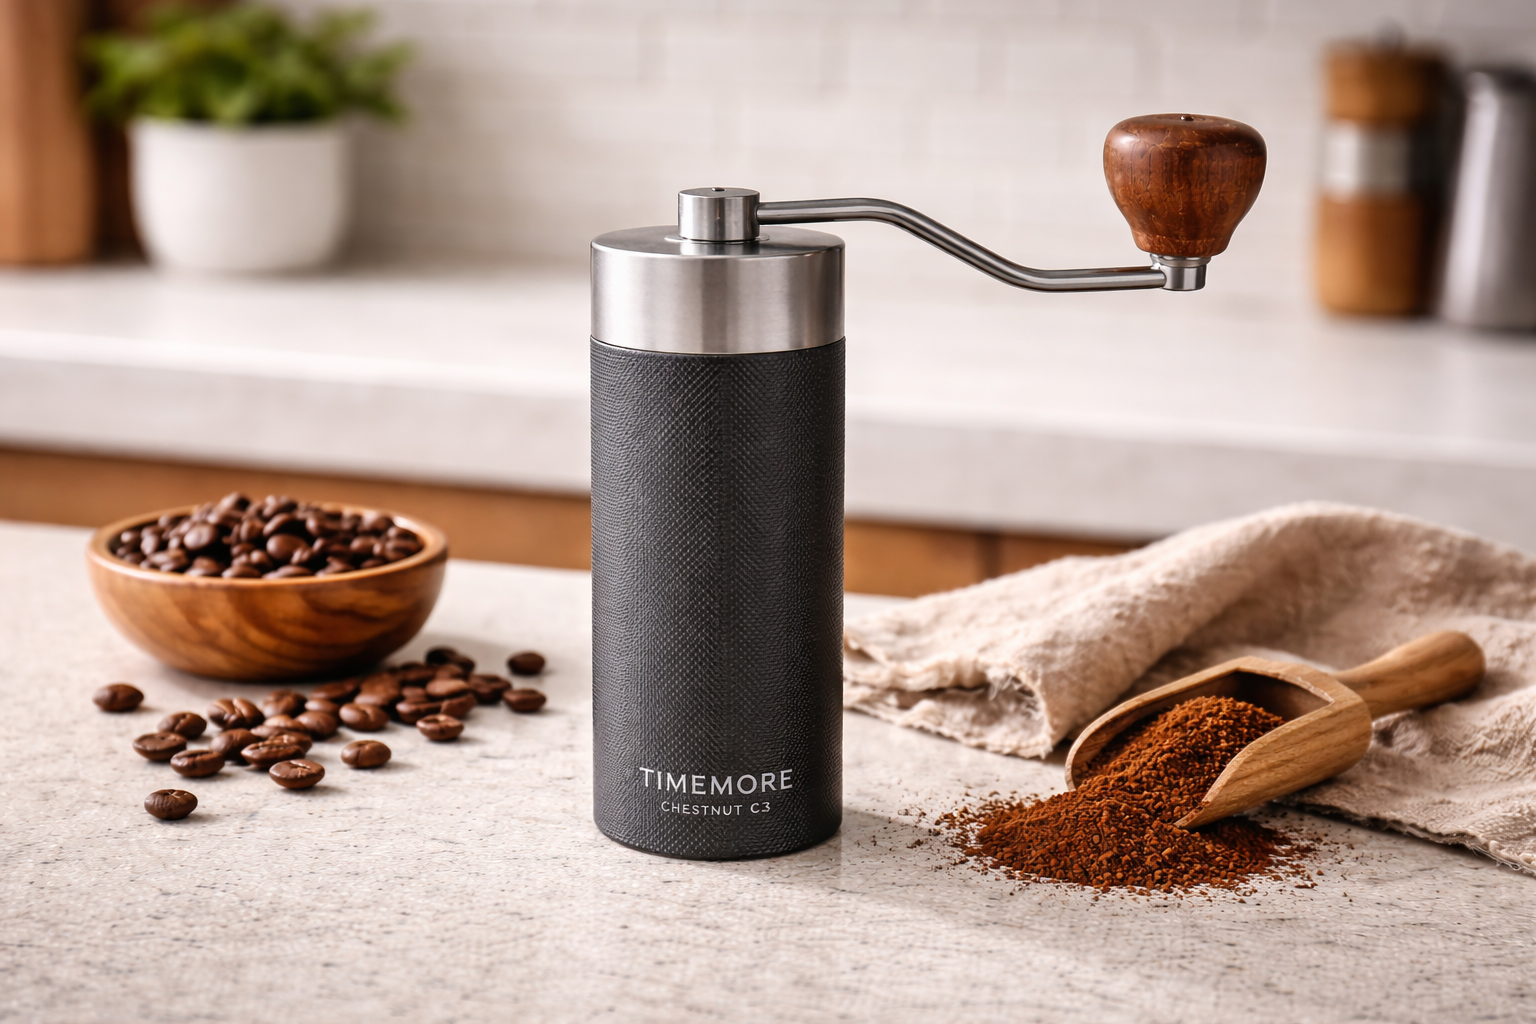
Who it’s for: You’re upgrading from pre-ground coffee or a blade grinder and want the largest possible flavor improvement per dollar. You’ll be genuinely surprised how much sweetness and clarity appear in your AeroPress once grind consistency improves.
Crafted with an all-metal aluminum alloy body, the TIMEMORE C3 manual coffee grinder offers outstanding durability and longevity. It grinds faster than many budget manuals and produces very respectable consistency in the medium-fine range. Step size is larger than the K6, which means dialing in takes slightly more patience, but once you find your spot the results hold brew-to-brew.
- What it does best: Strong medium-fine performance for the price; durable construction; easy to clean and travel with
- Real trade-offs: Larger adjustment steps than premium manuals; not as refined in the fine range if you want to brew concentrates
- Dial-in starting point: Medium-fine; if sour go finer; if harsh go coarser and reduce stirring
- Pro tip: Weigh your dose (15–17g) rather than scooping. With budget manuals, consistent dosing matters more than with higher-end grinders, because small dose variation has a bigger impact when grind consistency is slightly lower
Porlex Mini II — Best Ultra-Portable Travel Grinder
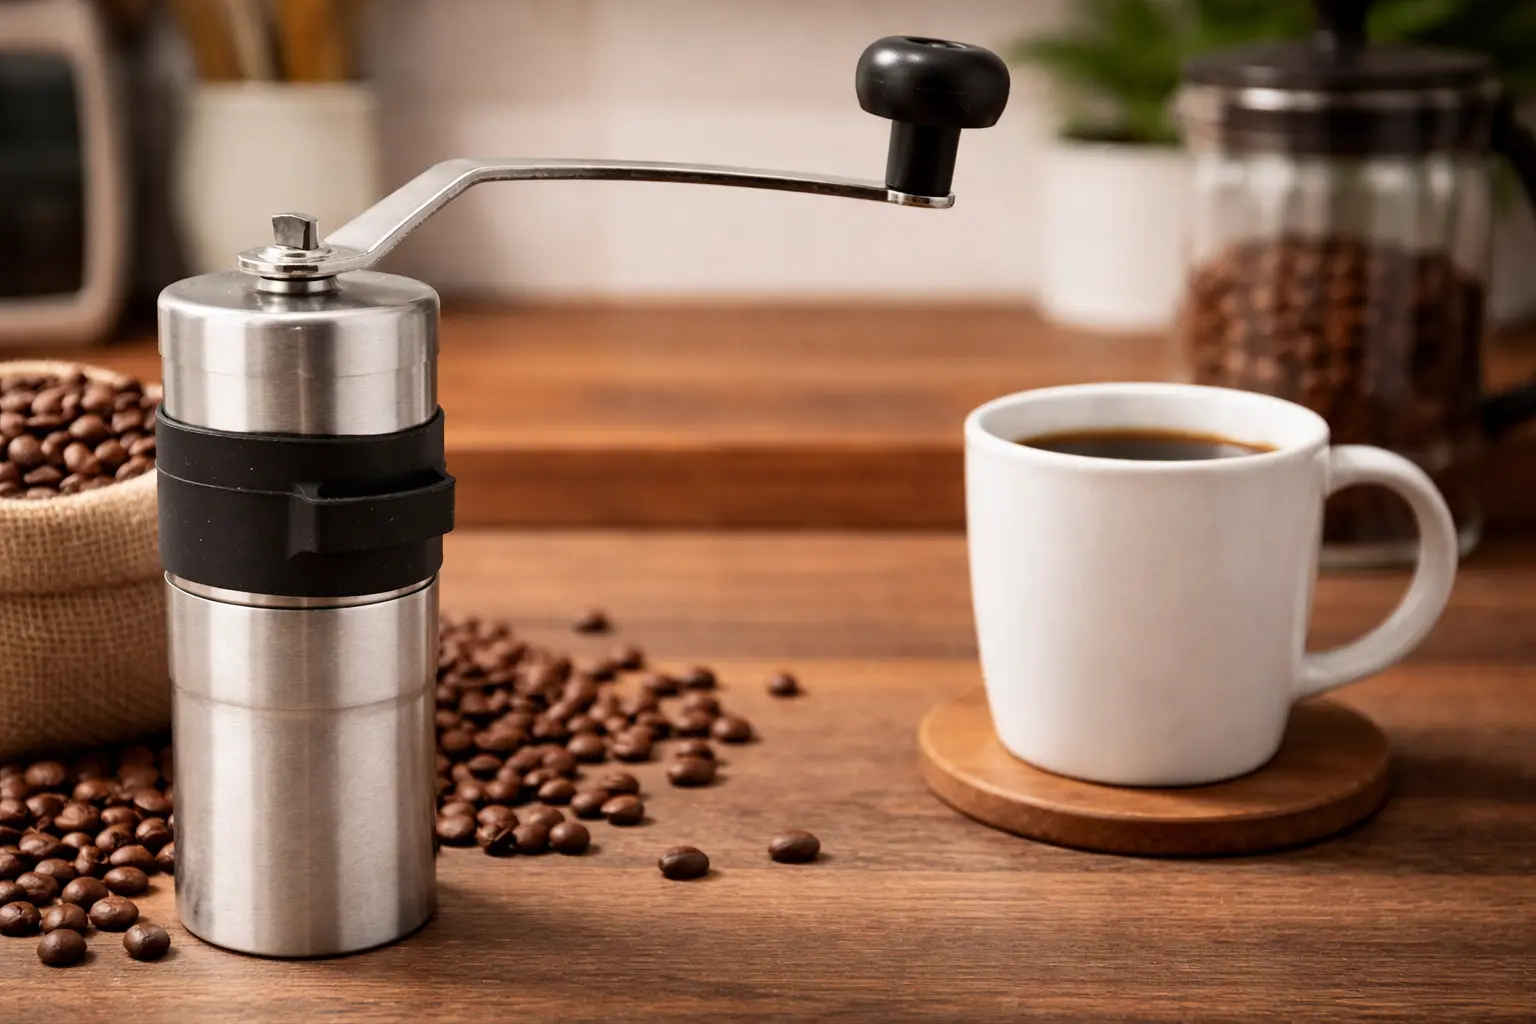
Who it’s for: You want a compact manual grinder for travel and prioritize portability and simple construction over very fine adjustment resolution.
The Porlex Mini II is a compact ceramic-burr grinder in a stainless-steel tube body with an internal adjustment system. Its narrow form makes it easy to pack with a travel coffee kit. The trade-off is coarser adjustment resolution than more modern external-adjustment grinders, so dialing in can require larger changes between settings.
- What it does best: Compact travel workflow, simple construction, and lightweight manual grinding
- Real trade-offs: Fewer micro-adjustment steps; some extra fines vs. steel burr options; slower grinding
- Dial-in starting point: Medium-fine; press gently; use paper filters to reduce fines in cup
- Pro tip: Use a slow, controlled press with paper filters for the cleanest possible cup — the Porlex benefits most from this technique
Best Electric Grinders for AeroPress
Electric grinders win on speed and daily convenience. For AeroPress, the best electrics produce consistent medium-fine grinds and keep the weekday morning workflow simple — so your Tuesday cup tastes as good as your weekend cup.
Baratza Encore — Best Overall Electric for AeroPress
Who it’s for: Daily home brewers who want one reliable grinder that handles AeroPress and drip coffee equally well, with zero friction in the morning and long-term support if anything needs fixing.
The Baratza Encore uses 40 grind settings with a conical burr and is well suited to filter-coffee grinding. AeroPress currently lists setting 12 as a useful Encore starting point; treat that as a baseline and adjust for the coffee, recipe, and press resistance. Baratza sells replacement parts and publishes support guidance, which is a practical long-term serviceability advantage.
- What it does best: Repeatability in the medium to medium-fine range; “set it and brew” reliability; easy to clean; repairable long-term
- Real trade-offs: Some grounds retention in the chute; not a dedicated single-dose design; modest static; hopper-based workflow (don’t store beans in hopper long-term)
- Dial-in starting point: Start around AeroPress’s current Encore reference setting of 12, then adjust by taste and press resistance while keeping the rest of the recipe stable
- Pro tip: If cups taste harsh or “dusty,” try going coarser by 2 settings and pressing more slowly — the Encore at too-fine settings can produce excess fines that over-extract during the press stroke
Fellow Opus — Best Modern “Multi-Brew” Electric Pick
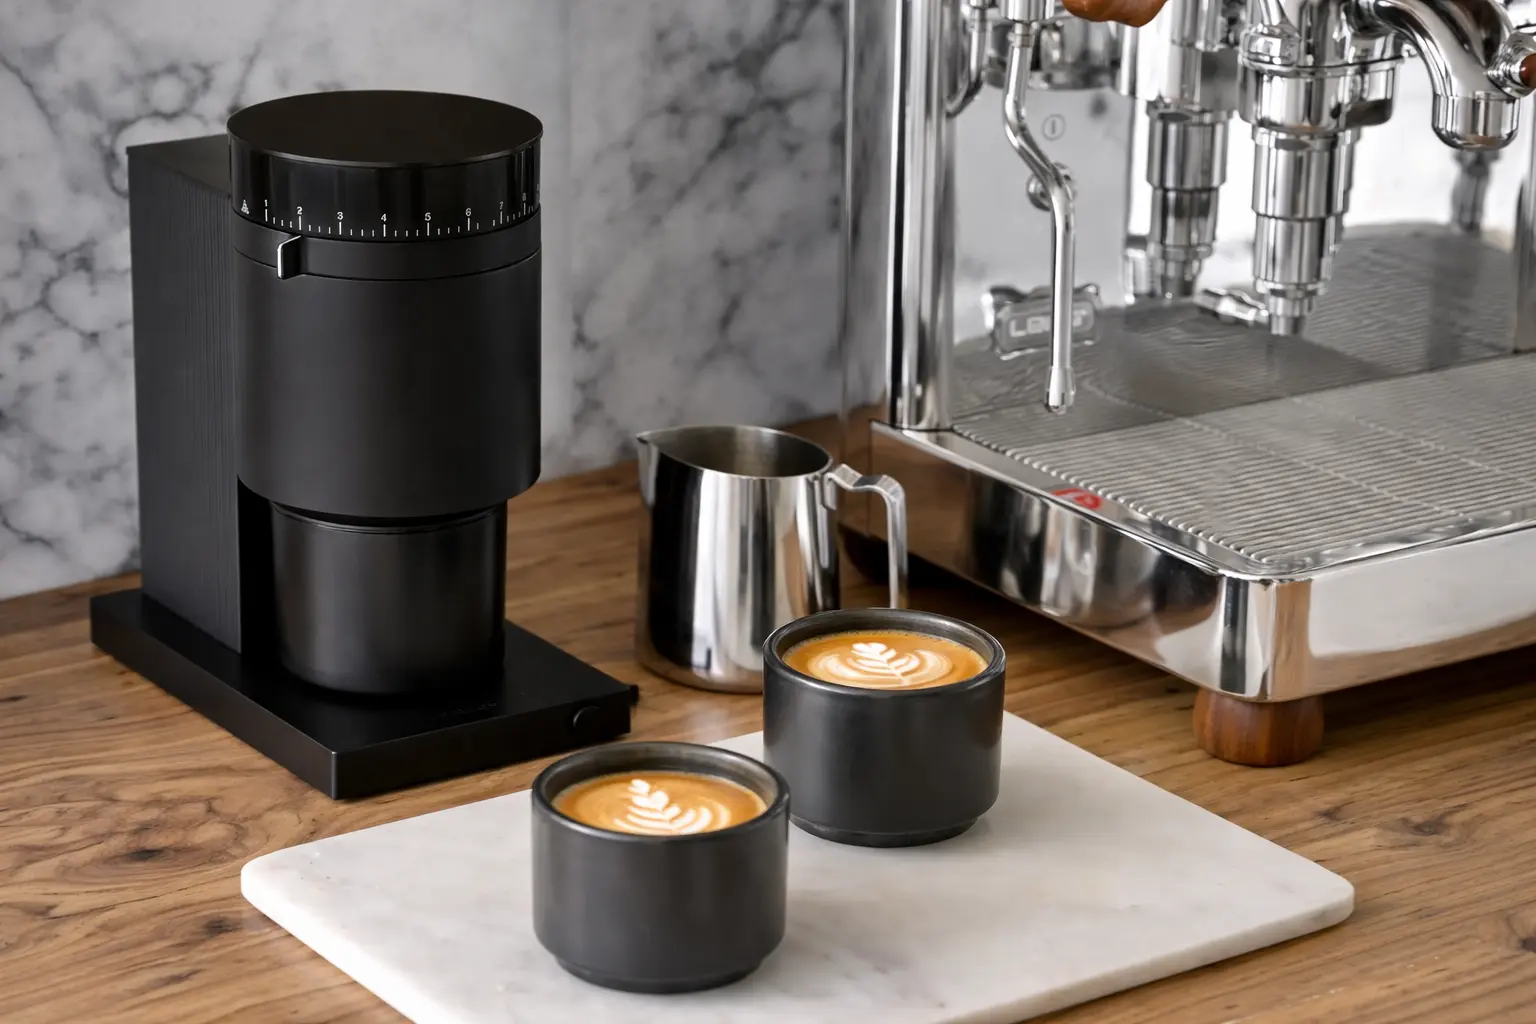
Who it’s for: You brew AeroPress but also dabble in pour-over, want an espresso-style concentrate occasionally, and care about having a grinder that looks good on the counter and has a modern single-dose workflow.
The Fellow Opus trades the Baratza’s long-established brand track record for a more modern, versatile design. It handles the AeroPress range very well and has a wider grind range overall — which means it covers pour-over and concentrated brews without needing a second grinder. The anti-static grounds catch and single-dose design keep workflow cleaner than the Encore. The trade-off is less repair ecosystem history.
- What it does best: Versatility across brew methods; clean single-dose workflow; reduced static vs. hopper-fed designs; modern aesthetics
- Real trade-offs: Shorter track record than Baratza; may take a few brews to nail your AeroPress setting; slightly higher price
- Dial-in starting point: Medium-fine; same base recipe as above; if muddy, coarsen by 1 step and reduce stirring
- Pro tip: Nail your grind setting and write it down — grinder memory is free, and keeping a brew log speeds up future dial-in on new beans dramatically
OXO Brew Conical Burr — Best Budget Electric Upgrade
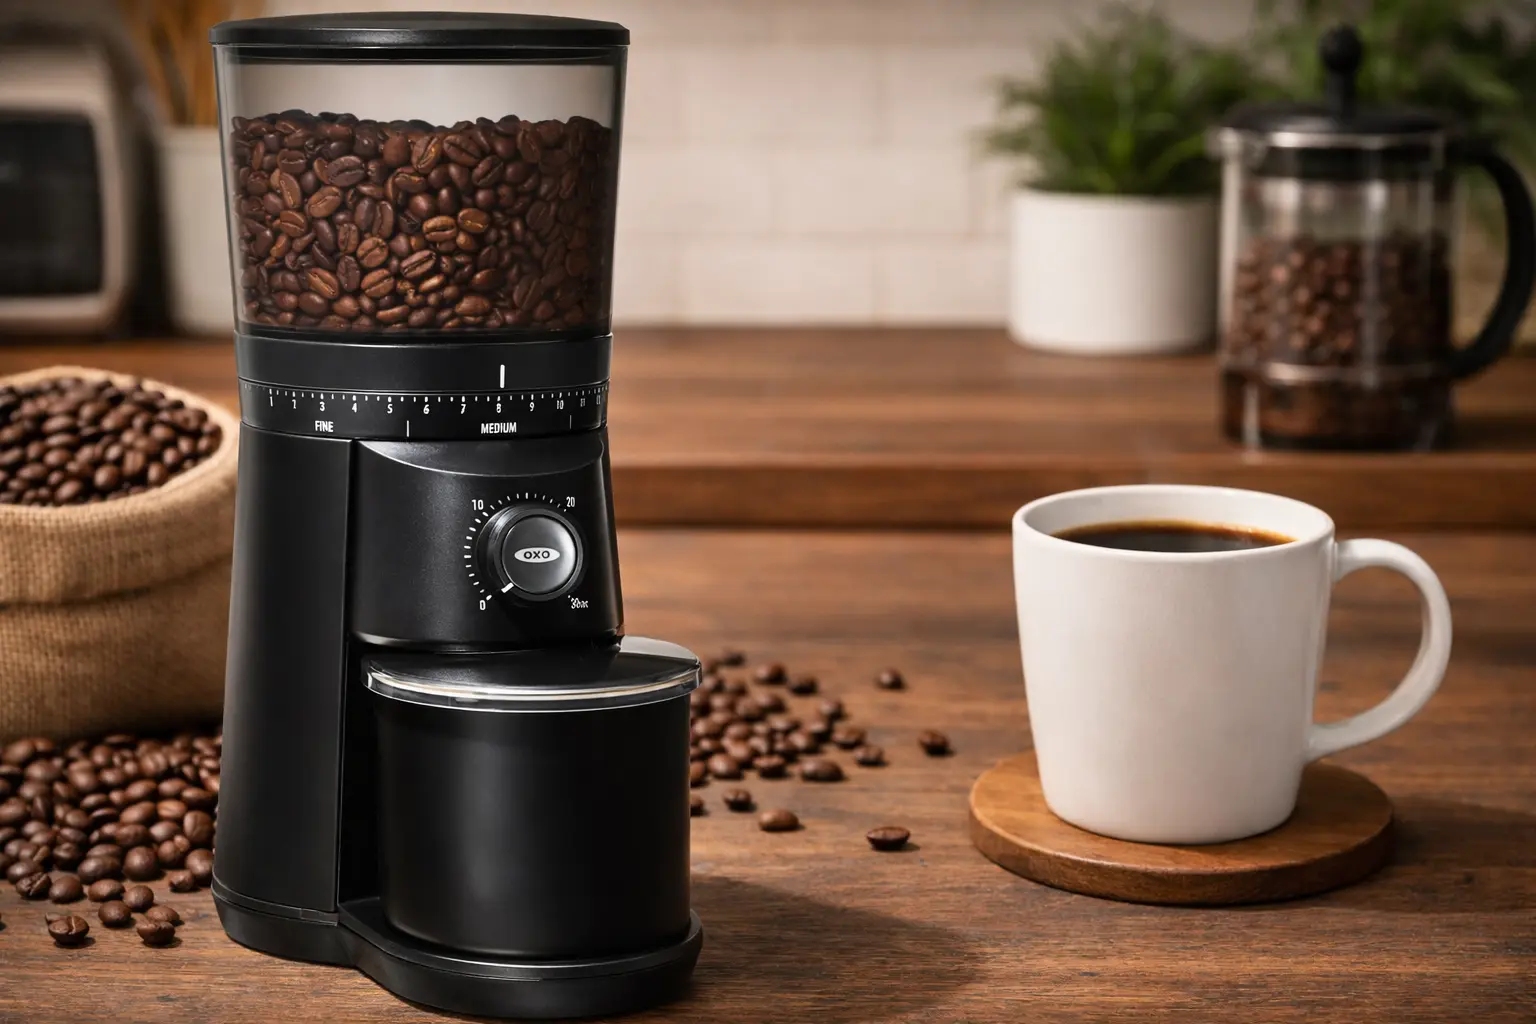
Who it’s for: You want a plug-in-and-grind experience without the complexity of manual grinding, and you want a clear, noticeable upgrade over blade grinding or pre-ground coffee without paying for premium grinder features you won’t use.
The current OXO Brew Conical Burr uses stainless-steel conical burrs, 15 main grind settings with additional microsettings, a one-touch timer that remembers the previous time setting, and a 12 oz hopper. The current model does not include an integrated scale, so use a separate scale if dose-by-weight repeatability matters.
- What it does best: Ease of use; consistent results in AeroPress range; good workflow for non-coffee-obsessive households
- Real trade-offs: Fewer micro-adjustment steps; less precision than Encore or Opus; not ideal if you want to push into finer concentrate territory
- Dial-in starting point: Medium-fine; if sour go finer; if harsh go coarser and slow your press stroke
- Pro tip: If your cup tastes “dusty” or dry, reduce agitation and press slower before adjusting dose — excessive stirring plus medium-static grinders can compound over-extraction
AeroPress Recipe Matrix: Grind + Time + Press
Readers don’t just want a grinder — they want results. Use these starter recipes as a baseline and adjust with the dial-in system above. All recipes assume a paper filter and standard AeroPress (not Go). Adjust dose slightly down for the AeroPress Go’s smaller chamber.
| Recipe style | Grind | Dose | Water | Temp | Steep | Press | Best for |
|---|---|---|---|---|---|---|---|
| Classic daily cup | Medium-fine | 16g | 240g | 200°F | 2:00 | 25–30s | Balanced sweetness + clarity |
| Inverted (fuller body) | Medium-fine → slightly finer | 17–18g | 230–250g | 200°F | 2:15–2:30 | 25–35s | Rounder mouthfeel |
| Concentrate (for milk drinks) | Fine (not espresso) | 18–20g | 90–120g | 205°F | 1:00–1:30 | 20–25s | Lattes, milk-based drinks |
| Iced AeroPress | Medium-fine | 16–18g | 200g hot + ice bed | 205°F | 1:45–2:00 | 25s | Bright, refreshing, clear |
| Light roast single origin | Slightly finer than medium-fine | 15–16g | 250g | 205°F | 2:30 | 30s | Complex fruity + floral notes |
| Dark roast | Slightly coarser than medium-fine | 17g | 230g | 195°F | 1:30–2:00 | 20–25s | Rich, chocolatey, smooth |
📌 Note on temperature: Lower temperature (195°F) slows extraction slightly and reduces bitterness — useful for dark roasts and over-extraction issues. Higher temperature (205°F) speeds extraction and helps under-developed light roasts. If you don’t have a temperature-control kettle, “just off boil” (roughly 205°F after resting 30 seconds) is a practical default.
Troubleshooting: Fix AeroPress Taste in One Move
Most people over-correct by changing multiple variables at once, which makes it impossible to know what helped. Use this map to change exactly one thing at a time. In almost every case, grind is the right first adjustment — only move to time or dose once grind is close.
| What you taste | What it usually means | Do this first | Then, if still wrong | Common mistake to avoid |
|---|---|---|---|---|
| Sour, sharp, thin | Under-extraction | Grind finer one step | Steep +15–30s | Don’t increase dose to fix sourness — it adds volume, not extraction |
| Bitter, harsh, drying | Over-extraction or too many fines | Grind coarser one step | Press slower + stir less | Don’t assume more water fixes bitterness — it dilutes but doesn’t fix the root cause |
| Muddy, silty, gritty | Too fine + too much agitation | Coarsen slightly | Reduce stirring + slower press | Don’t switch to metal filter first — fix the grind |
| Watery, hollow | Too coarse or low dose | Grind finer | Increase dose +1–2g | Don’t brew longer first — it can add bitterness without improving body |
| Good flavor but too strong | High concentration | Add bypass water (10–30g) after pressing | Lower dose next brew | Don’t grind coarser to weaken it — you’ll lose sweetness |
| Tastes flat / no brightness | Stale beans or over-extraction | Check bean freshness first | Grind finer + shorter steep | Don’t keep adjusting the grinder if beans are 3+ weeks past roast |
Grind Adjustments by Roast Level: Why Roast Changes Everything
Bean density changes with roast level, and density directly affects extraction speed. This is why “medium-fine” as a starting point is accurate for medium roasts but needs adjustment for light or dark beans.
Light Roasts: Go Finer, Go Hotter, Steep Longer
Light roast beans are denser than dark roasts because the cell structure hasn’t been broken down by heat. This density makes them extract slower — compounds are less accessible. To compensate for AeroPress’s short brew window, you need finer grinding (more surface area) and slightly higher water temperature. Light roasts also benefit from slightly longer steep times. If your light roast AeroPress tastes flat, sour, or lacking sweetness despite medium-fine grind, try going finer in 1-step increments and extending steep to 2:30–3:00.
Medium Roasts: The Baseline
Medium roasts are where AeroPress recipes are most commonly written and tested. Medium-fine is accurate. Standard brew parameters work well. Most of this guide’s base recipes are calibrated for medium roast.
Dark Roasts: Go Coarser, Go Cooler, Shorten Steep
Dark roast beans are physically more porous and brittle because of extended heat exposure. They extract faster — sometimes dramatically so. At the same medium-fine grind a medium roast is perfect on, a dark roast may already taste harsh and bitter. Grind 1–2 steps coarser, drop temperature to 195°F, and shorten steep to 1:30–2:00. Oily dark roasts should also be cleaned from your grinder more frequently, as coffee oils go rancid and introduce off-flavors into future brews.
Workflow: Controlling Static, Retention, and Repeatability
Great grinders still make inconsistent coffee if workflow is sloppy. These are the two most impactful workflow habits to build.
Controlling Static (The RDT Method)
Static electricity is created when coffee grounds rub against grinder surfaces. In low-humidity environments, this can become severe — grounds spray everywhere, cling to the sides of the catch cup, and make it impossible to get a consistent dose into your AeroPress. The solution is RDT (Ross Droplet Technique): before grinding, add a single droplet of water to your beans (or use a small spray bottle to lightly mist them) and toss lightly. The tiny amount of moisture is invisible in the final cup but dramatically reduces static. This one habit makes your grinder feel like a different machine, especially in winter when indoor humidity drops.
Managing Retention (Cleaner Flavor)
Retention refers to ground coffee trapped inside the grinder — in the burr chamber, chute, or catch cup pathway. Stale retained grounds mix with fresh grounds on the next grind, diluting clarity and adding off-flavors. Manual grinders have nearly zero retention because grounds fall directly by gravity. Electric grinders with more complex chutes retain more. To manage retention: keep a consistent routine, grind (and use) at the same time each morning, and run a few grams of beans as a “purge” after changing grind settings to clear old grounds from the previous setting.
Cleaning & Maintenance Schedule
A grinder that isn’t maintained consistently is a grinder that degrades over time — not in a dramatic, obvious way, but in a gradual flavor creep that’s hard to diagnose. Follow this schedule regardless of which grinder you own.
- After each use: Wipe the catch cup and remove any grounds clinging to the exterior. Takes 30 seconds.
- Weekly (light use) / Every 2–3 days (heavy use): Brush the burr chamber and chute with a soft brush per the manufacturer’s instructions. For the Encore, remove the burr carrier and brush. For manuals, disassemble completely.
- Monthly: Deeper clean — burrs out, full wipe-down, inspection for coffee oil buildup. Oil buildup creates a rancid bitterness that blends into every cup.
- Oily/dark beans: Clean more frequently — every 2–3 days minimum. Dark roast oil is the most common source of mystery bitterness that people attribute to their recipe.
- Grinder tablets (electric grinders): Urnex Grindz or similar grinder-cleaning tablets are an effective monthly deep-clean for electric burr grinders — run them through per package instructions before your normal cleaning routine.
FAQs: Best Grinders for AeroPress
Is a burr grinder necessary for AeroPress?
What grind size is best for AeroPress?
Why does my AeroPress taste bitter even when I follow a recipe exactly?
Why does my AeroPress taste sour and thin?
Manual or electric grinder for AeroPress — which is better?
How do I reduce muddiness in AeroPress coffee?
What is the best AeroPress grinder for travel?
Should I change brew time or grind first when dialing in AeroPress?
How often should I clean my AeroPress grinder?
Can I use pre-ground coffee in an AeroPress?
Next Reads (Recommended Guides)
Compare current CoffeeGearHub product pages
Use these stable CoffeeGearHub product pages to compare specifications and current verified merchant offers before leaving the site.
Reference check
Sources and Verification
Grinder settings and product availability can change. Use manufacturer documentation as the final reference for adjustment ranges, maintenance, and current model details.
- KINGrinder K6 exterior-adjustment documentation — 60 clicks per rotation at 16 μm per click.
- KINGrinder current grind-setting chart — K6 medium-fine reference range.
- Baratza Encore — current product specifications and support.
- AeroPress — current brewer guidance, filters, and product documentation.
- Manufacturer documentation for Timemore, Porlex, Fellow, and OXO is used for model-specific specifications.
CoffeeGearHub product shortlist
Compare CoffeeGearHub product pages
Review specifications and current verified merchant offers on CoffeeGearHub before leaving the site.
Continue Learning
Brew with AeroPress
Compare grinder choices
In this guide
- The 30-Second Answer
- What Actually Matters in an AeroPress Grinder (The Non-Hype Checklist)
- Burr vs. Blade Grinders for AeroPress: Why It Changes the Cup
- Manual vs. Electric Grinders for AeroPress: How to Decide
- AeroPress Grind Size Map (By Goal, Not Guesswork)
- The 3-Step AeroPress Dial-In System (Works With Any Grinder)
- AeroPress Grinder Comparison Table (Full Matrix)
- Best Manual Grinders for AeroPress (Deep Reviews)
- Best Electric Grinders for AeroPress
- AeroPress Recipe Matrix: Grind + Time + Press
- Troubleshooting: Fix AeroPress Taste in One Move
- Grind Adjustments by Roast Level: Why Roast Changes Everything
- Workflow: Controlling Static, Retention, and Repeatability
- Cleaning & Maintenance Schedule
- FAQs: Best Grinders for AeroPress
- Next Reads (Recommended Guides)
- Sources and Verification
- Continue Learning