
How to Dial In Espresso
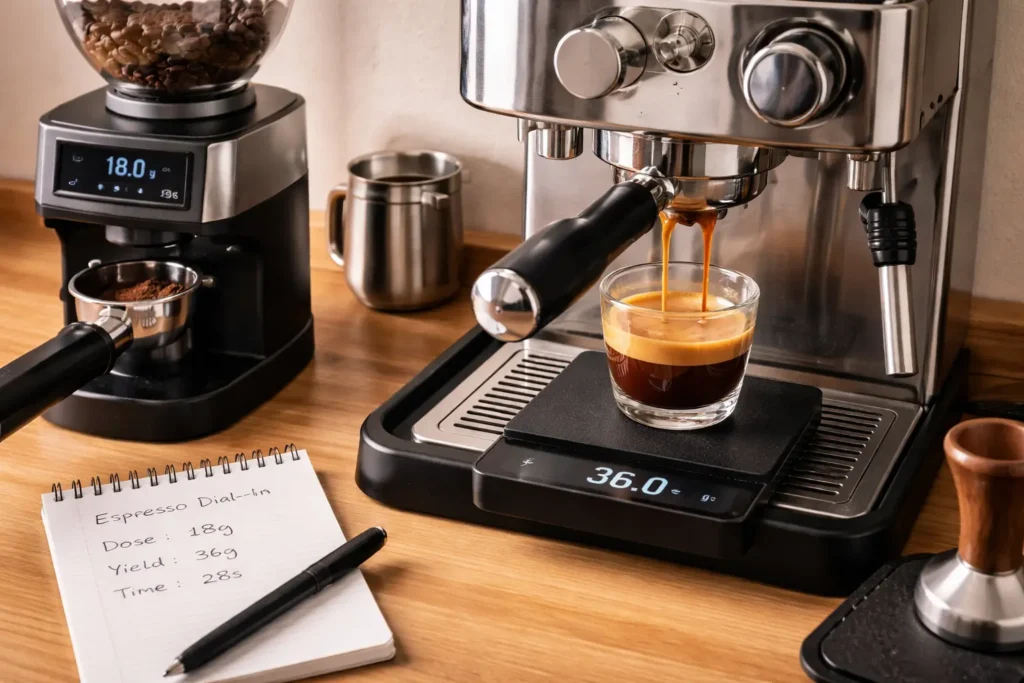
Editorial standards: this guide separates repeatable measurement from universal “target” numbers. Ratio, time, temperature, and grinder settings are presented as starting references and diagnostics rather than mandatory rules.
At a glance
What this guide covers
A stable baseline, variable hierarchy, a seven-step dial-in workflow, shot-time interpretation, grind, yield, temperature, puck preparation, roast tendencies, logging, troubleshooting, and related gear.
Editorial analysis
Control the recipe before you optimize it
Dial-in gets easier when dose, target yield, puck preparation, and machine routine are stable. Then a grind change has a clear meaning. Taste remains the goal; the numbers exist to make that taste repeatable.
The 30-Second Answer
Dialing in espresso means building a repeatable baseline, measuring dose and beverage yield, recording how long it takes to reach that yield, tasting the shot, and changing one variable at a time. Use grind to correct obvious flow problems, then use yield and temperature to refine taste. Shot time is a diagnostic—not a universal pass/fail target.
What Dialing In Actually Means
A dialed-in espresso recipe is not one universal set of numbers. It is a recipe that produces a balanced result for a specific coffee, basket, grinder, machine, water, and taste preference—and that you can repeat.
The goal is to separate the variables. If dose, yield, puck preparation, warm-up routine, and grinder setting all change at once, the next shot teaches you almost nothing. Dialing in works because you hold most of the system stable while testing one change.
Build a Stable Baseline Before You Adjust Anything
Start with settings that are easy to reproduce. You are not declaring them “correct”; you are creating a reference point.
| Variable | Useful starting reference | Why keep it stable? |
|---|---|---|
| Dose | Use a dose that fits the basket well | Changing dose also changes puck depth and resistance |
| Yield | Around 1:2 when you need a neutral baseline | Gives you a fixed endpoint for comparing flow |
| Temperature | Machine default or coffee/roaster guidance | Prevents temperature changes from masking grind changes |
| Puck preparation | Same distribution and level tamp each time | Reduces shot-to-shot noise |
| Warm-up routine | Follow the machine maker’s guidance | Helps keep the brew system in a repeatable state |
What You Need Before You Start Dialing In
- Espresso-capable grinder: enough fine-range adjustment to change flow predictably.
- Scale: 0.1g readability is useful for dose and beverage yield.
- Tamper that fits the basket: focus on a level, fully compressed puck rather than a specific force number.
- Coffee with a roast date: use roaster guidance when available; avoid assuming one universal post-roast window.
- Notes: record setting, dose, yield, time, temperature setting, and taste.
Measure, then adjust
Two tools that make dial-in repeatable
A scale establishes dose and beverage yield. An espresso-capable grinder gives you the adjustment needed to change flow deliberately.
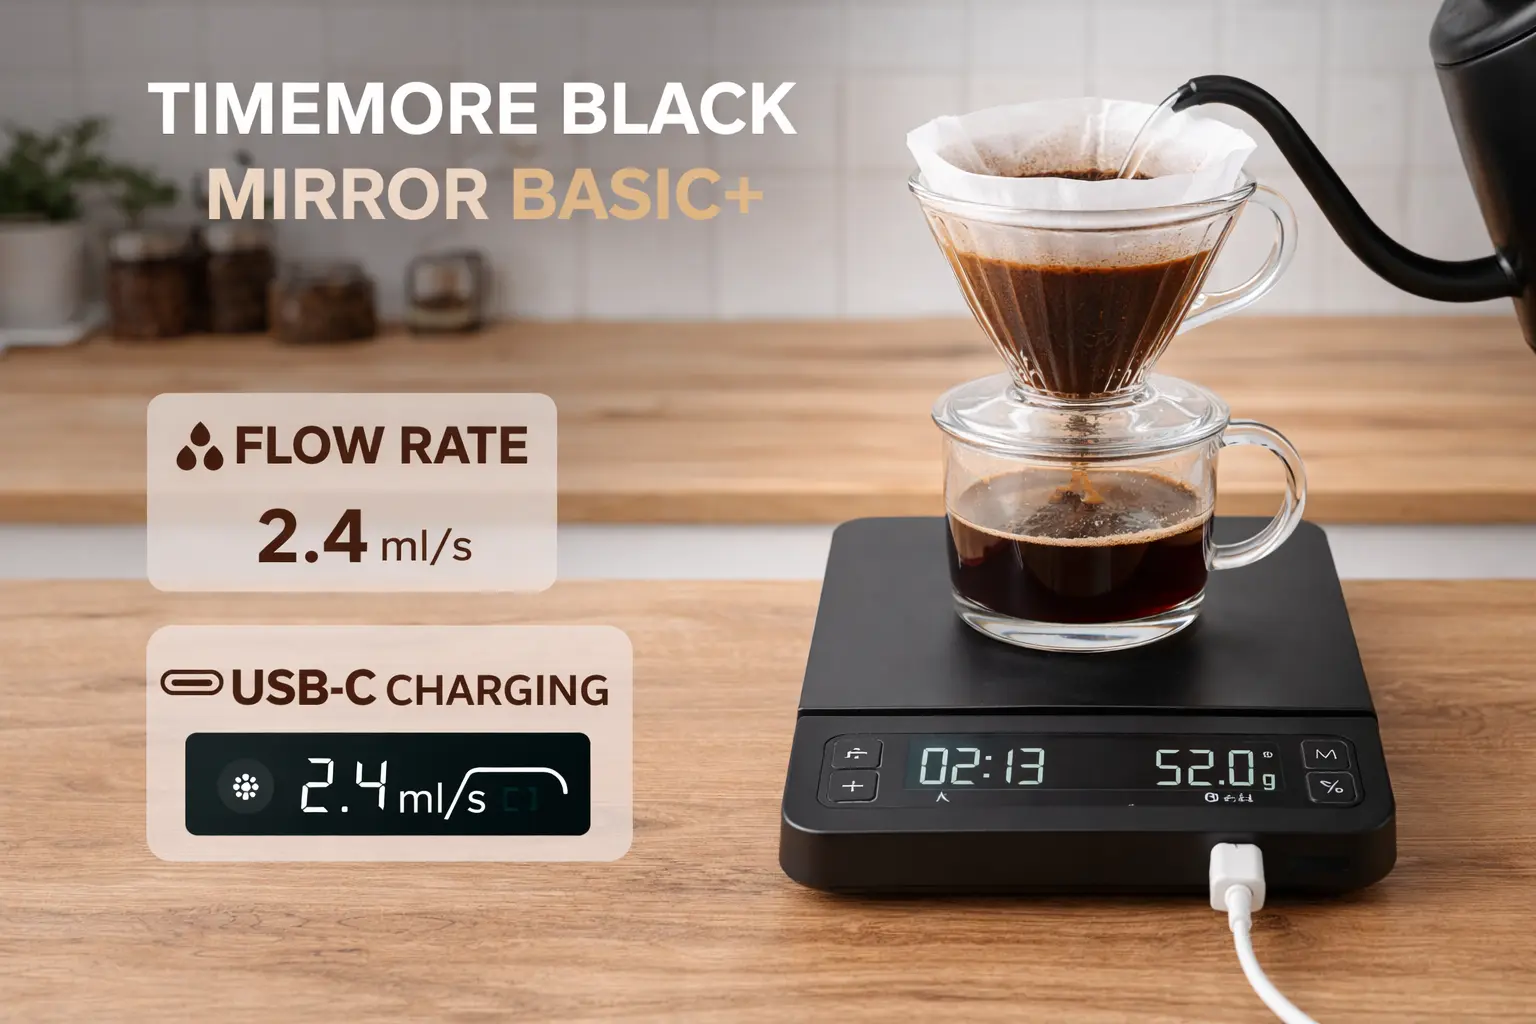 Timemore Black Mirror ScaleCompact scale example for tracking espresso dose and beverage yield.View CoffeeGearHub product page →
 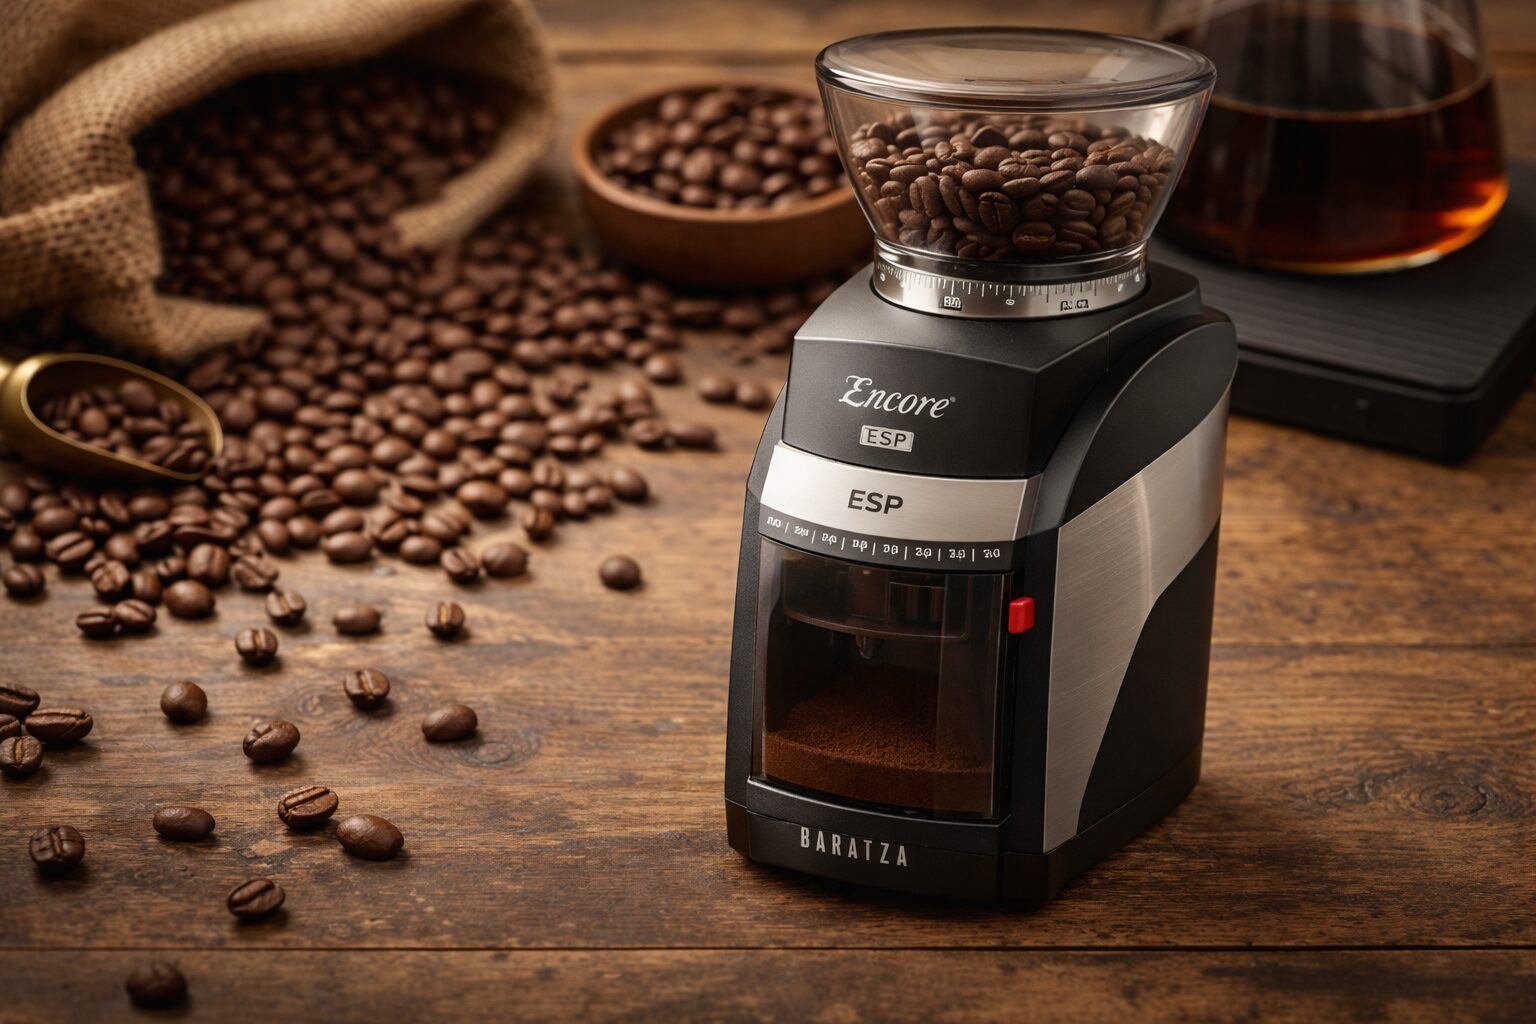 Baratza Encore ESPStepped electric grinder with a higher-resolution espresso range.Check current Amazon offer →
Affiliate disclosure: Amazon links may earn CoffeeGearHub a commission at no additional cost to you. Prices and availability can change.
The Variable Hierarchy: What to Adjust First
There is no rule that grind must always be the first variable. The useful sequence depends on what is already controlled.
| If you observe… | Check first | Likely first adjustment |
|---|---|---|
| Target yield arrives much too fast | Dose, puck damage, grinder setting | Grind finer if dose/prep are stable |
| Target yield arrives much too slowly | Overdosing, blockage, grind | Grind coarser if basket/cleanliness are okay |
| Flow is repeatable but shot is too intense | Yield | Extend beverage yield slightly |
| Flow is repeatable but shot is too dilute | Yield | Shorten beverage yield slightly |
| Shot tastes sharp despite controlled flow | Yield, temperature, coffee | Try a longer yield or higher temperature one change at a time |
| Shot tastes harsh/drying despite controlled flow | Yield, temperature, roast, cleanliness | Try a shorter yield or lower temperature one change at a time |
| Identical settings produce different flow every shot | Dose, distribution, tamp, retention, warm-up | Fix consistency before changing recipe |
The 7-Step Dial-In System
1. Establish the machine routine
Warm the machine according to its design and manufacturer guidance. Use the same portafilter, basket, cup, and basic workflow each time.
2. Fix dose and target yield
Choose a basket-appropriate dose and a repeatable target yield. A 1:2 ratio is a useful neutral reference for many coffees, but it is only a starting point.
3. Pull a diagnostic shot
Weigh the dry dose, prepare the puck consistently, brew onto the scale, stop at the target yield, record time, and taste. Do not change anything until you have recorded the result.
4. Correct obvious flow problems with grind
If the target yield arrives much faster than your own baseline and the shot tastes thin or sharp, try finer. If it arrives much slower and the shot tastes harsh or drying, try coarser.
5. Taste and refine the endpoint
Once flow is controllable, adjust yield by a few grams to change concentration and extraction endpoint. Longer yield generally lowers concentration and may increase extraction; shorter yield generally increases concentration.
6. Use temperature as a secondary taste tool
If the machine allows temperature adjustment, change it only after grind, dose, yield, and puck preparation are reasonably stable. Lighter coffees may tolerate more heat; darker coffees may prefer less, but treat roast level as a tendency rather than a fixed temperature chart.
7. Log the recipe
Record the successful grinder setting, dose, yield, time, temperature setting, coffee, and taste. That recipe becomes the starting point for the next session—not a permanent rule.
Reading Your Shots: Time, Flow, and Taste
Shot time is useful because it describes flow when dose and yield are fixed. Appearance can reveal obvious channeling or uneven flow, but neither time nor crema replaces tasting.
| Observation | What it may suggest | What to test |
|---|---|---|
| Yield arrives much faster than usual | Grind too coarse, low dose, puck damage | Verify prep, then grind finer |
| Yield arrives much slower than usual | Grind too fine, overdosing, blockage | Verify basket/cleanliness, then grind coarser |
| Fast-looking channel or spurting | Uneven puck density | Improve distribution and tamp level |
| Sour/thin but time looks “normal” | Yield, temperature, coffee, channeling | Use taste, not the clock alone |
| Harsh/drying but time looks “normal” | Yield, temperature, roast, cleanliness | Shorten yield or lower temperature one change at a time |
Grind Adjustment: The Primary Flow Control
When dose, target yield, and puck preparation are stable, grind is usually the cleanest way to change flow. Adjust in small increments and pull another shot with the same recipe.
Do not translate one grinder’s numbers to another. A setting of “10” or “20” has meaning only on that grinder. Use manufacturer espresso guidance and your own logged recipe.
Grinder retention and purging
If a grinder retains coffee, a setting change may not fully show up in the next dose. Learn the grinder’s normal purge/retention behavior so old grounds do not hide the effect of the adjustment.
When the grinder has no more room
If you reach the usable end of the adjustment range and still cannot control flow, first verify dose, basket fit, burr calibration, and puck preparation. If those are correct, the grinder may not offer enough espresso-range control for that basket.
Temperature Adjustment: Use It After the Basics Are Stable
Temperature changes extraction and flavor, but it is a poor first variable when grind, dose, or yield are still moving around. Start with the machine default or a roaster recommendation, then make small changes only after the rest of the recipe is repeatable.
Roast level can guide the experiment: lighter roasts often tolerate higher temperatures and darker roasts often tolerate lower ones. That is a tendency, not a fixed rule.
Dose and Yield: Strength, Concentration, and Extraction Endpoint
Dose affects puck depth, headspace, and the amount of coffee available for extraction. Keep it stable while you learn the grinder. Change dose when the basket fit or desired beverage strength gives you a reason—not as a random dial-in fix.
Yield is the easier taste lever once flow is stable. A longer yield generally lowers concentration and can increase extraction; a shorter yield generally raises concentration. Adjust by small amounts and compare the cup.
Puck Preparation: Distribution, Tamping, and Basket Fit
Good puck preparation reduces noise in the dial-in process. If shots vary at identical settings, investigate prep before changing the grinder again.
- Distribution: break up obvious clumps and create an even coffee bed.
- Tamping: tamp level until the puck is fully compressed; do not chase a specific force number.
- Basket fit: use a dose that leaves appropriate headspace for the exact basket and machine.
- Pre-infusion: if the machine provides it, use the normal manufacturer workflow before treating it as an advanced variable.
Dial-In Tendencies by Roast Level
| Roast tendency | Possible starting experiment | Watch for |
|---|---|---|
| Darker | Standard-to-shorter yield, moderate temperature | Harsh roast bitterness, dryness |
| Medium | Conventional ratio and default temperature | Balance of sweetness, acidity, body |
| Lighter | Standard-to-longer yield, potentially higher temperature | Sharp acidity, under-developed sweetness |
These are starting experiments only. Coffee process, grinder, basket, water, and machine can matter as much as the roast label.
Dialing In a New Bag of Beans
Start from the last successful recipe if the coffee is familiar, then pull one measured shot before changing anything. A new roast batch may need only a small grind correction; a completely different coffee may prefer a different yield or temperature as well.
Do not assume a fixed number of shots to re-dial. The point is to make each test deliberate.
The Dial-In Log: What to Record
| Record | Why it helps |
|---|---|
| Coffee / roast date | Tracks changes across the life of the bag |
| Dose | Confirms puck amount stayed stable |
| Beverage yield | Defines brew ratio and endpoint |
| Grinder setting | Lets you return to a successful flow range |
| Shot time | Describes flow at the recorded dose/yield |
| Temperature setting | Useful when the machine allows adjustment |
| Taste notes | Connects the numbers to the actual goal |
Troubleshooting Espresso Dial-In Problems
| Problem | Check first | Useful next test |
|---|---|---|
| Shot runs very fast | Dose, grind, puck damage | Verify prep, then grind finer |
| Shot chokes / runs very slowly | Overdosing, grind, blocked basket/group | Check cleanliness and basket fill, then grind coarser |
| Sour and thin | Grind, yield, temperature, channeling | Control flow first, then consider longer yield or higher temperature |
| Harsh and drying | Grind, yield, temperature, dark-roast character, cleanliness | Try coarser grind or shorter yield; clean equipment if needed |
| Shot varies despite same setting | Dose, distribution, tamp, retention, warm-up | Standardize workflow before changing recipe |
| Balanced but too intense | Yield | Extend yield slightly |
| Balanced but too weak | Yield / dose | Shorten yield or review basket-appropriate dose |
Final Takeaway: Dial In the System, Not One Number
The best dial-in process is repeatable, measurable, and taste-led. Hold most variables stable, use grind to correct obvious flow problems, use yield and temperature to refine flavor, and record what worked.
A good espresso recipe is not defined by one shot time, one ratio, one temperature, or one grinder setting. It is the set of choices that produces a balanced cup on your equipment and can be repeated tomorrow.
FAQs: How to Dial In Espresso
What does dialing in espresso mean?
What is a good starting ratio?
Should I adjust grind first?
What shot time should I target?
Why is my espresso sour?
Why is my espresso bitter or drying?
Do I need to re-dial every new bag?
How many shots does dialing in take?
CoffeeGearHub shortlist
Measure and refine the shot
Use these CoffeeGearHub pages for the tools and related technique behind a repeatable dial-in.
Continue Learning
In this guide
- The 30-Second Answer
- What Dialing In Actually Means
- Build a Stable Baseline Before You Adjust Anything
- What You Need Before You Start Dialing In
- The Variable Hierarchy: What to Adjust First
- The 7-Step Dial-In System
- Reading Your Shots: Time, Flow, and Taste
- Grind Adjustment: The Primary Flow Control
- Temperature Adjustment: Use It After the Basics Are Stable
- Dose and Yield: Strength, Concentration, and Extraction Endpoint
- Puck Preparation: Distribution, Tamping, and Basket Fit
- Dial-In Tendencies by Roast Level
- Dialing In a New Bag of Beans
- The Dial-In Log: What to Record
- Troubleshooting Espresso Dial-In Problems
- Final Takeaway: Dial In the System, Not One Number
- FAQs: How to Dial In Espresso
- Continue Learning