
Last Updated: May 2026 • 20–25 min read • Complete Guide: Steaming Technique + Milk Types + Equipment Picks + Latte Art Prep + Troubleshooting
Affiliate disclosure: Some links on this page are affiliate links. CoffeeGearHub may earn a commission if you buy through them, at no additional cost to you.
🛒 Need the equipment first? Jump straight to our top picks.
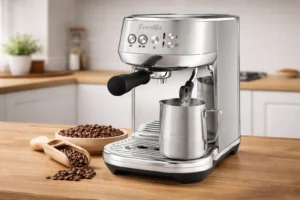
Breville Bambino Plus
Best machine for beginners
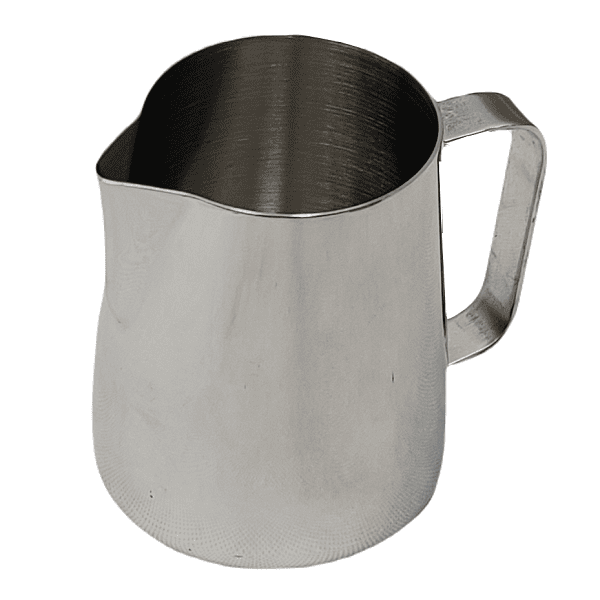
Rattleware 12oz Pitcher
Best milk pitcher
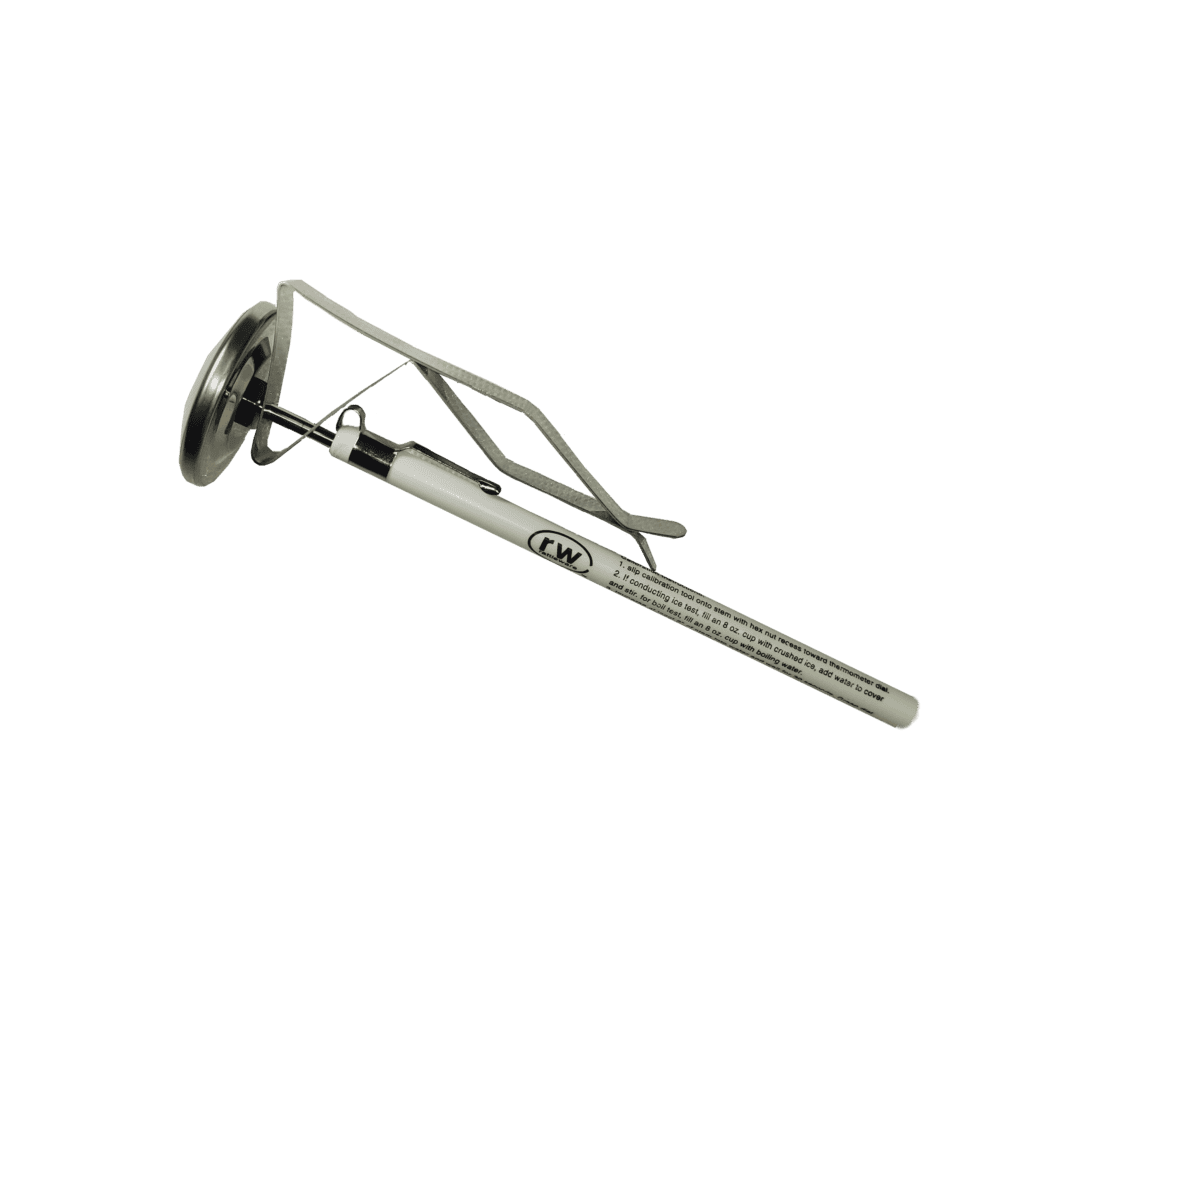
Milk Thermometer
Essential for accuracy
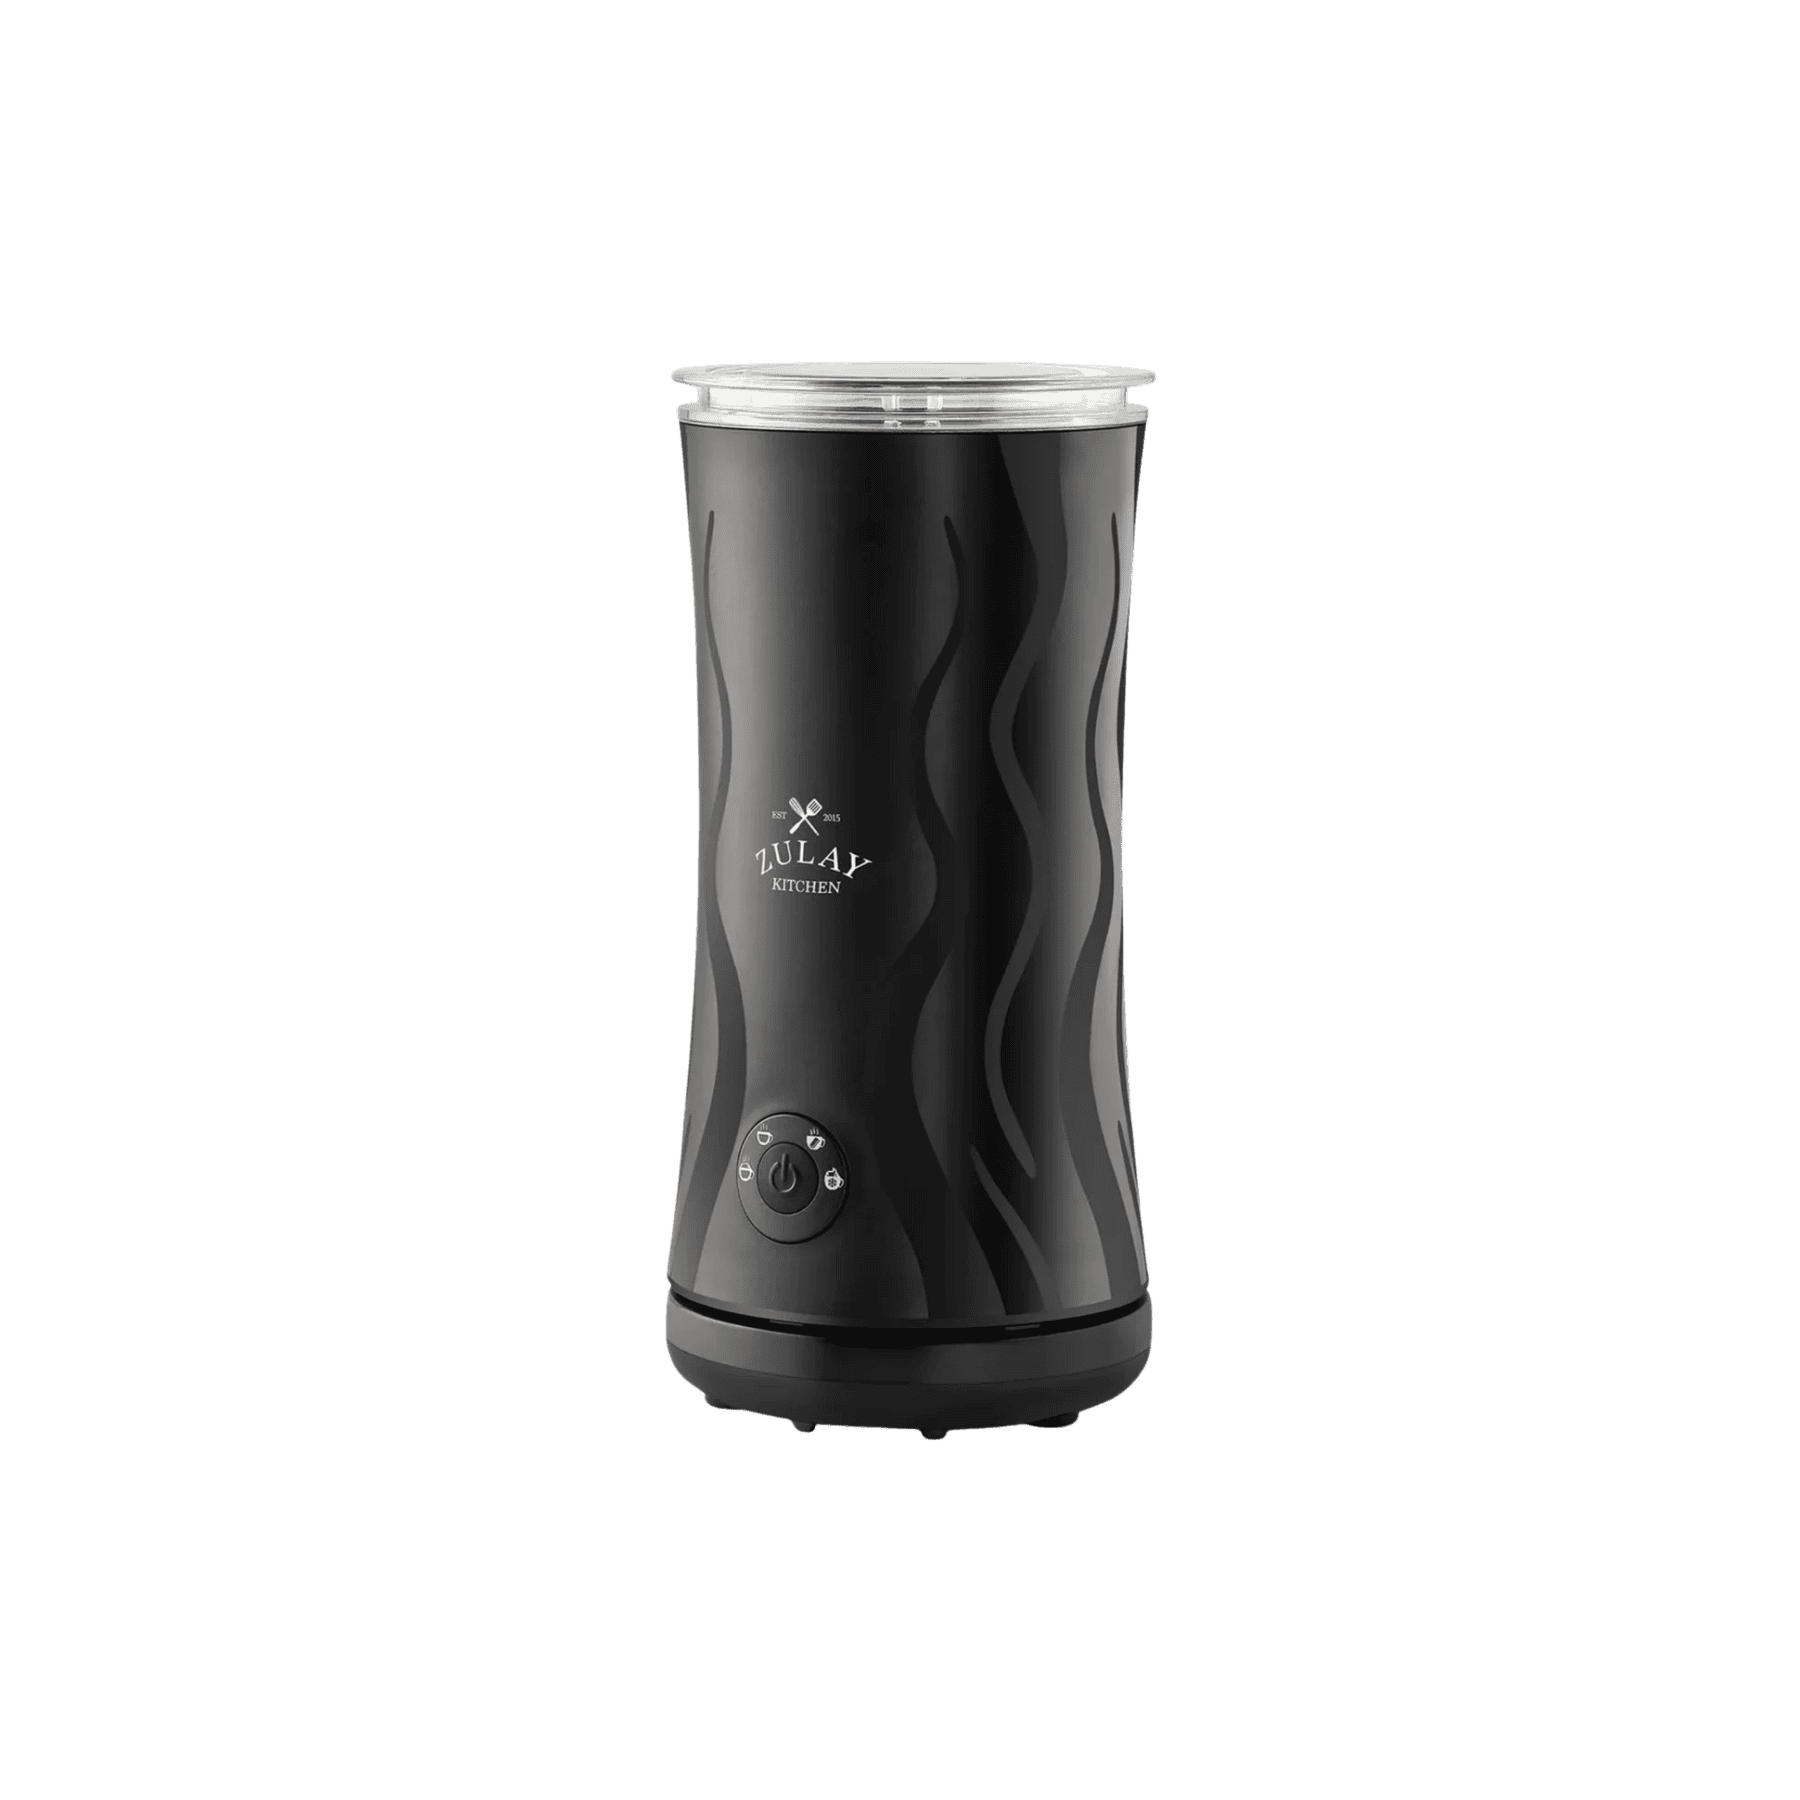
Zulay Milk Frother
No steam wand needed
As an Amazon Associate, CoffeeGearHub earns from qualifying purchases.
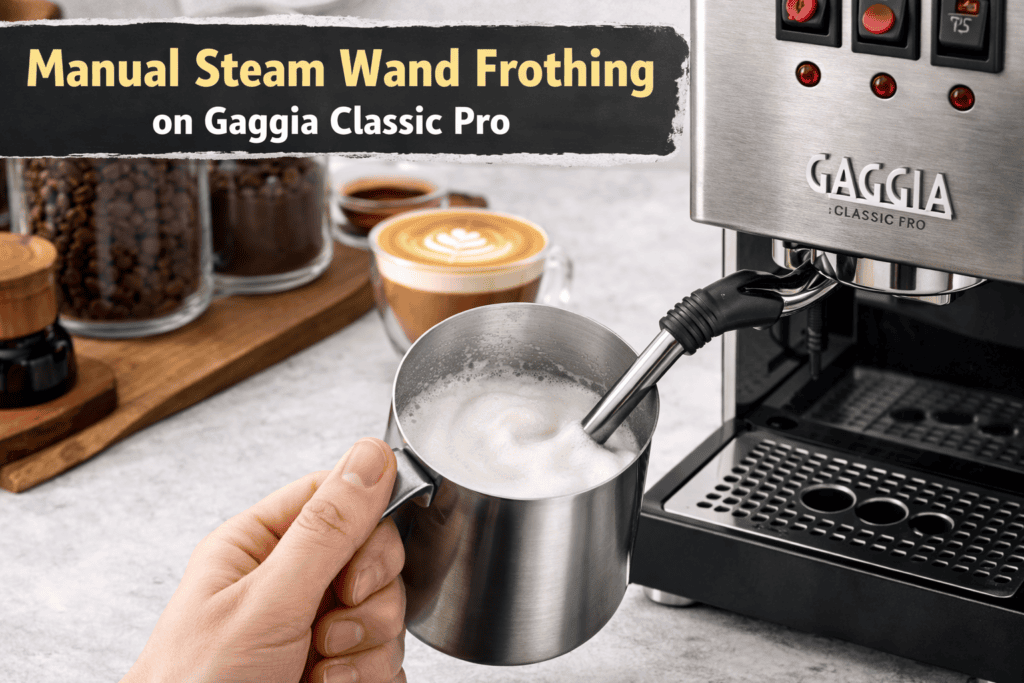
Learn how to steam milk for lattes. Steaming milk well is the single skill that separates a mediocre home espresso setup from one that actually tastes like a café. The espresso itself is only half the drink. A latte, cappuccino, flat white, or cortado is only as good as the steamed milk that goes into it, and the difference between scorched bubbles and silky microfoam is almost entirely technique, not equipment price.
This guide covers everything you need: how steaming milk actually works, the exact technique step by step for both lattes and cappuccinos, what temperature to target, the best milk types, how to steam without a steam wand, the equipment worth buying, and a full troubleshooting matrix for the most common problems.
✍️ Editorial note: This guide is researched and written by the editors at CoffeeGearHub.com using manufacturer specifications, published specialty-coffee guidance, and documented brewing principles. Product links are affiliate links — we may earn a commission at no cost to you. Affiliate Disclosure: CoffeeGearHub.com participates in the Amazon Services LLC Associates Program. As an Amazon Associate, we earn from qualifying purchases.
🛒 New to Amazon? Try Prime free for fast, free shipping on every pick in this guide — or try Audible free if you’d rather listen while your coffee brews.
The 30-Second Answer
To steam milk for a latte, submerge the steam wand just below the milk surface, introduce air for 3–5 seconds with a soft hissing sound, then fully submerge the wand and heat to 140–155°F while maintaining a rolling vortex. For a cappuccino, introduce air for 8–12 seconds to build more volume, then heat to the same temperature range. Tap the pitcher and swirl before pouring. The biggest mistakes are overheating the milk, introducing too much or too little air, and not rolling the milk into a proper vortex.
- Latte target: silky microfoam, pourable, 140–155°F, 3–5 sec air introduction
- Cappuccino target: dry, thick foam, spoonable, 140–155°F, 8–12 sec air introduction
- Best milk: cold whole milk; oat milk for dairy-free
- Best beginner machine: Breville Bambino Plus
- No steam wand? Use an automatic frother like the Zulay
Jump to What You Need
🥛 New to steaming milk
Start at How Steaming Milk Works.
📋 Want the technique now
Jump to Step-by-Step Guide.
☕ Latte vs cappuccino difference
See Latte vs Cappuccino Foam.
⚠️ Foam coming out wrong
Jump to Troubleshooting Matrix.
Table of Contents
How Steaming Milk Actually Works
A steam wand forces pressurized steam into cold milk. Two things happen simultaneously: the milk heats up as the steam condenses, and air is incorporated at the surface to create foam. The quality of the final texture depends almost entirely on how you manage those two phases — the aeration phase and the heating phase — and when you transition between them.
Milk proteins, primarily beta-lactoglobulin and casein, are what make foam possible. When agitated with steam, they stretch around air bubbles and hold them in place. Fat content from whole milk lubricates those protein structures, which is why whole milk produces smoother, more stable foam than skim milk. Heat denatures those proteins over about 160°F, which is why overheated milk cannot be re-steamed well and produces flat, chalky foam.
🔬 Why cold milk matters: starting with cold milk from the fridge (around 38°F / 3°C) gives you more time in the aeration window before the milk crosses the protein-denaturing threshold. Warm or room-temperature milk gives you almost no margin. Always use milk straight from the fridge.
Latte vs Cappuccino Foam: What Is the Difference?
The foam style is the defining difference between these two drinks, and it comes down to how long you spend in the aeration phase during steaming.
| Drink | Foam style | Texture | Air introduction time | Foam depth in cup |
|---|---|---|---|---|
| Latte | Microfoam | Silky, pourable, glossy | 3–5 seconds | About 0.5–1cm |
| Flat white | Microfoam | Very silky, minimal foam | 2–3 seconds | Thin layer only |
| Cappuccino | Dry foam | Thick, spoonable, airy | 8–12 seconds | 2–3cm or more |
| Cortado | Light microfoam | Silky, low foam | 2–3 seconds | Very thin |
Microfoam means the air bubbles are so small they are invisible to the naked eye. The milk looks glossy and paint-like, moves fluidly when you swirl the pitcher, and integrates with the espresso in the cup rather than sitting on top of it. That texture is what makes latte art possible.
Cappuccino foam is deliberately drier and thicker. More air is introduced early, creating a foam layer that holds its shape when spooned and does not collapse into the drink. A well-made cappuccino has a distinct foam cap that holds for several minutes.
What You Need Before You Start
You do not need expensive equipment to steam milk well. You do need the right basic tools.
- An espresso machine with a steam wand — this can be an entry-level machine; wand quality matters more than overall machine price for milk steaming purposes
- A stainless steel milk pitcher — 12oz for single drinks, 20oz if you regularly make two drinks at once; the pointed spout design is better for latte art
- A thermometer — essential when learning; clip-on or instant-read both work; you can eventually learn to judge temperature by feel on the pitcher but a thermometer removes guesswork at the start
- Cold whole milk — straight from the fridge; oat milk if dairy-free
- A clean damp cloth — for wiping the steam wand immediately after each use
🛒 Before you steam: the most common reason home results fall short is a pitcher that is too large for the drink size. A 12oz stainless pitcher gives you the right ratio for single-drink steaming and better vortex control than a larger vessel.
As an Amazon Associate, CoffeeGearHub earns from qualifying purchases.
Step-by-Step: How to Steam Milk for Lattes and Cappuccinos
Follow these steps in order. The most important transition is between Step 3 and Step 4 — moving from aeration to heating — and most beginners either rush it or do not know it is happening at all.
Step 1: Purge the Steam Wand
Before submerging the wand in milk, open the steam valve for about one second over a drip tray or a cloth. This clears condensed water that collects inside the wand between uses. If you skip this step, that water goes directly into your milk and dilutes the texture. Always purge before every steam.
Step 2: Fill the Pitcher and Position the Wand
Fill your pitcher to just below the spout line — approximately the point where the pitcher starts to narrow. For a single latte, that is usually around 150–180ml of cold milk for a 12oz pitcher. Do not overfill: the milk roughly doubles in apparent volume as you steam it, and you need headroom for the vortex.
Submerge the steam wand tip just below the milk surface — about 5–10mm — and tilt the pitcher at a slight angle so the wand is off-center. This angle is what creates the spinning vortex in Step 4.
Step 3: Introduce Air (The Stretching Phase)
Open the steam valve fully. You are listening for a soft, paper-tearing hiss — not a loud screech or a deep bubbling. That hiss means air is being drawn into the milk at the correct rate. If you hear loud gurgling, the wand is too deep. If you hear a high-pitched screech, the wand tip is too close to the surface.
- For a latte or flat white: introduce air for 3–5 seconds, then move to Step 4
- For a cappuccino: introduce air for 8–12 seconds before moving to Step 4
⚠️ The most common beginner mistake: introducing all the air at the beginning in one long session instead of keeping it brief and controlled. If you hear loud popping or see large bubbles forming immediately, the wand is either too shallow or angled incorrectly. Lower the pitcher very slightly and keep the valve fully open.
Step 4: Heat the Milk (The Rolling Phase)
After the aeration window, raise the pitcher slightly so the wand tip is fully submerged — about 2–3cm below the surface. The milk should now be spinning in a visible, consistent vortex. This is the rolling phase, and it does two things: it heats the milk evenly, and it breaks down any large bubbles produced in Step 3 into the fine microfoam texture.
Keep the wand position steady and maintain the vortex until you reach your target temperature.
Step 5: Stop at the Right Temperature
Stop steaming when the pitcher reaches 140–155°F (60–68°C). If you are using a thermometer, stop a few degrees before the target — residual heat will carry the milk a few more degrees after you close the valve. If you are going by hand feel, the pitcher should feel hot but not scalding — you should be able to hold it for about one second before it becomes uncomfortable.
Do not steam above 160°F. Beyond that threshold, milk proteins begin to denature noticeably, the milk tastes cooked or flat, and you lose the natural sweetness that comes from the lactose converting correctly in the 140–155°F range.
Step 6: Tap, Swirl, and Pour
Immediately after stopping, wipe the steam wand with a damp cloth and purge it again briefly to clear any milk residue. Then tap the pitcher firmly on the counter two or three times to collapse any remaining large surface bubbles, and swirl the pitcher in a circular motion for ten to fifteen seconds. The milk should look glossy and almost paint-like — moving in a smooth wave when you tilt the pitcher.
Pour into your espresso within twenty to thirty seconds. The foam texture degrades quickly as the protein structures begin to collapse, so do not let steamed milk sit.
Milk Temperature Guide
| Temperature range | Result | Notes |
|---|---|---|
| Below 130°F (54°C) | Under-heated | Foam does not hold; milk tastes raw |
| 130–140°F (54–60°C) | Acceptable, slightly cool | Suitable for those who prefer a cooler drink |
| 140–155°F (60–68°C) | Ideal range | Peak sweetness, stable foam, best texture |
| 155–160°F (68–71°C) | Slightly hot | Foam begins to degrade; use thermometer carefully here |
| Above 160°F (71°C) | Scalded | Flat flavor, large unstable bubbles, cannot be re-steamed |
🔬 Why steamed milk tastes sweeter than cold milk: heat converts some of the lactose in milk into simpler sugars through a mild Maillard-adjacent process. This is why well-steamed milk at 140–155°F has a natural sweetness that cold or scalded milk does not. Many people who say espresso drinks taste bitter have actually been served over-steamed milk that lost this sweetness.
Best Milk Types for Steaming
| Milk type | Foam quality | Flavor | Notes |
|---|---|---|---|
| Whole milk | Excellent | Rich, naturally sweet | Best overall; easiest to create microfoam |
| 2% milk | Good | Slightly lighter | Works well; slightly less body than whole |
| Skim milk | Stiff but fragile | Thin, chalky | Produces lots of foam but texture is less pleasant |
| Oat milk (barista blend) | Very good | Mild, slightly sweet | Best non-dairy option; use barista-formulated versions |
| Almond milk | Poor | Nutty, thin | Foam collapses quickly; not ideal for lattes |
| Soy milk (barista blend) | Good | Mild, slightly beany | Works well but can curdle with very hot espresso |
| Coconut milk | Fair | Sweet, distinct | Strong flavor; foam not very stable |
The key word for non-dairy milks is barista blend. Standard oat or soy milk from the grocery shelf contains stabilizers optimized for drinking cold, not for steaming. Barista-formulated versions have adjusted protein and fat ratios that produce far better foam and are much less likely to split when they hit hot espresso. If you are using non-dairy milk and getting poor results, switching to the barista version of the same brand is often the only change needed.
How to Steam Milk Without a Steam Wand
If you do not have an espresso machine with a steam wand, you can still get usable frothed milk for lattes and cappuccinos at home. The texture will not be true microfoam, but it can be close enough for a satisfying drink.
Option 1: Automatic Milk Frother
An automatic frother heats and froths milk in a single vessel. Most models have a hot latte setting that produces finer foam than handheld wand frothers. The Zulay milk frother is a reliable entry-level option. Results are noticeably different from steam wand microfoam — foam is coarser and slightly more airy — but for home drinks it performs well.
☕ No steam wand? The Zulay automatic frother heats and froths milk in under two minutes without any machine. It is the easiest upgrade for anyone making lattes at home with a capsule machine or Moka pot.
As an Amazon Associate, CoffeeGearHub earns from qualifying purchases.
Option 2: French Press Method
Heat milk in a saucepan or microwave to about 150°F. Pour it into a French press, filling it no more than one-third full. Pump the plunger rapidly for thirty to forty-five seconds. The milk will increase in volume and develop a foam layer. Tap the French press and swirl before pouring. This produces coarser foam than a steam wand but it works and requires no additional equipment beyond what most coffee drinkers already have.
Option 3: Handheld Wand Frother
Heat the milk separately, then use a battery-powered handheld frother for thirty seconds. This produces mostly surface foam rather than integrated microfoam, but it is inexpensive and easy. Better for cappuccino-style drinks than lattes where you want integrated texture.
Gear Picks: Best Equipment for Steaming Milk at Home (2026)
The products below are built as editable Gutenberg cards so you can swap images, adjust copy, change button text, and update affiliate links directly inside WordPress without breaking the layout.
Disclosure: CoffeeGearHub may earn a commission on qualifying purchases through affiliate links on this page, at no cost to you. Our recommendations are editorially independent. CoffeeGearHub.com participates in the Amazon Services LLC Associates Program. As an Amazon Associate, we earn from qualifying purchases.
🛒 New to Amazon? Try Prime free for fast, free shipping on every pick in this guide — or try Audible free if you’d rather listen while your coffee brews.
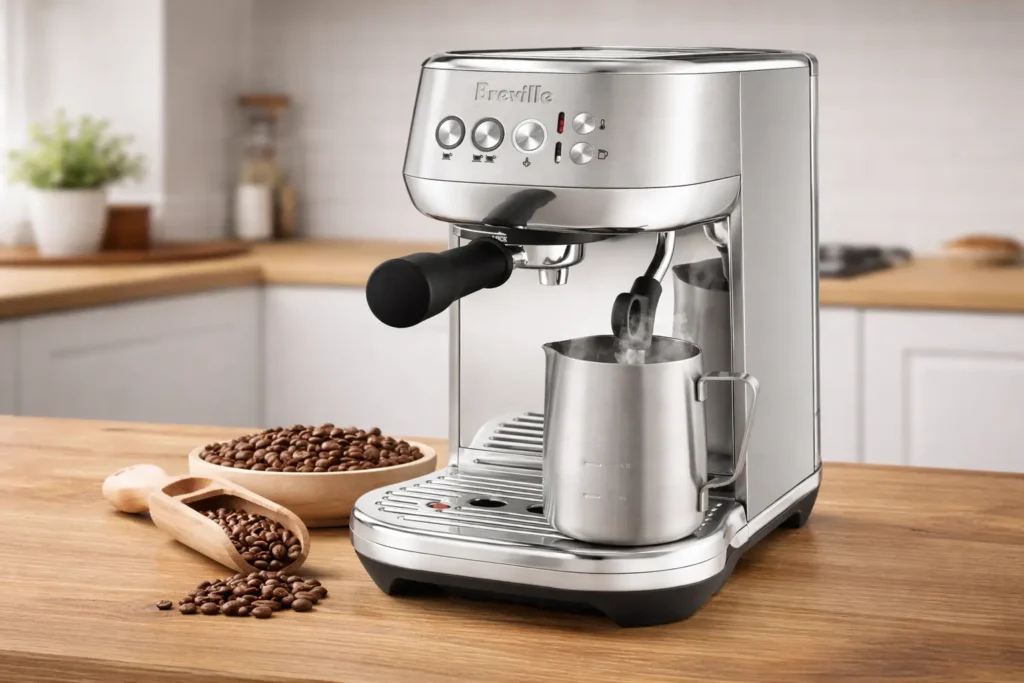
Best Beginner Espresso Machine: Breville Bambino Plus
The Bambino Plus is the best entry-level machine for readers who want genuine steam wand performance without paying for a prosumer boiler. Its thermojet heating system reaches steaming temperature in three seconds, and the automatic steam wand setting makes it easier to learn the technique compared with fully manual wands.
- Best for: beginners who want real microfoam without a learning cliff
- Why it stands out: automatic steam wand mode helps you dial in technique
- Main strength: fast heat-up time and compact footprint
Disclosure: CoffeeGearHub may earn from qualifying purchases.
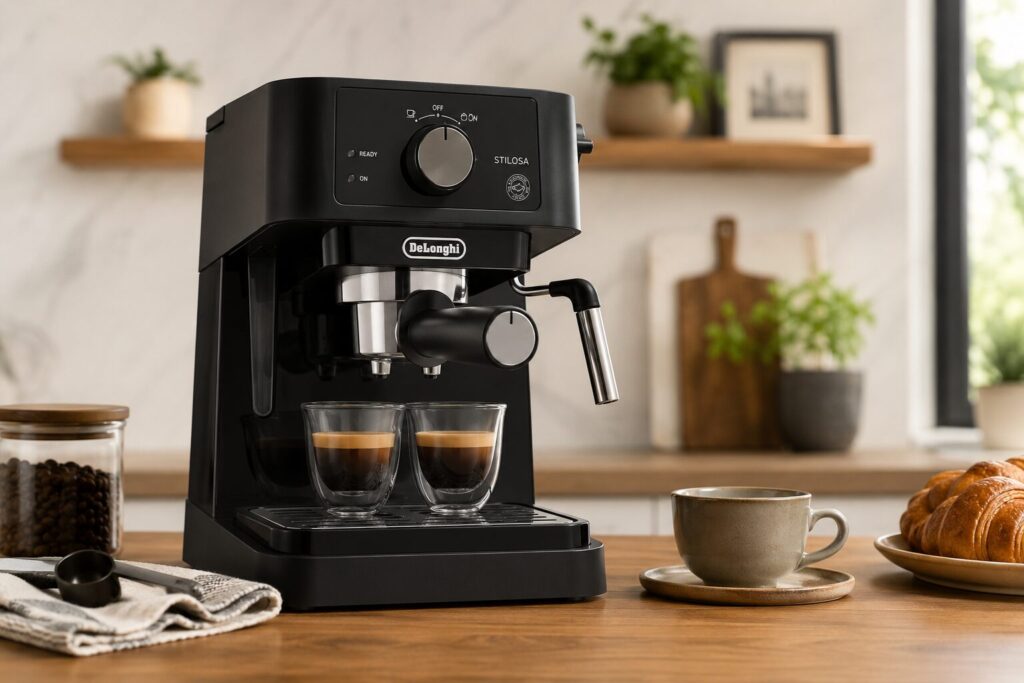
Best Budget Espresso Machine: De’Longhi Stilosa
The De’Longhi Stilosa is the best recommendation for readers who want a manual steam wand at the lowest possible entry price. It is not as forgiving as the Bambino Plus, but it is a genuine steam wand machine at a price point that removes most of the financial barrier to getting started with milk steaming.
- Best for: budget-conscious beginners who want to learn the technique manually
- Why it stands out: real steam wand at a much lower price than most competitors
- Main strength: value and simplicity
Disclosure: CoffeeGearHub may earn from qualifying purchases.
Best Milk Pitcher: Rattleware 12oz Latte Art Pitcher
A good pitcher has more impact on milk texture than most people expect. The Rattleware 12oz is the most-recommended entry-level option for a reason: the pointed spout gives better pour control for latte art, and the size is ideal for single-drink steaming without wasting milk.
- Best for: anyone starting with milk steaming who wants the right tool
- Why it stands out: pointed spout and ideal size for single-drink steaming
- Main strength: value, feel, and pour precision
Disclosure: CoffeeGearHub may earn from qualifying purchases.
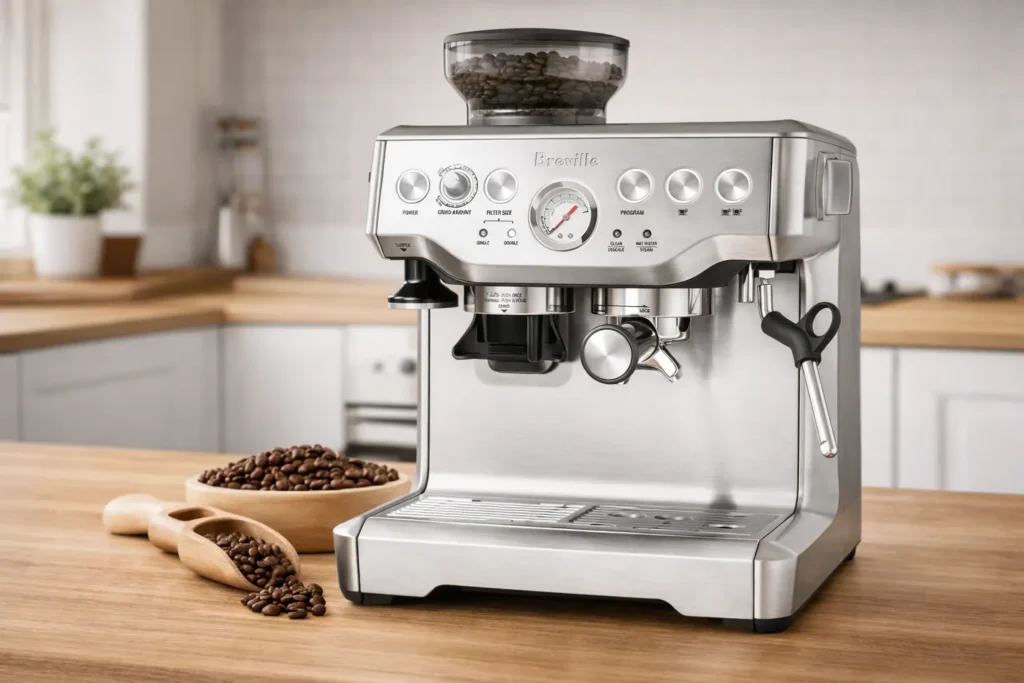
Best All-in-One Machine: Breville Barista Express
The Barista Express is the recommendation for readers who want an espresso machine with a built-in grinder and a genuinely capable steam wand. It is a bigger investment than the Bambino Plus, but it removes the need to buy a separate grinder and gives you manual steam wand control for when your technique improves.
- Best for: readers ready to invest in a complete home espresso setup
- Why it stands out: built-in burr grinder plus a capable steam wand
- Main strength: one machine does everything
Disclosure: CoffeeGearHub may earn from qualifying purchases.
Best Thermometer for Steaming: Clip-On Milk Thermometer
A thermometer is the single highest-value accessory when you are learning to steam milk. Most beginners under- or over-steam by a wide margin without one. A clip-on thermometer hangs on the pitcher rim so you can watch the temperature rise in real time without losing control of the wand.
- Best for: beginners who want to stop guessing on temperature
- Why it stands out: removes the most common single variable in failed steaming
- Main strength: accuracy and low cost
Disclosure: CoffeeGearHub may earn from qualifying purchases.
Best No-Steam-Wand Option: Zulay Automatic Milk Frother
For readers using a Nespresso, Moka pot, or AeroPress who want frothed milk without buying an espresso machine, the Zulay automatic frother is the most practical recommendation. It heats and froths milk automatically, producing a texture that works well for home lattes and cappuccinos.
- Best for: readers without an espresso machine steam wand
- Why it stands out: heats and froths in one vessel, no separate heating needed
- Main strength: simplicity and ease of use
Disclosure: CoffeeGearHub may earn from qualifying purchases.
⚡ Compare Prices Before You Buy
If you are choosing between espresso machines, it may be worth checking eBay for discounted kits, lightly used machines, or bundled accessories before you commit.
Suggested eBay search term:breville espresso machine
Preparing Steamed Milk for Latte Art
You do not need latte art skill to make excellent drinks, but if you want to try it, the milk texture has to be right first. Latte art is not a drawing exercise — it is a pouring exercise where the texture of the milk determines whether the patterns form at all. Even a simple heart or rosetted pour requires milk that is genuinely glossy and integrated, not bubbly or separated.
What Latte Art-Ready Milk Looks Like
- Glossy surface, almost like melted ice cream
- No visible bubbles at the surface after swirling
- Moves in a smooth, fluid wave when you tilt the pitcher
- Looks homogeneous — foam and liquid are fully integrated, not separated
The Basic Latte Art Pour
Start the pour from a height of about 10cm to let the milk sink below the espresso crema. When the cup is about halfway full, lower the pitcher spout close to the surface and begin a gentle side-to-side wrist motion while continuing to pour. The white microfoam will start to appear on the surface. At the end, drag the pitcher tip straight through the center of the pattern to complete a basic heart shape.
Good latte art requires consistent microfoam much more than artistic talent. If your pours are not forming patterns, improve the milk texture first before working on the pour technique itself.
💸 Save on Espresso Equipment: Check eBay Deals
Looking for a lower-cost way to get into home espresso? eBay can be useful for open-box, used, and refurbished machines with steam wands.
Suggested eBay search term:espresso machine steam wand
Troubleshooting Matrix: Common Milk Steaming Problems
If your steamed milk is not coming out right, use this matrix before changing multiple things at once. Change one variable per attempt and re-test.
| Problem | Likely cause | Best fix |
|---|---|---|
| Large bubbles on surface | Too much air introduced too fast, or wand too shallow | Lower pitch of the hissing sound; submerge wand slightly deeper during aeration |
| No foam forming at all | Wand fully submerged from the start; no air introduced | Lower the pitcher to let the wand tip sit just below the surface during Step 3 |
| Milk tastes scorched or flat | Milk overheated past 160°F | Use a thermometer; stop steaming by 155°F maximum |
| Milk tastes thin or watery | Too much air for the drink type; or wand condensation not purged | Reduce aeration time; purge wand before submerging |
| Foam separates quickly from liquid | Insufficient rolling in Step 4; or milk not swirled after steaming | Maintain strong vortex throughout heating; swirl pitcher vigorously before pouring |
| Milk boils and spits | Pitcher overfilled; or wand too deep | Fill to just below the spout line; do not submerge wand more than 3cm deep |
| Cappuccino foam collapses fast | Insufficient air introduced; or wrong milk type | Extend aeration phase; switch to whole milk or barista-blend oat milk |
| Latte art will not form | Foam not integrated into milk; still has surface layer | Swirl longer and more vigorously; ensure rolling vortex was strong throughout heating |
| Non-dairy milk splits in drink | Standard (non-barista) non-dairy milk used | Switch to barista-formulated version of the same non-dairy milk brand |
| Milk texture inconsistent between attempts | Variable fill level or inconsistent aeration time | Measure milk volume each time; count aeration seconds consistently |
Final Advice: How to Get Better Faster
Milk steaming is a physical skill that improves with repetition, not with reading more guides. The fastest path to consistent results is to steam milk deliberately — the same fill level, the same aeration time, the same wand position — and to change only one thing at a time when something goes wrong. Most problems trace back to either the aeration phase (too much or too little, too fast or too slow) or temperature (overheating is the single most common mistake across beginners at all levels).
Use a thermometer for the first two to three weeks until you can reliably identify the target temperature by the feel of the pitcher. Once that becomes instinct, you can steam without one. Until then, it removes the most consequential variable and lets you focus on foam texture instead of temperature management simultaneously.
The equipment matters at the margins, not at the foundation. A cheap machine with a functional steam wand and the right technique produces better milk than an expensive machine used carelessly. Start with the technique, and upgrade the equipment when the technique is already working.
FAQs: How to Steam Milk for Lattes and Cappuccinos
What temperature should steamed milk be for a latte?
Steamed milk for a latte should reach 140–155°F (60–68°C). Above 160°F the milk scorches and tastes flat or slightly sweet in a cooked way. A clip-on thermometer removes the guesswork when you are learning.
What is the difference between microfoam and cappuccino foam?
Microfoam is silky, glossy, and pourable — used for lattes and flat whites. Cappuccino foam is drier and thicker, with more air incorporated, so it sits on top of the drink rather than blending in. The difference is controlled entirely by how long you spend in the aeration phase.
Can I steam milk without an espresso machine?
Yes. An automatic milk frother heats and froths milk without a steam wand. The texture is less refined than true microfoam but very usable for home lattes and cappuccinos. A French press can also produce usable foam when used with pre-heated milk.
What milk is best for steaming?
Whole milk produces the richest microfoam due to its fat and protein content. Oat milk in a barista-formulated blend is the best non-dairy alternative for steaming because it creates smooth, stable foam. Standard (non-barista) non-dairy milks often produce poor results and can split in the cup.
Why does my steamed milk have large bubbles?
Large bubbles usually mean too much air was introduced too quickly, or the wand tip was positioned too close to the surface. Lower the pitcher slightly during aeration so the wand is just barely submerged, and listen for a soft hissing sound rather than a loud gurgle.
Can you re-steam milk?
No. Once milk has been steamed past 160°F, the proteins denature and the milk cannot be re-frothed successfully. Always start with fresh cold milk. If you accidentally over-steam, discard the milk and start over.
How do I stop the steam wand from spitting?
Spitting is usually caused by an overfilled pitcher or a wand positioned too deep. Fill the pitcher to just below the spout line and keep the wand submerged no more than about 2–3cm during the rolling phase.
How long should it take to steam milk for a latte?
A single latte’s worth of milk (about 150–180ml) typically takes 20–35 seconds from the moment the steam valve opens to the moment you reach target temperature. This varies by machine boiler pressure. If it takes much longer than 45 seconds, your machine may need descaling.
What is the best milk pitcher size for a latte?
A 12oz (350ml) stainless pitcher is the right size for a single latte. It gives you enough volume to build a vortex without the milk cooling too quickly. A 20oz pitcher is better if you regularly steam for two drinks simultaneously.
Why does café steamed milk taste sweeter than mine at home?
Cafés typically steam to 140–150°F precisely, which is the sweet spot where lactose converts to sweeter compounds without any scorching. Most home beginners overheat milk to 160°F or above, which eliminates that natural sweetness. Use a thermometer and stop steaming by 155°F.
Continue Learning
💡 New to Amazon? Try Prime free for fast shipping on picks like these.
Ready to get started? The fastest path to better steamed milk is a good machine, a 12oz pitcher, and a thermometer. Start there, build the technique, and the results will follow.
☕
Written by the CoffeeGearHub Editorial Team
CoffeeGearHub is an editorial coffee resource. This guide is based on manufacturer documentation, established barista technique, published coffee education, and specialty-coffee principles. We review and update our pillar content regularly. About CoffeeGearHub →
Sources & methodology
This guide is research-based. CoffeeGearHub does not claim in-house product testing unless explicitly documented. Key references used for specifications, safety guidance, and coffee science include: