
How to Make a Cappuccino at Home: Ratio, Foam, and Step-by-Step Method (2026)
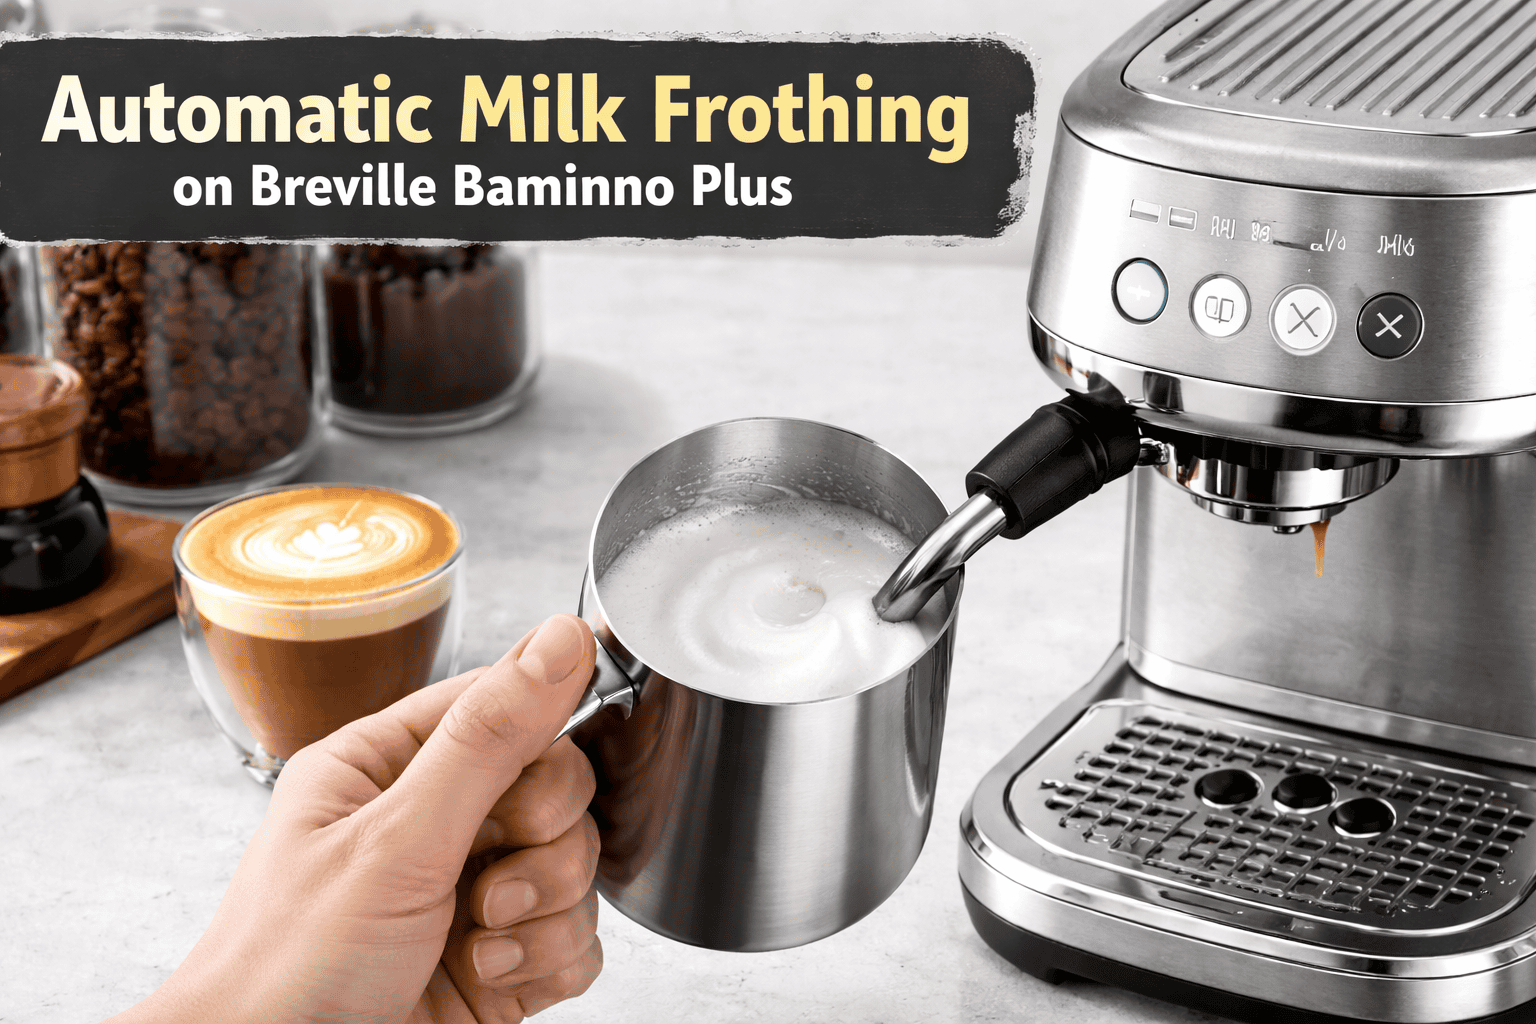
Editorial standards: this guide draws on established barista technique, Breville’s published cappuccino guidance, published milk-steaming temperature ranges, and CoffeeGearHub’s existing espresso and milk guides. CoffeeGearHub does not claim hands-on testing where it has not occurred.
At a glance
What this cappuccino guide covers
What makes a cappuccino different, where it comes from and how it is served, the equipment you need, the espresso shot, a seven-step method, how to stretch milk for cappuccino foam, wet versus dry, pouring versus spooning the foam, making one without an espresso machine, milk choices, a repeatable routine, and a troubleshooting table.
Editorial analysis
More air, smaller cup, same careful heat
A cappuccino uses the same ingredients as a latte, but in a smaller cup with far more foam. That changes one step: you let the steam wand add air for longer, until the milk grows by a third to a half.
Everything else stays the same. A good double shot, fresh cold milk, and stopping at about 65°C matter more than any piece of equipment. Get those right and the foam turns sweet and glossy rather than stiff and dry.
The 30-Second Answer
To make a cappuccino at home, pull a double shot (about 18 g of coffee to 36 to 40 g of espresso) into a warm 5 to 6 oz cup. Steam 120 to 130 ml of cold milk, adding air for 5 to 8 seconds so it grows by a third to a half, and stop at about 60 to 65°C. Swirl until glossy and pour, finishing with a dome of foam.
Aim for roughly equal parts espresso, milk, and foam. No espresso machine? Use strong moka pot or AeroPress coffee and an electric frother set for thick foam.
Compare current options
Start with these representative choices
Two machines for real cappuccinos, one with automatic milk and one with a manual wand, plus a frother for making one without an espresso machine.
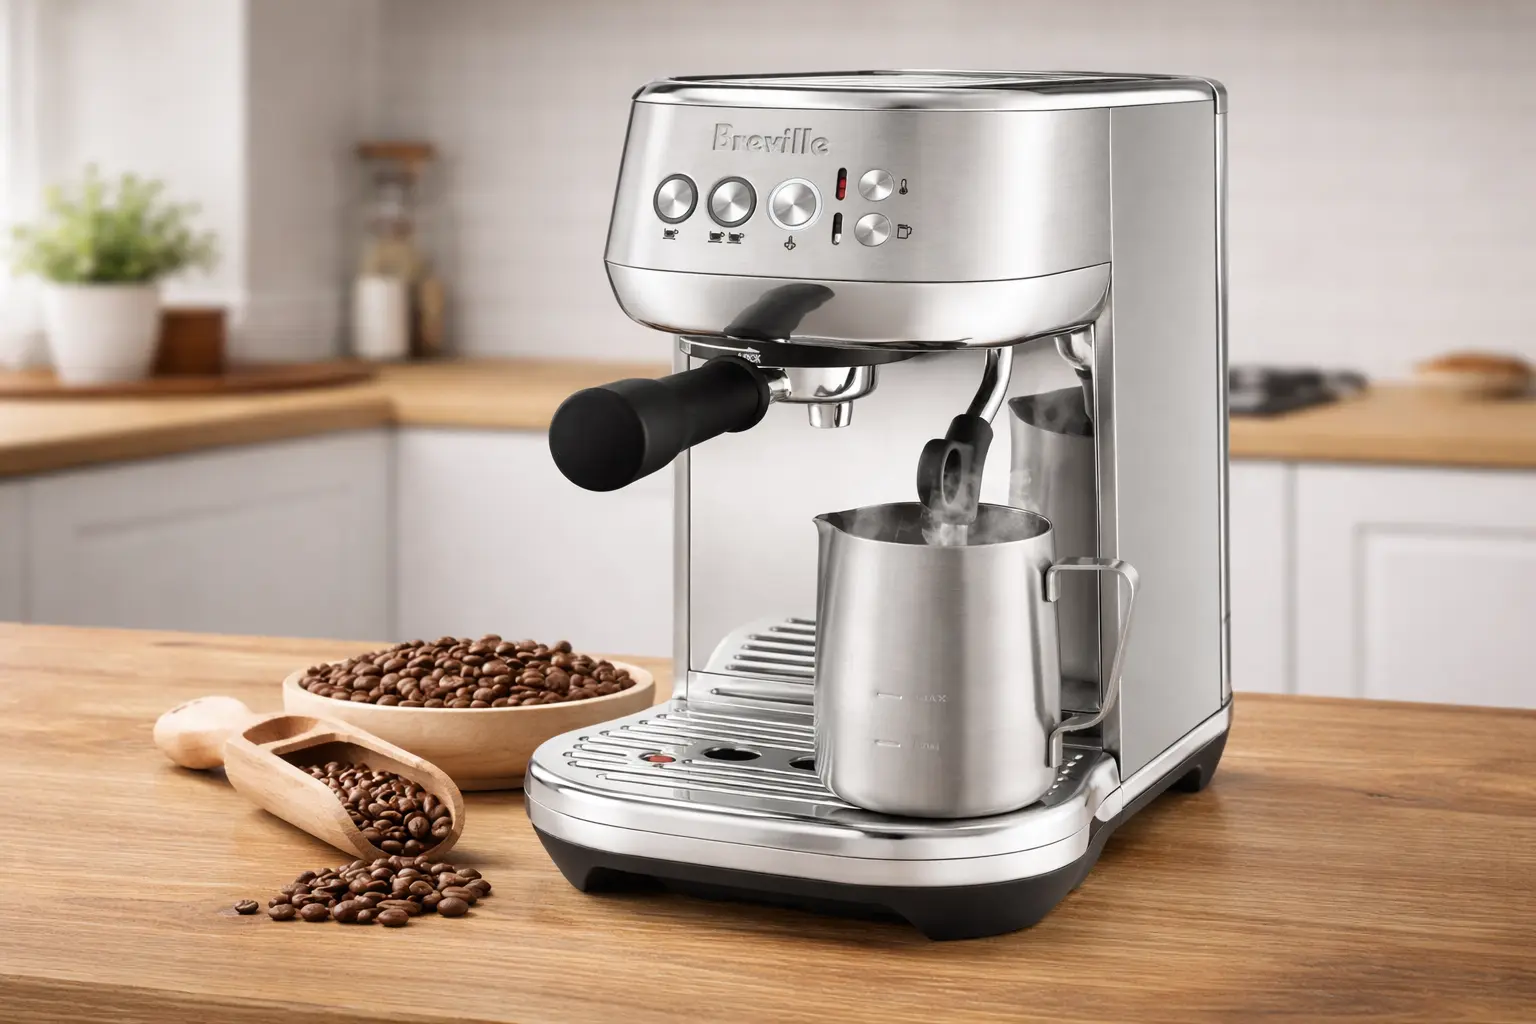
Breville Bambino Plus — Easiest foam
Automatic milk texturing with an adjustable foam level, plus fast heat-up and PID temperature control.
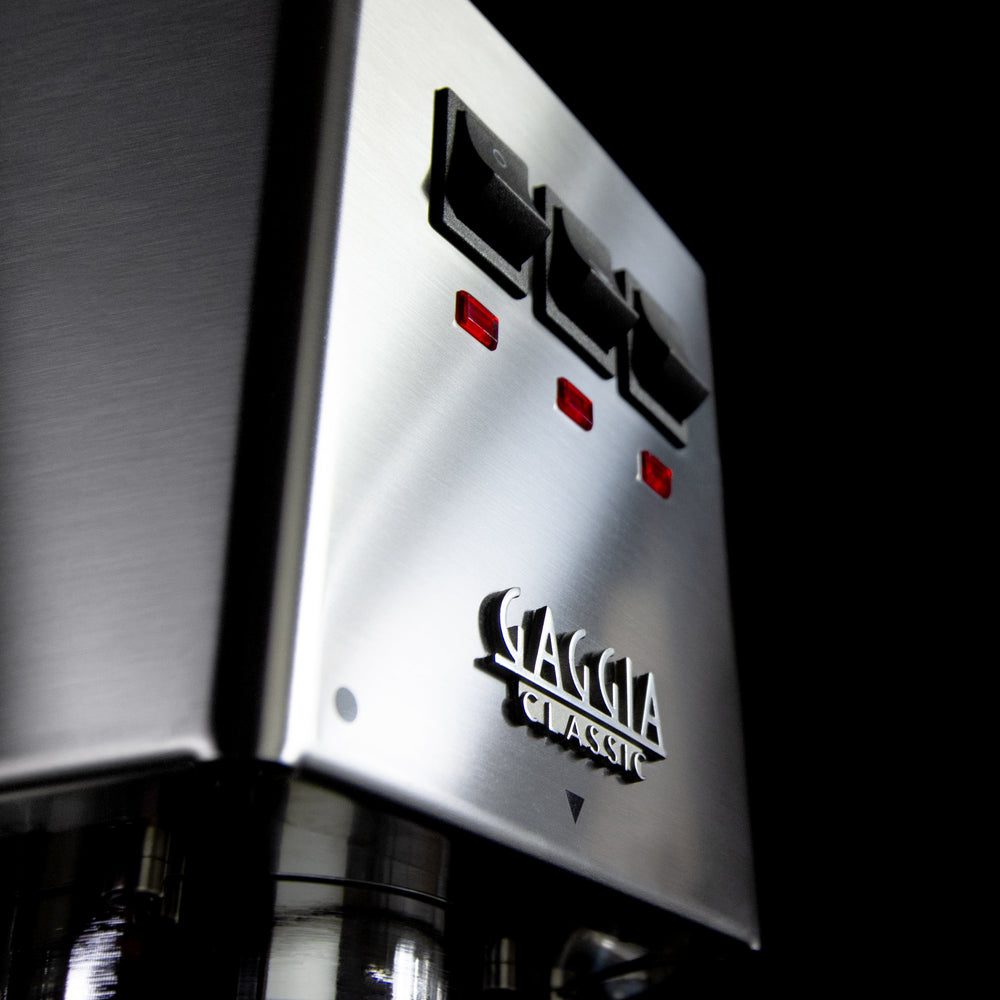
Gaggia Classic Pro E24 — Manual control
A powerful commercial-style steam wand for learning to build cappuccino foam by hand.
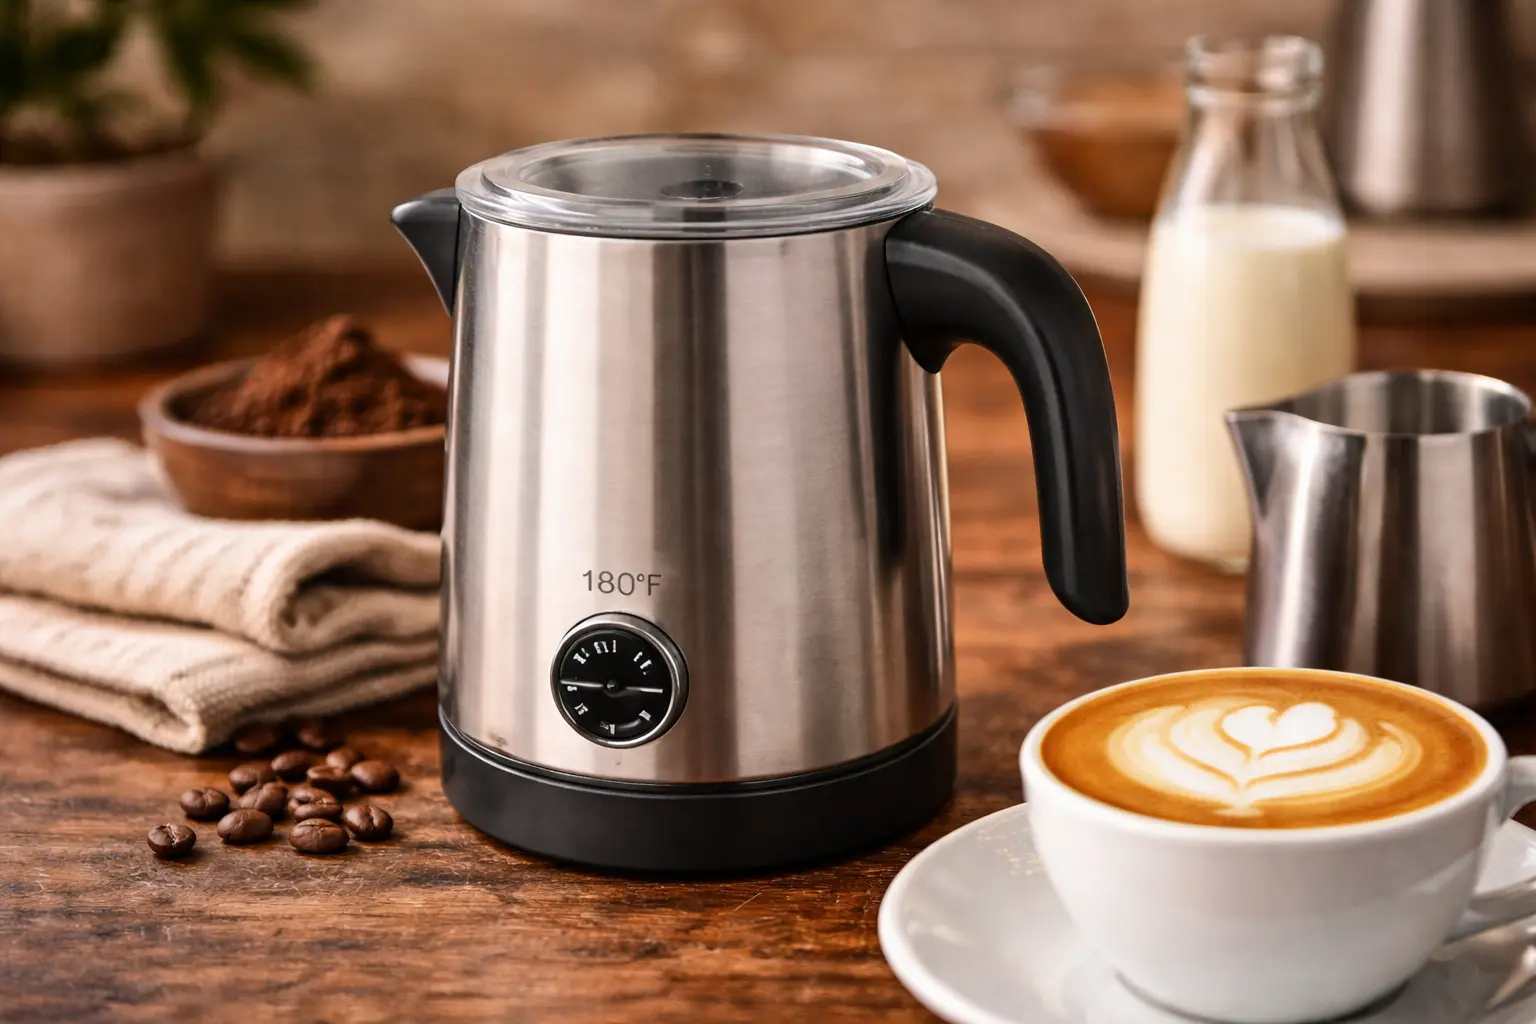
Breville Milk Café — No machine needed
Heats and froths milk with temperature control and a thicker foam setting for cappuccinos.
Affiliate disclosure: Amazon links may earn CoffeeGearHub a commission at no additional cost to you. Prices and availability can change.
A Cappuccino Is Defined by Its Foam
A cappuccino is espresso topped with steamed milk and a thick layer of milk foam, traditionally in roughly equal parts. The classic version is small: a double shot, about 60 ml of milk, and about 60 ml of foam in a 5 to 6 oz cup. Breville describes it the same way, with milk and foam together making up about two thirds of the drink, and recommends a slightly larger cup so the foam has room.
That foam is what separates a cappuccino from its relatives. A latte uses far more milk and only a thin layer of silky microfoam. A flat white uses less milk than a latte and a very thin, velvety top. A cappuccino goes the other way, with a lofty, spoonable cap that makes the first sip light and creamy before the espresso comes through. Our latte vs cappuccino vs flat white guide explains the family in detail.
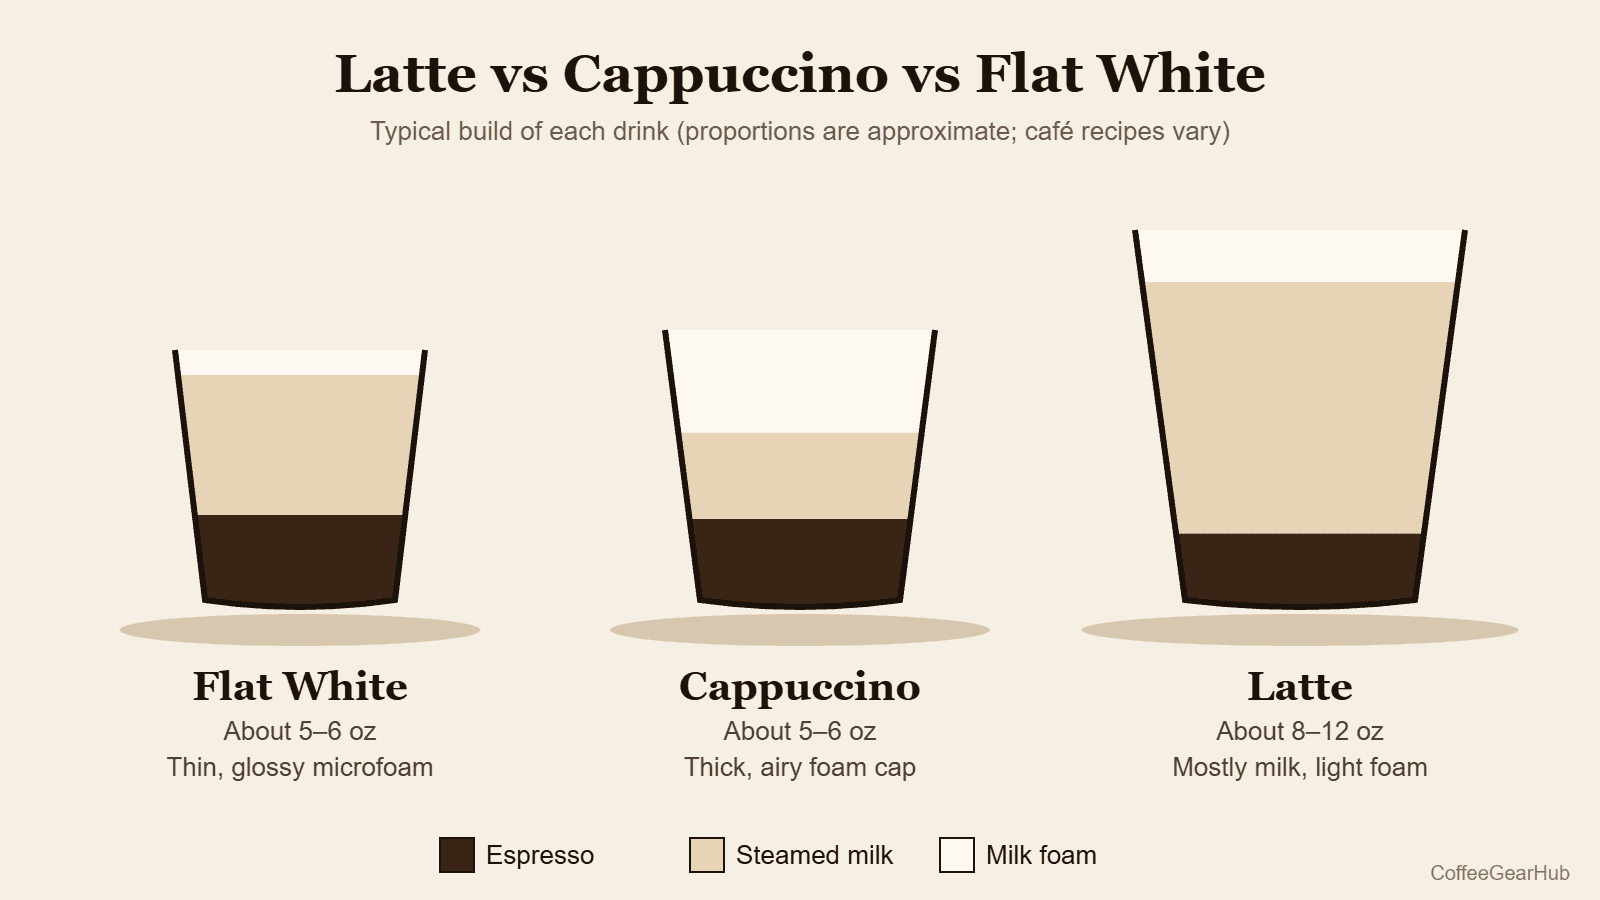
Because the drink is small and the coffee makes up a third of it, a cappuccino tastes noticeably stronger than a latte made with the same shot. That makes it a good showcase for a well-pulled espresso, and less forgiving of a sour or bitter one.
Where the Cappuccino Comes From, and How It Is Served
The cappuccino is usually traced to Italy, where its name is commonly linked to the brown habits of Capuchin friars, a nod to the color of espresso lightened with milk. The modern version, with a dense cap of steamed milk foam, became possible once espresso machines gained steam wands in the twentieth century, and it spread worldwide with the growth of espresso bars.
In Italy a cappuccino is traditionally a morning drink, often taken at the bar with a pastry, and it is served small and at drinking temperature rather than scalding hot. Many cafés outside Italy serve much larger cappuccinos, sometimes 12 oz or more, which pushes the drink toward a foamy latte. If you want the classic experience at home, keep the cup small and the coffee prominent, and treat larger sizes as a variation rather than the standard.
Serving temperature is part of the tradition too. Because the milk is steamed to about 60 to 65°C rather than boiled, a well-made cappuccino can be sipped right away. That gentle heat is also what keeps the milk sweet, so a cappuccino that needs several minutes to cool was probably steamed too hot.
What You Need
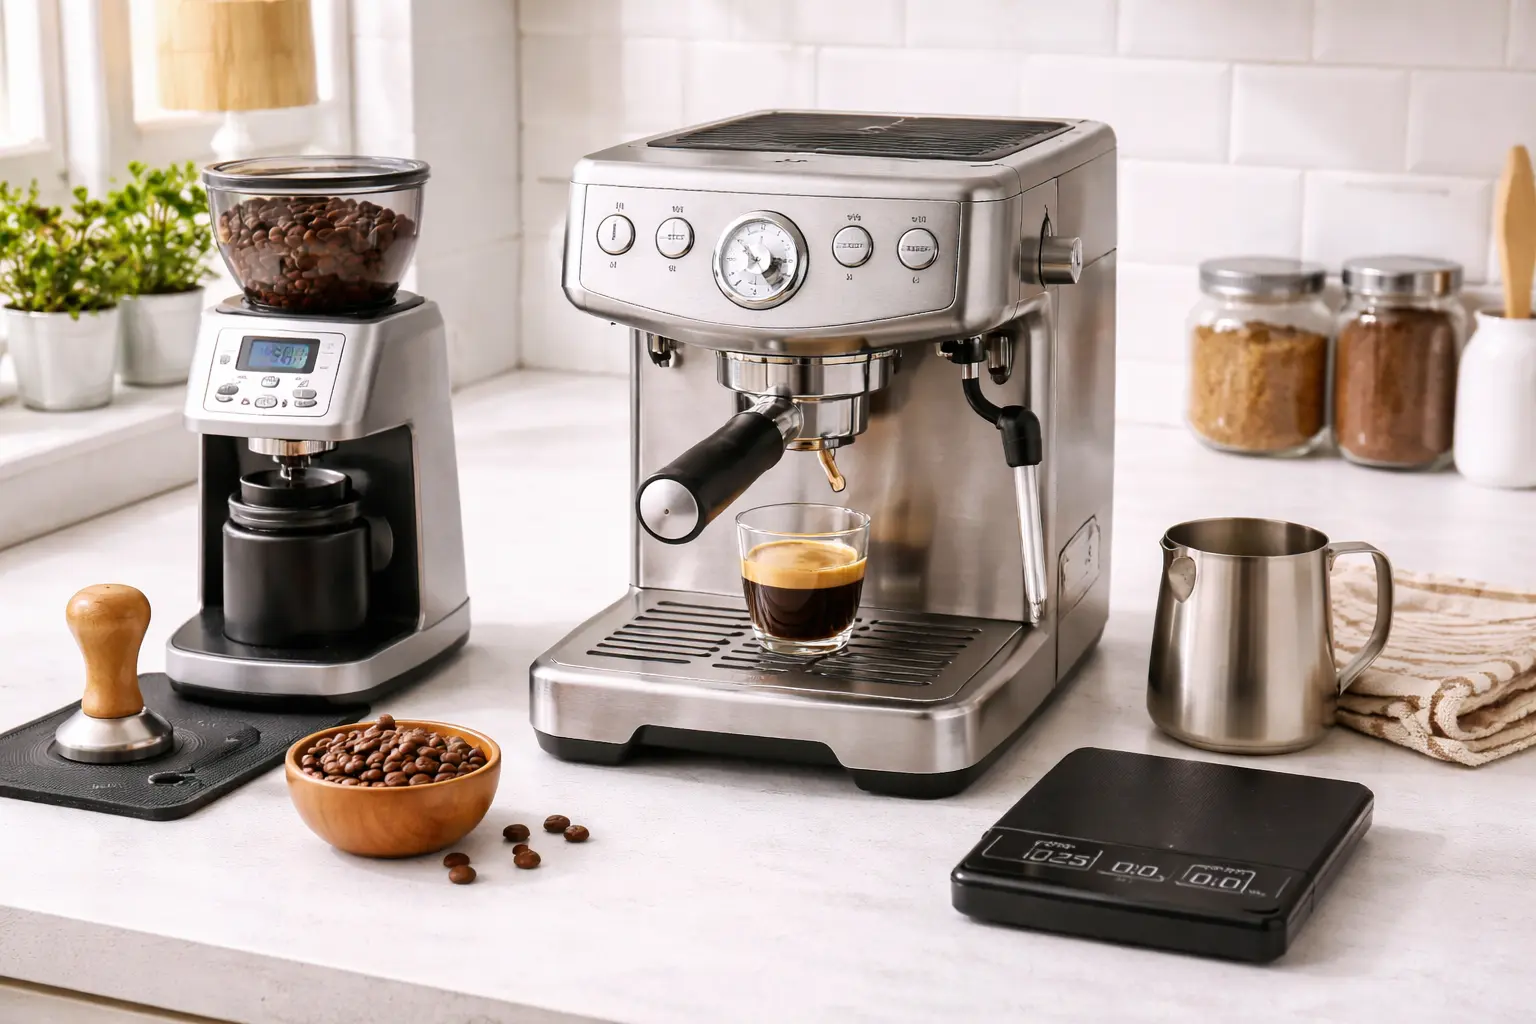
The classic setup is an espresso machine with a steam wand, a grinder that can grind fine enough for espresso, a stainless milk pitcher, and a scale. A 12 oz pitcher such as the Rattleware 12 oz is the right size for one cappuccino: filled about a third full, it leaves room for the milk to expand as you add air. A 0.1 g scale like the Timemore Black Mirror Basic 2 keeps the shot consistent from day to day.
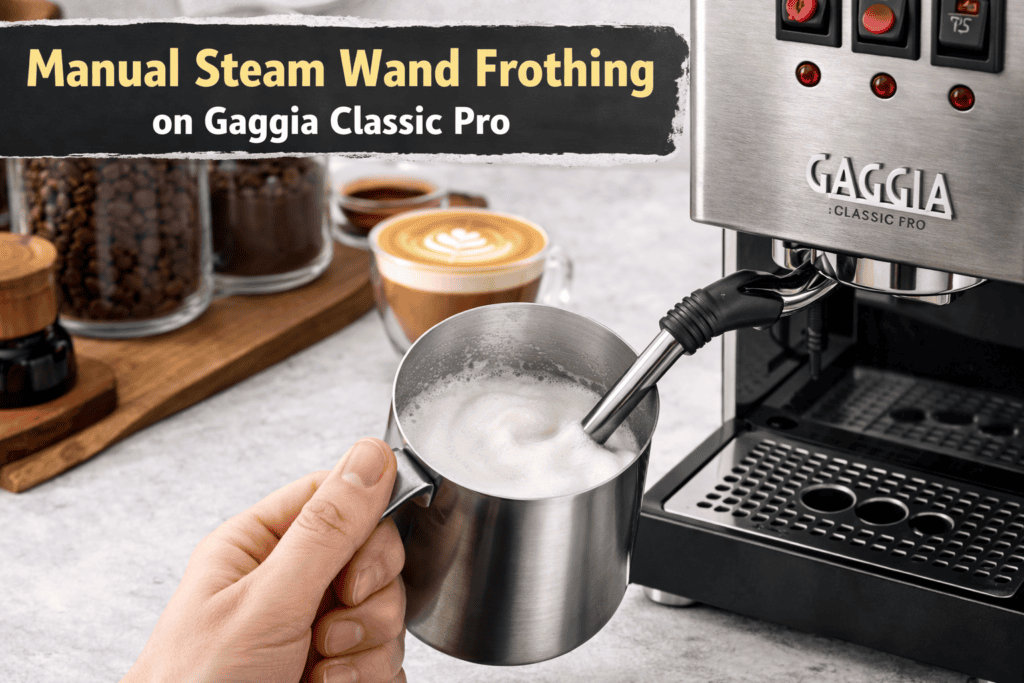
Your machine decides how much of the milk work you do. The Breville Bambino Plus can texture milk automatically with an adjustable foam level, which makes cappuccino foam easy from the first morning. A manual wand such as the one on the Gaggia Classic Pro E24 is more powerful and teaches you to control the foam by hand. For grinding, the Baratza Encore ESP is an approachable espresso-capable option.
Pull a Double That Can Stand Up to Foam
A cappuccino needs a double shot. A reliable starting recipe is about 18 g of finely ground coffee in and 36 to 40 g of espresso out in 25 to 30 seconds. Pull it straight into the warmed cup so it is ready the moment the milk is. If the shot runs fast and tastes sour, grind finer; if it runs slowly and tastes harsh, grind coarser. Our how to dial in espresso guide walks through the adjustments.
Because a cappuccino carries less milk than a latte, the character of the coffee shows through more. Medium and medium-dark roasts with chocolate, caramel, and nutty notes are the traditional choice and pair beautifully with sweet, airy foam. Lighter roasts can work too, but their brightness is more noticeable in a small drink. Our espresso brew ratio guide explains how to tune strength.
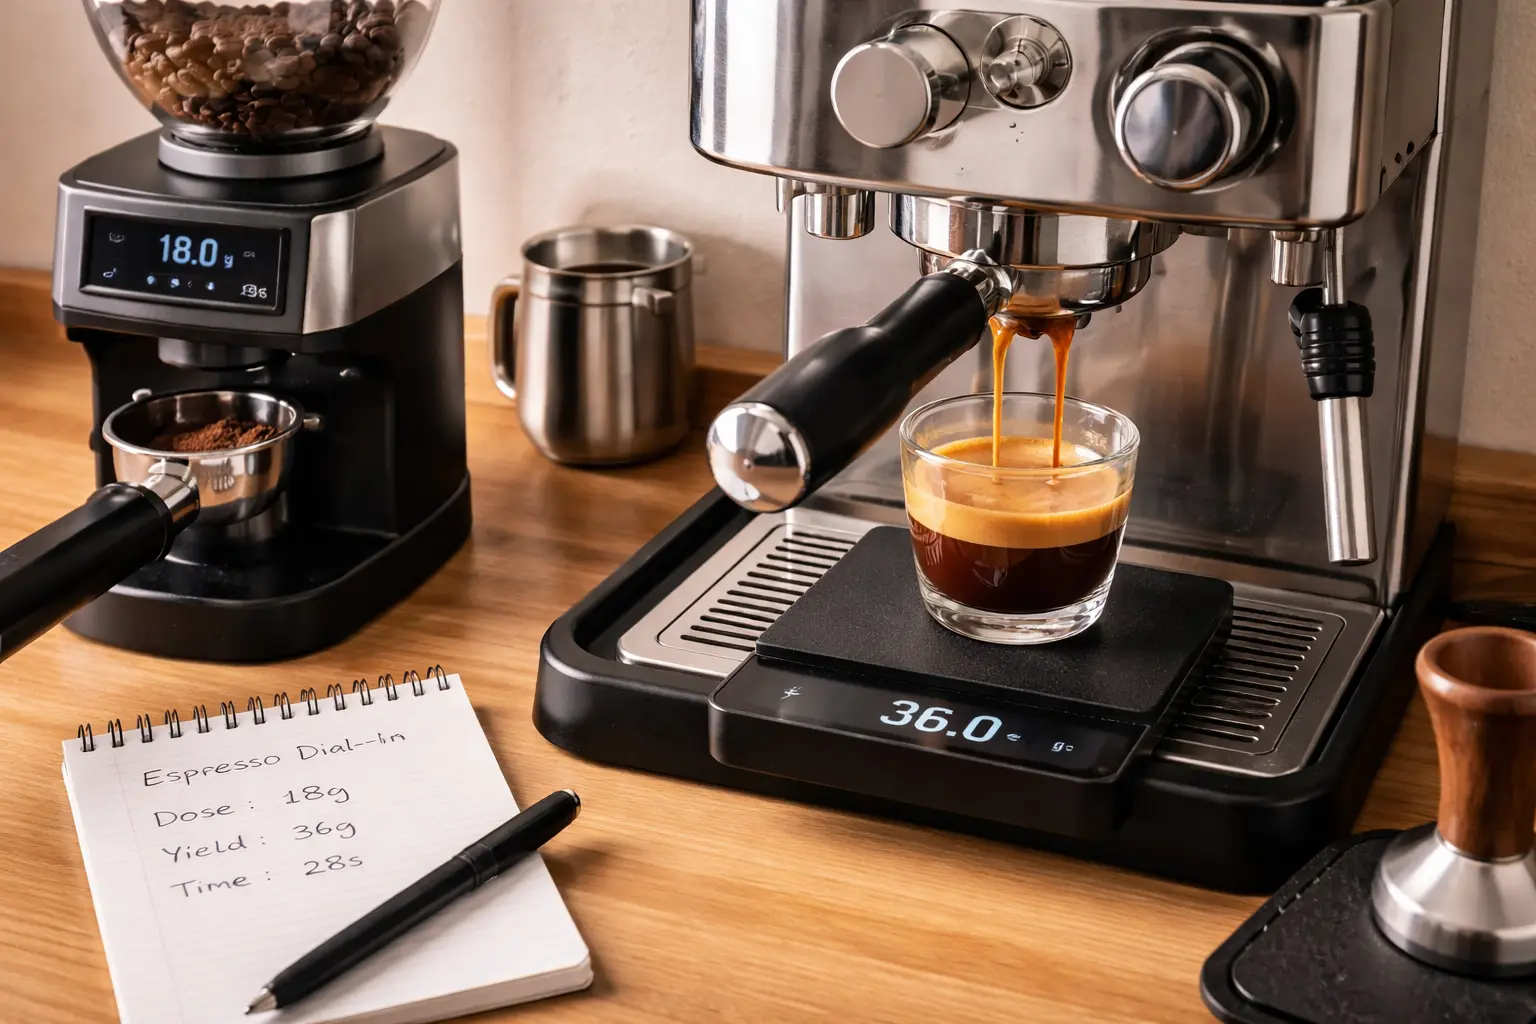
Freshness matters more than roast level. Beans used within roughly two to five weeks of roasting give a thicker, more stable crema, which helps the foam sit on top of the espresso instead of sinking into it. Grind just before pulling the shot, because pre-ground coffee loses aroma within minutes and produces a thin, fast shot that tastes flat under milk.
How to Make a Cappuccino, Step by Step
With beans dialed in, a cappuccino takes about five minutes. These steps assume a manual steam wand; on a machine with automatic milk texturing, set a higher foam level and let the machine handle steps four to six.
- Warm a small cup. Fill a 5 to 6 oz cup with hot water, or set it on the cup warmer, so the drink stays hot under the foam.
- Pull a double shot. Dose about 18 g of finely ground coffee, tamp evenly, and pull 36 to 40 g of espresso in 25 to 30 seconds into the emptied, warmed cup.
- Fill the pitcher. Pour 120 to 130 ml of cold whole milk into a 12 oz stainless pitcher, about one third full.
- Purge and position. Open the steam wand for a second to clear water, then set the tip just below the milk surface, slightly off center.
- Stretch longer than for a latte. Open the steam fully and let the tip draw in air with a steady paper-tearing hiss for 5 to 8 seconds, until the milk grows by a third to a half.
- Spin and heat. Raise the pitcher so the tip sinks and the milk spins, and stop at 60 to 65°C, when the pitcher is too hot to hold for more than a second or two.
- Groom and pour. Purge the wand, tap out large bubbles, swirl until glossy, then pour into the espresso and finish with a dome of foam about 1 to 2 cm above the coffee.
Step five is where a cappuccino differs most from a latte. You let the wand add air for longer, about five to eight seconds instead of three to five, so the milk grows by a third to a half rather than a quarter. Listen for a steady, gentle tearing sound; loud screeching means the tip is too deep, and big spluttering bubbles mean it is too high.
Stretching the Milk: The Cappuccino Difference
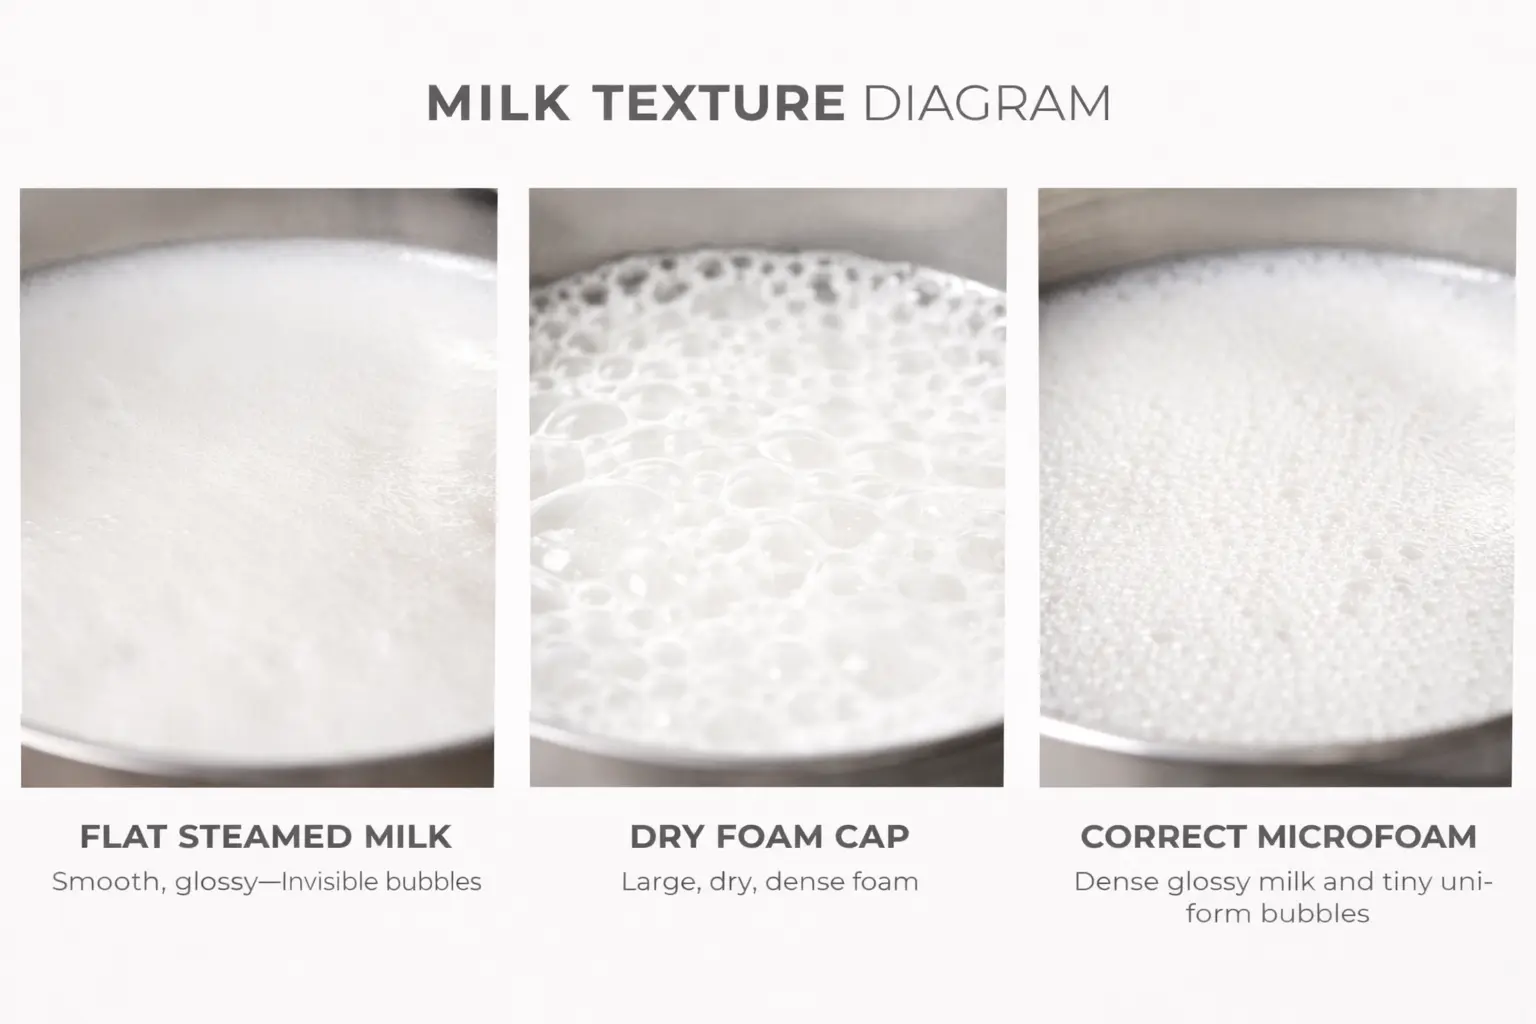
Milk foam forms because milk proteins wrap around air bubbles and hold them in place, while milk fat adds body. For a cappuccino, the goal is more air than for a latte but still a fine, glossy texture, sometimes described as wet foam. Dry, stiff, bubbly foam that sits on top like meringue is a common home result and tastes thin and airy rather than creamy.
Temperature matters as much as air. Steam to about 55 to 65°C and stop around 65°C, because heat keeps rising for a moment after you close the wand. Above about 70°C, proteins break down, sweetness drops, and the foam starts to collapse. Without a thermometer, use your hand on the pitcher: very hot but holdable for a second or two is about right. Our how to steam milk guide covers wand technique in more detail.
A simple spoon test tells you whether the foam is right. Dip a spoon into the pitcher after swirling: good cappuccino foam holds its shape for a moment but still looks shiny and wet. If it slides off like milk, add more air next time; if it stands up in stiff peaks, add less.
Wet, Dry, or Traditional?
Cafés and home baristas adjust the balance of milk and foam to taste, and the names describe where on that scale a drink sits. A traditional cappuccino is the even 1:1:1 version. A dry cappuccino uses more foam and less milk for an airy, intense drink, while a wet cappuccino uses more milk and less foam and drinks closer to a small latte. The table shows typical amounts for a double shot.
| Style | Espresso | Steamed milk | Foam | How it drinks |
|---|---|---|---|---|
| Dry | About 60 ml | About 30 ml | About 90 ml | Airy, light, and coffee-forward |
| Traditional | About 60 ml | About 60 ml | About 60 ml | Balanced and creamy |
| Wet | About 60 ml | About 90 ml | About 30 ml | Smooth and closer to a latte |
To make a dry cappuccino, stretch a little longer and stop a few degrees cooler, around 55 to 60°C, which gives stiffer foam. For a wet one, stretch for a shorter time and texture the milk longer. Starting with the traditional version and adjusting from there is the easiest way to find your preference.
Pouring and Spooning the Cap
There are two ways to finish a cappuccino. The free-pour method keeps the milk and foam mixed in the pitcher: swirl until glossy, pour into the center of the espresso from a few inches above, then lower the spout near the end so the foam floats up and forms a dome. This gives a smooth, integrated drink and allows simple latte art, though the thick foam makes detailed patterns harder.
The traditional spoon method separates the layers. Pour the liquid milk in first while holding back the foam with a spoon, then spoon the foam on top until it sits about 1 to 2 cm above the rim of the coffee. This makes a classic, distinctly layered cappuccino and is the easier method if your foam is a little stiff. Either way, serve right away, ideally within two or three minutes, before the foam begins to separate.
Cup shape helps more than many people expect. A rounded, bowl-shaped cup of about 5 to 6 oz with a slightly narrower base lets the milk roll under the crema and lift the foam into a neat dome, while a tall, straight-sided mug spreads the foam thin and makes the drink feel more like a latte. Warm the cup first, because a cold cup pulls heat out of a small drink very quickly.
How to Make a Cappuccino Without an Espresso Machine
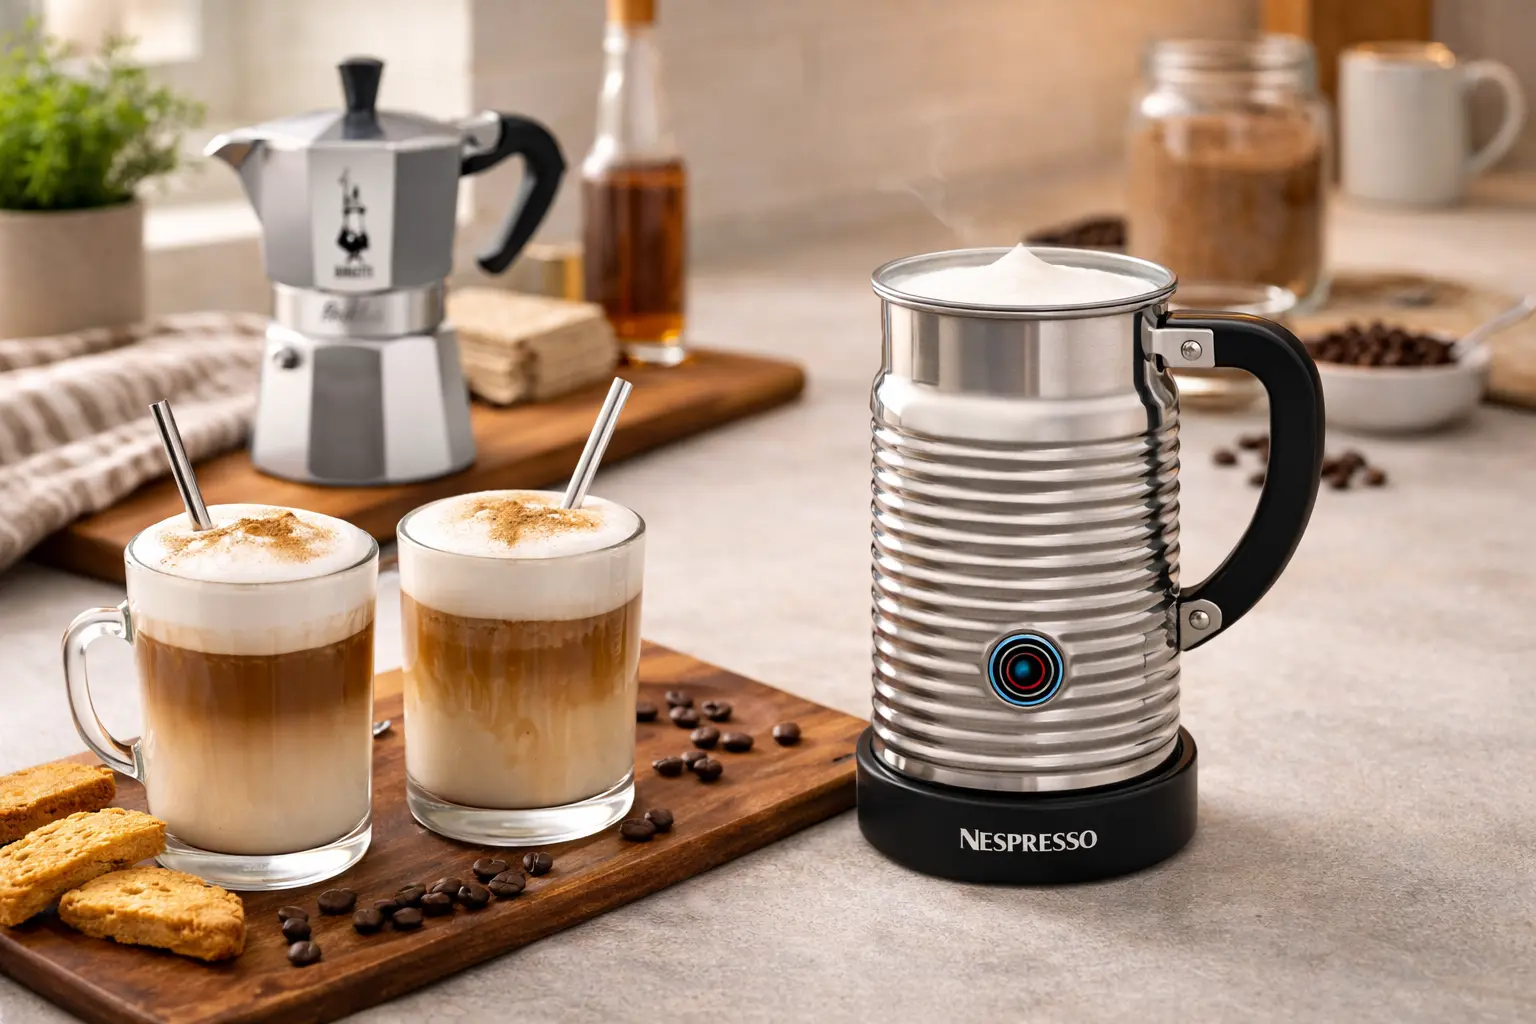
You can make a convincing cappuccino-style drink without an espresso machine, as long as you start with strong coffee. A moka pot such as the Bialetti Moka Express produces a concentrate that holds its own under foam; brew about 60 to 80 ml for one drink. An AeroPress brewed short and strong works well too, and Breville suggests a French press with less water than usual as another option. Avoid regular drip or pour-over coffee, which is too dilute.
For the foam, an electric frother such as the Nespresso Aeroccino 4 or the Breville Milk Café heats and froths in one step, and both offer a thicker foam setting suited to cappuccinos. A handheld wand works if you heat the milk to about 60°C first and whisk until it roughly doubles. A French press also makes good foam: pump warm milk 20 to 30 times. Our how to froth milk without a steam wand guide covers each method.
Milk Choices for a Thick, Stable Cap
Whole dairy milk is the easiest choice for a cappuccino: its protein builds plenty of foam and its fat makes that foam creamy and sweet. Lower-fat and skim milks actually produce a lot of foam, sometimes more than whole milk, but it is stiffer and drier with a thinner taste, which suits people who like a very dry cappuccino.
For plant milks, look for barista versions. Breville notes that oat, almond, and soy milks can all work, while some low-fat, cashew, and coconut milks foam poorly. Barista oat milks are generally the closest to dairy in texture and sweetness. Plant milks usually prefer slightly lower temperatures, around 55 to 60°C, and tend to collapse faster, so pour and serve promptly. Our best milk for lattes guide compares the options in more depth.
Whatever you use, start with fresh milk straight from the fridge. Cold milk gives you more time to add air before it gets hot, and fresh milk foams far better than milk that has been opened for a week or has been steamed once before.
Building a Repeatable Cappuccino Routine
The quickest way to improve is to make the same cappuccino the same way every morning. Use the same beans, the same dose and yield, the same pitcher filled to the same level, and the same cup. When every step is fixed, you can taste the effect of a single change, whether that is a slightly longer stretch, a cooler stopping point, or a finer grind.
Order matters on a single-boiler machine. Most home baristas pull the shot first and steam second, because espresso holds its quality for a minute or two while foam starts to separate as soon as it sits. If your machine needs time to build steam pressure after brewing, switch to steam as soon as the shot finishes and fill the pitcher while it heats. For two cappuccinos, steam enough milk for both in a larger pitcher and split the pour rather than steaming twice.
Finish with a short cleaning habit. Wipe and purge the steam wand right after each drink, rinse the pitcher, and knock out and rinse the portafilter. Dried milk inside the wand tip weakens steam pressure and makes thick foam harder to build, so those thirty seconds pay off in tomorrow’s cappuccino.
Troubleshooting Common Cappuccino Problems
| Problem | Likely cause | Fix |
|---|---|---|
| Foam is thin or flat | Too little air, or milk overheated | Stretch 5 to 8 seconds and stop by 65°C |
| Stiff, dry, bubbly foam | Too much air, not enough spinning | Shorten the stretch, sink the tip sooner, swirl longer |
| Big bubbles on top | Tip too high, or no grooming | Keep the tip just under the surface; tap and swirl before pouring |
| Drink tastes weak | Single shot or oversized cup | Use a double shot in a 5 to 6 oz cup |
| Milk tastes cooked | Steamed past about 70°C | Stop when the pitcher is too hot to hold |
| Foam separates from milk | Waited too long before pouring | Swirl right before pouring and serve quickly |
Most cappuccino problems come down to air, heat, or timing. Change only one thing at a time and use the same amount of milk in the same pitcher each morning, and the cause becomes obvious within a few drinks. If the espresso itself tastes off, our espresso troubleshooting guide covers shot problems.
Our Recommendation
A great home cappuccino is a double shot in a small, warm cup, topped with milk stretched a little longer than for a latte and steamed to no more than about 65°C. Aim for roughly equal parts espresso, milk, and foam, then adjust toward dry or wet to taste. Swirl the milk until glossy and serve it within a few minutes.
If you want the easiest path, the Breville Bambino Plus handles the milk automatically with an adjustable foam level. If you want to learn barista technique, the Gaggia Classic Pro E24 has a powerful manual wand. Without an espresso machine, a strong moka pot coffee and a Breville Milk Café make a very good approximation. Our how to make a latte at home guide covers the milkier sibling.
Make Better Cappuccinos at Home
Automatic foam with the Bambino Plus, or a frother if you have no espresso machine.
As an Amazon Associate, CoffeeGearHub earns from qualifying purchases.
Editorial bottom line: A cappuccino is a double shot under roughly equal parts milk and foam. Add air for 5 to 8 seconds, stop at about 65°C, swirl until glossy, and serve in a small cup within a few minutes.
Frequently Asked Questions
What is the ratio for a cappuccino?
A traditional cappuccino is roughly equal parts espresso, steamed milk, and foam, about 60 ml of each in a 5 to 6 oz cup. Many cafés serve larger, milkier versions, but the classic drink is small and foam-forward.
How is a cappuccino different from a latte?
A cappuccino is smaller and has much more foam: a thick, airy cap rather than a thin layer of microfoam. A latte uses two to four times more milk. Our latte vs cappuccino vs flat white guide compares them side by side.
What is a dry cappuccino?
A dry cappuccino has more foam and less liquid milk, so it tastes airier and more intense. A wet cappuccino has more milk and less foam, which makes it smoother and closer to a small latte.
What temperature should cappuccino milk be?
Steam to about 55 to 65°C (130 to 150°F) and stop around 65°C, because the milk keeps warming for a moment. Above about 70°C, milk loses sweetness and the foam collapses faster.
Can I make a cappuccino without an espresso machine?
Yes, as a close approximation. Brew a strong moka pot or AeroPress concentrate, then froth warm milk with an electric frother, a handheld wand, or a French press until it roughly doubles in volume.
Why does my cappuccino foam disappear quickly?
Usually the milk was overheated, too little air went in, or the bubbles were too large. Stretch for 5 to 8 seconds, stop by 65°C, tap and swirl to break big bubbles, and serve within a few minutes.
Sources and Further Reading
Cappuccino proportions, cup size, milk temperatures, and no-machine methods follow Breville’s cappuccino guide. Wet and dry proportions, milk volumes, and foam checks follow The Coffee Locator’s cappuccino guide. Espresso extraction concepts follow the Specialty Coffee Association’s standards. Technique also follows CoffeeGearHub’s how to steam milk and dial-in guides.
CoffeeGearHub product shortlist
Continue with related products on CoffeeGearHub
Review product categories and current verified merchant offers on CoffeeGearHub before leaving the site.