
Beginner Espresso Guide
Editorial standards: this guide separates manufacturer-specific instructions from general espresso starting references. CoffeeGearHub does not claim hands-on testing where it has not occurred.
At a glance
What this guide covers
Machine and grinder choices, essential accessories, coffee selection, a first-shot workflow, extraction basics, one-variable dial-in, milk steaming, troubleshooting, and sensible upgrade priorities.
Editorial analysis
Learn a repeatable process before chasing a perfect recipe
A beginner improves faster by measuring dose and yield, using a grinder with enough adjustment range, and changing one variable at a time. Fixed click counts, shot times, tamp-force numbers, and bean-rest windows are references at best—not universal rules.
The 30-Second Answer
Start with a machine workflow you understand, an espresso-capable burr grinder, a scale, a correctly sized tamper, and coffee you can buy again. Measure dose and beverage yield, use a ratio such as 1:2 as a starting reference, record shot time as a diagnostic, taste the result, and change one variable at a time.
What Is Espresso — And Why Is It Different From Other Coffee?
Espresso is not a bean, a roast level, or a flavour profile — it’s a brewing method. Specifically, it’s the process of forcing hot water through a compact puck of finely ground coffee at approximately 9 bars of pressure over a repeatable time for your coffee and recipe. That pressure — roughly 9 times atmospheric pressure — is what makes espresso fundamentally different from every other brewing method and what makes it both the most technically demanding and the most rewarding to master.
The pressure extraction produces a concentrated, emulsified liquid — typically 30–40ml from 18g of ground coffee — that contains dissolved solids, coffee oils (which filter brewing removes), and a layer of reddish-brown crema formed by CO2 releasing from the grounds under pressure. This combination of concentration, emulsification, and crema is what gives espresso its characteristic body, intensity, and the syrupy texture that makes a well-pulled shot unlike anything you can produce with a drip machine or AeroPress.
| Brew method | Pressure | Contact time | Grind | Output | Oils in cup |
|---|---|---|---|---|---|
| Espresso | 9 bar | a repeatable time for your coffee and recipe | Very fine | 30–40ml concentrated | Yes — emulsified with crema |
| Filter / Pour-over | Gravity only | 2.5–4 minutes | Medium | 250–350ml | Filtered out by paper |
| AeroPress | ~0.5–1 bar (hand) | 1–2 minutes | Fine-medium | 100–200ml | Partially (no paper) |
| French press | None (immersion) | 4 minutes | Coarse | 200–350ml | Yes — unfiltered |
| Moka pot | ~1.5–2 bar (steam) | 4–5 minutes | Medium-fine | 60–100ml concentrated | Yes — some oils |
🔬 Why pressure matters so much: At 9 bars, water extracts compounds from coffee 5–10× faster than gravity alone and emulsifies coffee oils that paper filters remove entirely. This is why espresso has a heavier, more syrupy texture than filter coffee and why small changes to grind size — even 1–2 microns in average particle diameter — produce measurable changes in shot time and flavour. Every variable is amplified by pressure. This is what makes espresso demanding to dial in — and extraordinarily rewarding when you get it right.
Equipment Overview: What You Actually Need
A beginner espresso setup needs fewer items than most accessory lists suggest. The essentials are a machine, an espresso-capable burr grinder, a scale, a tamper that fits the basket, coffee, and suitable water. A milk pitcher matters only if you make milk drinks.
| Item | Priority | What it does | What to look for |
|---|---|---|---|
| Espresso machine | Essential | Controls water delivery, temperature, and brew/steam workflow | A workflow you understand, available service/support, and baskets that fit how you plan to brew |
| Burr grinder | Essential | Controls particle size and flow through the puck | Fine, repeatable espresso adjustment; manual or electric |
| Scale | Essential for learning | Measures dry dose and beverage yield | 0.1g readability and a footprint that fits your drip tray |
| Tamper | Essential | Compresses the prepared puck | Correct diameter for the basket and a comfortable, level tamp |
| Milk pitcher | If making milk drinks | Supports steaming and texturing | A size that matches your normal drink volume |
| WDT / distribution tool | Optional | Can help break clumps and improve distribution | Useful when it makes your puck preparation more repeatable |
Skip the accessory pile at first. A knock box, precision basket, bottomless portafilter, dosing funnel, puck screen, and distribution tools can all be useful later, but none replaces a capable grinder and a measured recipe.
Choosing Your First Espresso Machine: Three Different Workflows
These examples solve different beginner problems. The goal is not to declare one machine universally best; it is to identify the workflow that fits you.
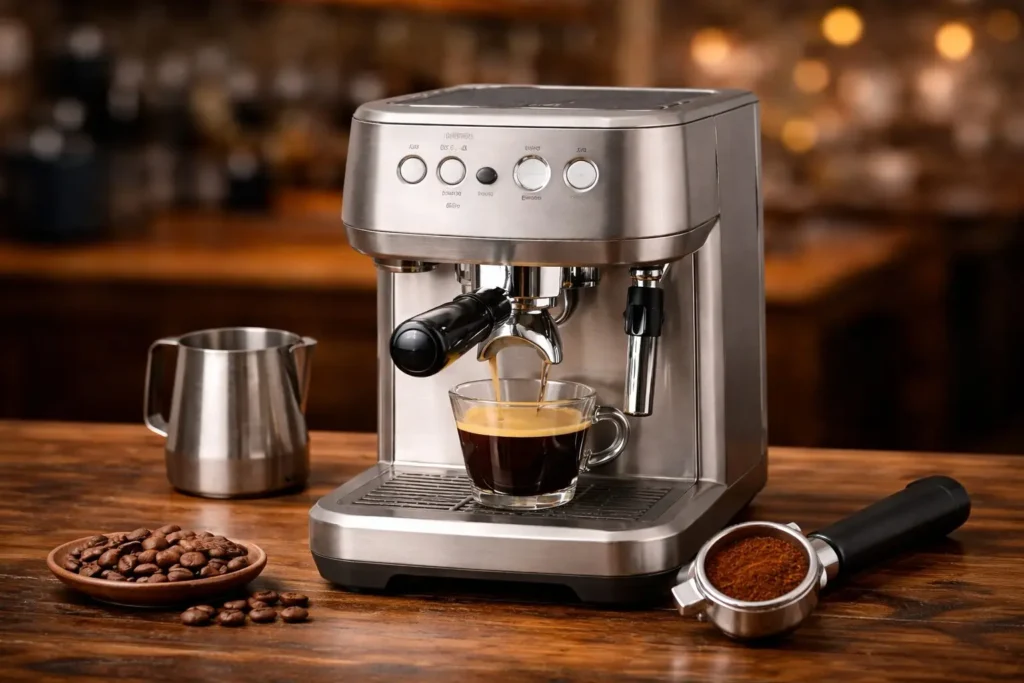
Breville Bambino Plus — compact assisted semi-automatic
Breville currently specifies a 54 mm stainless-steel portafilter built around an 18 g dose, a ThermoJet heating system ready in about three seconds, low-pressure pre-infusion followed by 9-bar extraction, and automatic or manual milk texturing. It is a strong fit when you want a compact portafilter workflow without a long warm-up.
Best fit: beginners who want a separate grinder and frequent milk drinks.
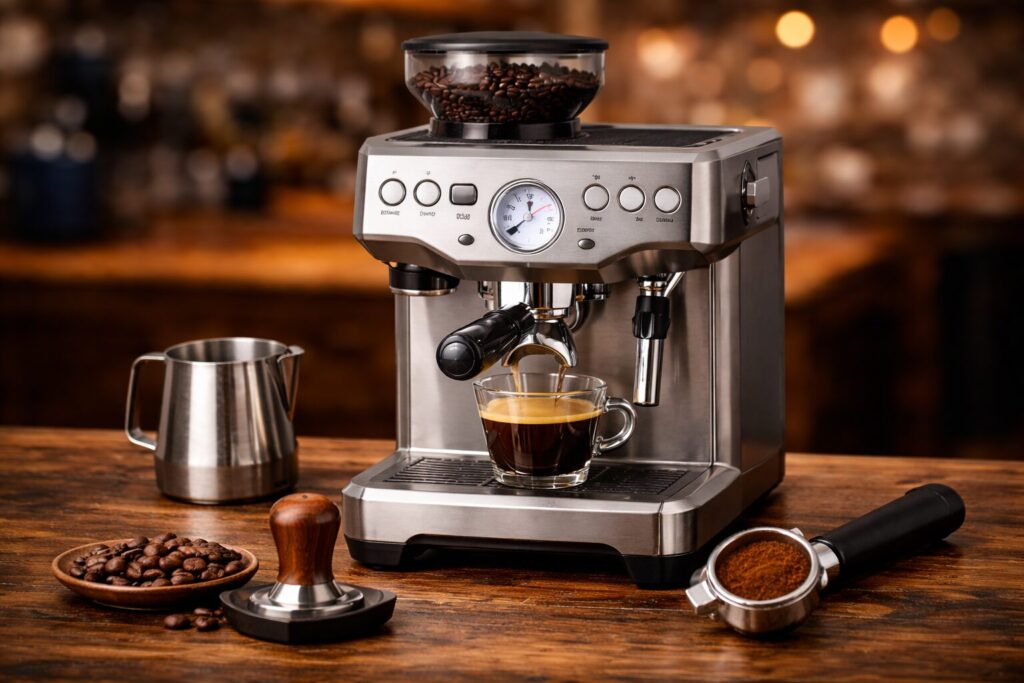
Breville Barista Express — integrated-grinder learning platform
The Barista Express combines a 54 mm portafilter, integrated conical-burr grinder, grind-size and grind-amount controls, volumetric shot buttons, hot-water outlet, and manual steam wand. It reduces the number of separate purchases while still leaving the user responsible for dialing in the grinder and puck.
Best fit: beginners who prefer one appliance and want to learn a hands-on portafilter workflow.
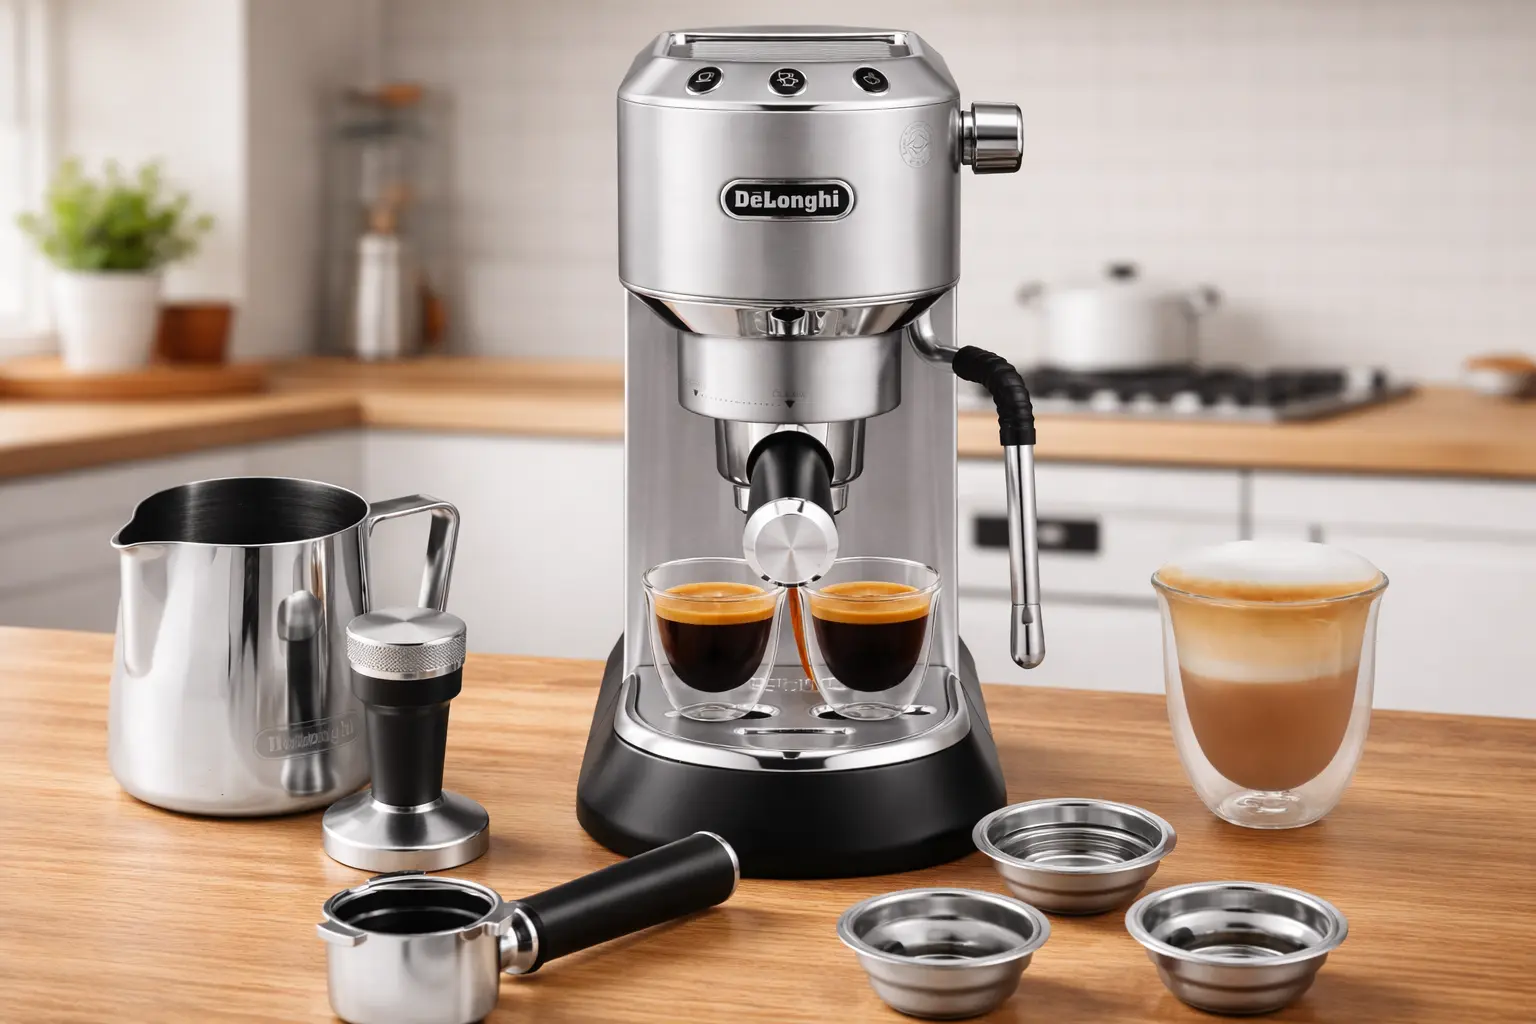
De’Longhi Dedica Arte — narrow manual-machine option
The Dedica Arte remains a compact manual espresso option for kitchens where counter width matters. It uses a different portafilter/basket ecosystem from Breville’s 54 mm machines, so accessories should be matched to the exact Dedica model rather than purchased by a generic size assumption.
Best fit: space-constrained buyers who understand that grinder quality and basket choice still matter.
For a wider range of machine types and current models, see Best Home Espresso Machines and Best Espresso Machines for Beginners.
Two beginner paths
Compact separate-grinder setup vs integrated-grinder setup
Both approaches can teach the same core espresso skills. The difference is whether you want the grinder to be a separate upgradeable component or integrated into the machine.
Breville Bambino PlusCompact assisted semi-automatic; pair it with the grinder you choose.Check current Amazon listing → Breville Barista ExpressIntegrated grinder and portafilter workflow in one appliance.Check current Amazon listing →Affiliate disclosure: Amazon links may earn CoffeeGearHub a commission at no additional cost to you. Prices and availability can change.
Choosing Your First Grinder: Give Yourself Room to Dial In
Espresso needs a grinder that can make small, repeatable changes at the fine end of the range. That does not mean the grinder must be expensive, but it does need to be designed for espresso-level adjustment.
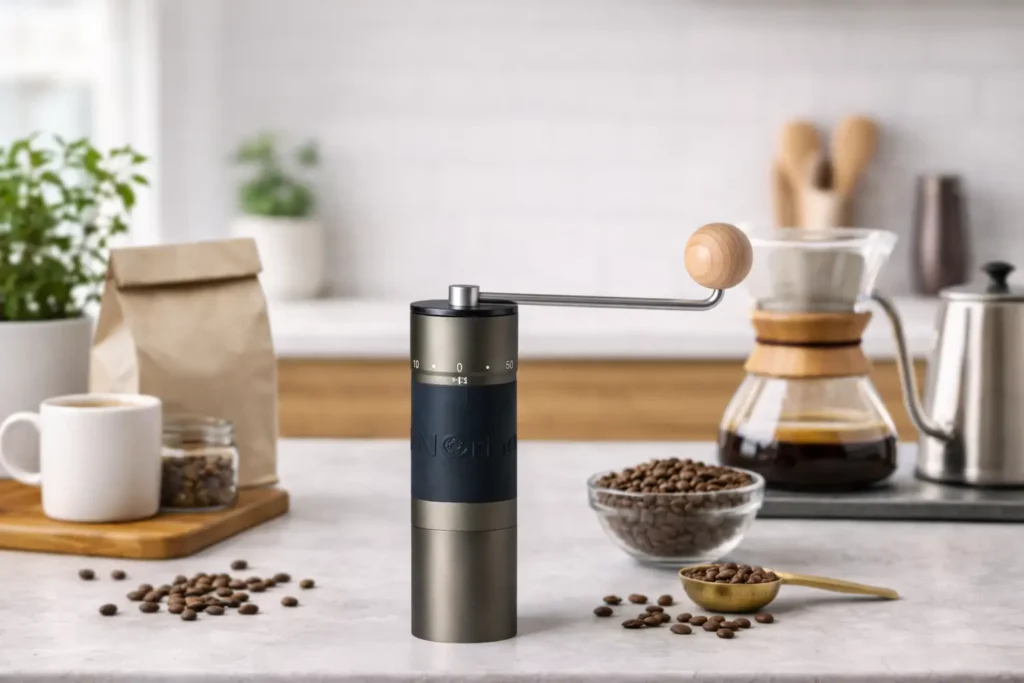
KINGrinder K6 — manual, fine-step adjustment
KINGrinder currently specifies the K6 at 60 clicks per full rotation with 16-micron adjustment steps. Its current reference chart places the “extra fine” range around 15–25 clicks and the broader fine range around 25–60 clicks. Treat those as manufacturer reference bands, not a fixed espresso recipe: burr zero, coffee, basket, dose, and machine all affect the final setting.
Best fit: users comfortable hand-grinding who want fine external adjustment without buying an electric grinder immediately.
If you prefer electric grinding, compare current options in Best Coffee Grinders for Espresso. Whichever grinder you choose, record the setting that produced a good shot and make small changes from there.
Essential Accessories: Tamper, Scale, and Basket Fit
Tamper
Use a tamper that fits your basket closely and lets you tamp level. The goal is a fully compressed, even puck. You do not need to hit a specific kilogram-force target; consistency and levelness matter more than chasing a force number.
Digital Scale
A 0.1 g scale helps you measure dry coffee dose and beverage yield. That turns “about a double shot” into a repeatable recipe. A built-in timer is convenient but not essential if you already have another way to time the shot.
Portafilter Basket
Use the basket that matches your machine and the style of espresso you are learning. Pressurized baskets can be more forgiving of pre-ground or less precisely dialed coffee; non-pressurized baskets expose grinder and puck-preparation differences more clearly. Do not assume basket or tamper diameter from the machine category—check the exact model.
Choosing Your First Espresso Beans
For learning, choose coffee with a roast date from a roaster that provides a recommended brew window or espresso recipe when possible. There is no universal “best day after roast” that applies to every coffee.
Four useful beginner rules
- Use coffee you can replace. Learning is easier when you can buy the same coffee again and compare changes.
- Start with a forgiving flavor profile. Medium and medium-dark espresso blends often make cause-and-effect easier to taste, but lighter coffees are not off-limits.
- Store beans sealed and away from heat, light, and moisture. Grind immediately before brewing when possible.
- Do not diagnose only from crema. Crema changes with roast, freshness, coffee species, and recipe; taste is the better endpoint.
See Best Coffee Beans for Espresso for roast and flavor considerations.
Step-by-Step: Pulling Your First Espresso Shot
1. Warm the machine according to its design
Follow the manufacturer’s warm-up guidance. Some modern fast-heating machines are ready quickly; traditional boiler machines and heavy portafilters may benefit from more time to reach thermal stability. Warm the cup and portafilter when that fits the machine’s normal workflow.
2. Choose a dose that fits the basket
Eighteen grams is a common example for many double baskets, but it is not a universal dose. Use the basket’s practical range and leave enough headspace that the prepared puck does not interfere with the shower screen.
3. Grind fresh
Start within your grinder maker’s espresso range if one is published. For the K6, KINGrinder currently shows an extra-fine reference band around 15–25 clicks, but calibration and coffee vary. The first setting is only a starting point.
4. Distribute and tamp level
Break up obvious clumps and distribute the grounds so the bed is reasonably even. Tamp level until the puck is compressed. Additional force after the puck has stopped compressing is not the goal.
5. Brew on a scale
Tare the cup on the scale and start the shot. A 1:2 brew ratio is a useful baseline for many coffees—for example, 18 g in and about 36 g out—but treat it as a reference, not a law.
6. Record time, but do not worship the clock
Record how long the shot took to reach the target yield. Time helps diagnose flow, but there is no single pass/fail window for every coffee and machine.
7. Taste, then change one variable
If the shot is thin, sharp, and reaches the target yield unusually fast, try a finer grind. If it is harsh, drying, and reaches the yield very slowly, try a coarser grind or shorter yield. If it is balanced but too intense or too dilute, experiment with yield. Keep the other variables stable so the result teaches you something.
Understanding Extraction: What Your Espresso Is Telling You
Every espresso shot tastes the way it does because of extraction sequence — the order in which compounds dissolve out of the coffee grounds under pressure. Acids extract first and fastest, then sugars and body, then bitter compounds last. A balanced shot successfully extracts through all three phases without ending too early (sour) or running too long (bitter). Understanding which phase you’re tasting tells you exactly what adjustment to make.
| What you taste | Extraction phase | What it means | Primary fix |
|---|---|---|---|
| Sharp sourness, hollow body, thin crema | Acids only — stopped too early | Under-extraction: grind too coarse, shot too fast, temp too low, or beans too fresh | Grind 1 click finer → re-pull |
| Sweetness, chocolate, caramel, round body | Sugars and aromatics — the target zone | Correct extraction — the flavour you’re aiming for | No change — you’re dialled in |
| Dry bitterness, harsh finish, dark crema | Bitter compounds — ran too long or too hot | Over-extraction: grind too fine, temp too high, shot too slow, or stale beans | Grind 1 click coarser → re-pull |
| Sour AND bitter in the same shot | Uneven — channels and dense zones extracting differently | Channelling from uneven distribution or tamping | Improve distribution + WDT before adjusting grind |
| Flat, papery, hollow — no brightness or sweetness | Extraction is technically correct but from stale material | Stale beans — CO2 depleted, aromatics oxidised | Buy fresh beans with a roast date — no technique fix available |
Dialing In for Beginners: The One-Variable Method
Dialing in is not finding a magic number. It is building a repeatable baseline, tasting it, then changing one variable at a time.
Starting baseline
- Dose: use a basket-appropriate dose and keep it stable while testing.
- Yield: begin around a sensible ratio such as 1:2 when you need a neutral reference.
- Grind: start within the grinder’s espresso reference range and adjust to control flow.
- Temperature: use the machine’s normal/default setting first unless the coffee or manufacturer gives a better recommendation.
- Pre-infusion: if the machine provides it automatically, let the machine run its normal sequence before changing advanced settings.
Taste → adjustment decision tree
| What you taste / observe | Check first | One useful next move |
|---|---|---|
| Thin, sour, fast | Dose, grind, puck prep, temperature | Try a finer grind |
| Harsh, dry, slow | Grind, yield, temperature, cleanliness | Try a coarser grind or shorter yield |
| Balanced but too intense | Recipe is otherwise repeatable | Extend yield slightly |
| Balanced but too weak | Basket is correctly dosed | Shorten yield slightly |
| Inconsistent shot to shot | Dose, distribution, tamp, grinder retention, warm-up routine | Standardize the workflow before changing the recipe |
Keep a short log: coffee, dose, yield, time, grinder setting, temperature setting if adjustable, and what you tasted. That turns trial and error into a repeatable process.
Milk Steaming Basics: Cappuccino and Flat White
Good milk texture is a separate skill from pulling espresso. The aim is glossy, integrated microfoam rather than a cap of large dry bubbles.
Manual steam-wand method
- Start with cold milk in a pitcher sized for the drink.
- Purge the wand according to the machine manual.
- Place the steam tip near the surface and introduce air gradually rather than by a fixed number of seconds.
- Once enough air is incorporated, position the tip to create a rolling vortex that integrates the bubbles.
- Stop before the milk becomes scalding; many baristas work around the low-to-mid 60s °C, but use the milk, pitcher, and machine as guides.
- Wipe and purge the steam wand immediately after use.
Milk amount and drink style
Drink names vary by café and region, so use them as rough guides. A cappuccino generally uses a smaller milk volume and more aeration than a latte; a flat white generally uses less foam and a tighter texture. Adjust the pitcher volume to the drink rather than chasing one universal ratio.
10 Common Beginner Espresso Mistakes
- Changing several variables at once. You lose the ability to tell what fixed or worsened the shot.
- Ignoring the grinder. A machine cannot compensate for a grinder that cannot make repeatable espresso adjustments.
- Not weighing dose and beverage yield. Without those numbers, recipes are difficult to repeat.
- Forcing every coffee into the same shot time. Time is diagnostic, not a universal quality score.
- Using one fixed grind setting for every coffee. Roast, age, dose, basket, humidity, and machine behavior change the useful setting.
- Tamping at an angle. Level puck preparation matters more than a specific force number.
- Buying accessories before solving the core workflow. Start with machine, grinder, scale, tamper, coffee, and water.
- Judging freshness only by crema. Crema is not a direct quality score.
- Skipping cleaning. Old coffee oils and milk residue can create flavors that look like a recipe problem.
- Upgrading before identifying the limitation. Name the problem you are trying to solve before buying another machine or grinder.
Troubleshooting Matrix: Common Beginner Problems
| Problem | Likely areas to check | First useful test |
|---|---|---|
| Sour, thin, or sharp | Grind, dose, yield, temperature, puck prep | Keep dose/yield stable and try a finer grind |
| Harsh, bitter, or drying | Grind, yield, temperature, roast, cleanliness | Try a coarser grind or slightly shorter yield |
| Target yield arrives unusually fast | Grind too coarse, low dose, damaged puck | Verify dose and puck prep, then grind finer |
| Target yield arrives unusually slowly | Grind too fine, overdosed basket, blocked flow path | Check basket fill and cleanliness, then grind coarser |
| Uneven / spurting flow | Distribution, clumps, tamp level, basket fill | Improve puck preparation before changing the recipe |
| Weak milk texture | Steam-tip position, air introduction, milk volume | Use less air and build a stable vortex |
| No crema | Coffee, roast, freshness, basket style, recipe | Taste the shot first; do not diagnose quality from crema alone |
| Day-to-day inconsistency | Dose, grinder setting, coffee age, warm-up, puck prep | Write down the recipe and standardize each step |
What to Buy Next: Upgrade by Limitation
Do not follow a generic upgrade ladder. Upgrade when you can describe the problem your current setup cannot solve.
| If the limitation is… | Consider | Why |
|---|---|---|
| Grind steps are too coarse | A grinder with finer espresso adjustment | Improves control over flow without changing the machine |
| Milk workflow is too slow | Stronger steam system, heat exchanger, or dual boiler | Reduces waiting between brewing and steaming |
| Temperature control is limiting lighter coffees | A machine with more direct brew-temperature control | Adds another controlled variable once grinder and puck prep are stable |
| You want less manual preparation | Assisted or super-automatic workflow | Trades direct control for convenience |
| You want to learn more, not buy more | Better coffee, a scale, and a shot log | Often reveals that the current setup has more capability than expected |
Quick Reference: Beginner Espresso Cheat Sheet
| Variable | Starting reference | What to change |
|---|---|---|
| Dose | Use a dose that fits the basket | Keep stable while dialing grind/yield |
| Yield | Around 1:2 when you need a neutral baseline | Longer for less concentration; shorter for more concentration |
| Shot time | Record it | Use it to diagnose flow, not as a universal pass/fail range |
| Grind | Start in the grinder’s espresso range | Finer usually slows flow; coarser usually speeds it |
| Tamp | Level and fully compressed | Fix unevenness rather than chasing a force number |
| Temperature | Use machine default / coffee recommendation first | Adjust later when grind and recipe are stable |
FAQs: Beginner Espresso Guide
What equipment do I need to start making espresso at home?
How much does a beginner espresso setup cost?
Why does my espresso taste sour?
Why does my espresso taste bitter or drying?
Can I use a blade grinder for espresso?
What is a 1:2 espresso ratio?
Do I need pre-infusion?
How long does it take to learn home espresso?
CoffeeGearHub shortlist
Keep learning before you buy more
These CoffeeGearHub pages cover the machine, grinder, and dial-in decisions that matter most after this guide.
Continue Learning
In this guide
- The 30-Second Answer
- What Is Espresso — And Why Is It Different From Other Coffee?
- Equipment Overview: What You Actually Need
- Choosing Your First Espresso Machine: Three Different Workflows
- Choosing Your First Grinder: Give Yourself Room to Dial In
- Essential Accessories: Tamper, Scale, and Basket Fit
- Choosing Your First Espresso Beans
- Step-by-Step: Pulling Your First Espresso Shot
- Understanding Extraction: What Your Espresso Is Telling You
- Dialing In for Beginners: The One-Variable Method
- Milk Steaming Basics: Cappuccino and Flat White
- 10 Common Beginner Espresso Mistakes
- Troubleshooting Matrix: Common Beginner Problems
- What to Buy Next: Upgrade by Limitation
- Quick Reference: Beginner Espresso Cheat Sheet
- FAQs: Beginner Espresso Guide
- Continue Learning