
How to Froth Milk Without a Steam Wand: 7 Methods That Work (2026)
Editorial standards: methods are based on manufacturer instructions, established barista technique, and CoffeeGearHub’s existing milk and frother guides. CoffeeGearHub does not claim hands-on testing where it has not occurred.
At a glance
What this milk-frothing guide covers
What a steam wand actually does and how to copy it, seven ways to froth milk at home, the right temperature, which milks foam best, cold foam, the coffee to put underneath, four easy drinks, how to fix foam that goes wrong, and our recommendation.
Editorial analysis
Good foam comes from two steps, not special equipment
A steam wand does two jobs at once: it heats milk and adds air. Without one, you simply split those jobs. Heat the milk gently to about 60°C (140°F), then add air and break the bubbles down into a fine, glossy foam. Almost any method that does those two things can make a good latte or cappuccino.
The method you choose mostly changes how fine the foam is, how much effort it takes, and how repeatable it is from one morning to the next. Electric frothers are the easiest and most consistent; manual methods cost little or nothing and can produce surprisingly good results with practice.
The 30-Second Answer
To froth milk without a steam wand, warm the milk to about 60°C (140°F), then aerate it with a frother, a French press, a sealed jar, or a whisk until it roughly doubles for a cappuccino or grows by about a third for a latte. Tap and swirl to remove big bubbles, then pour right away.
For the easiest, most consistent results, use an electric frother such as the Nespresso Aeroccino or Breville Milk Café. For a free method, shake milk in a jar, then microwave it briefly with the lid off. For the closest thing to steamed microfoam, use a French press or a NanoFoamer with properly heated milk.
Compare current options
Start with these representative choices
Three easy routes to café-style milk at home. Our best milk frothers guide compares more options.
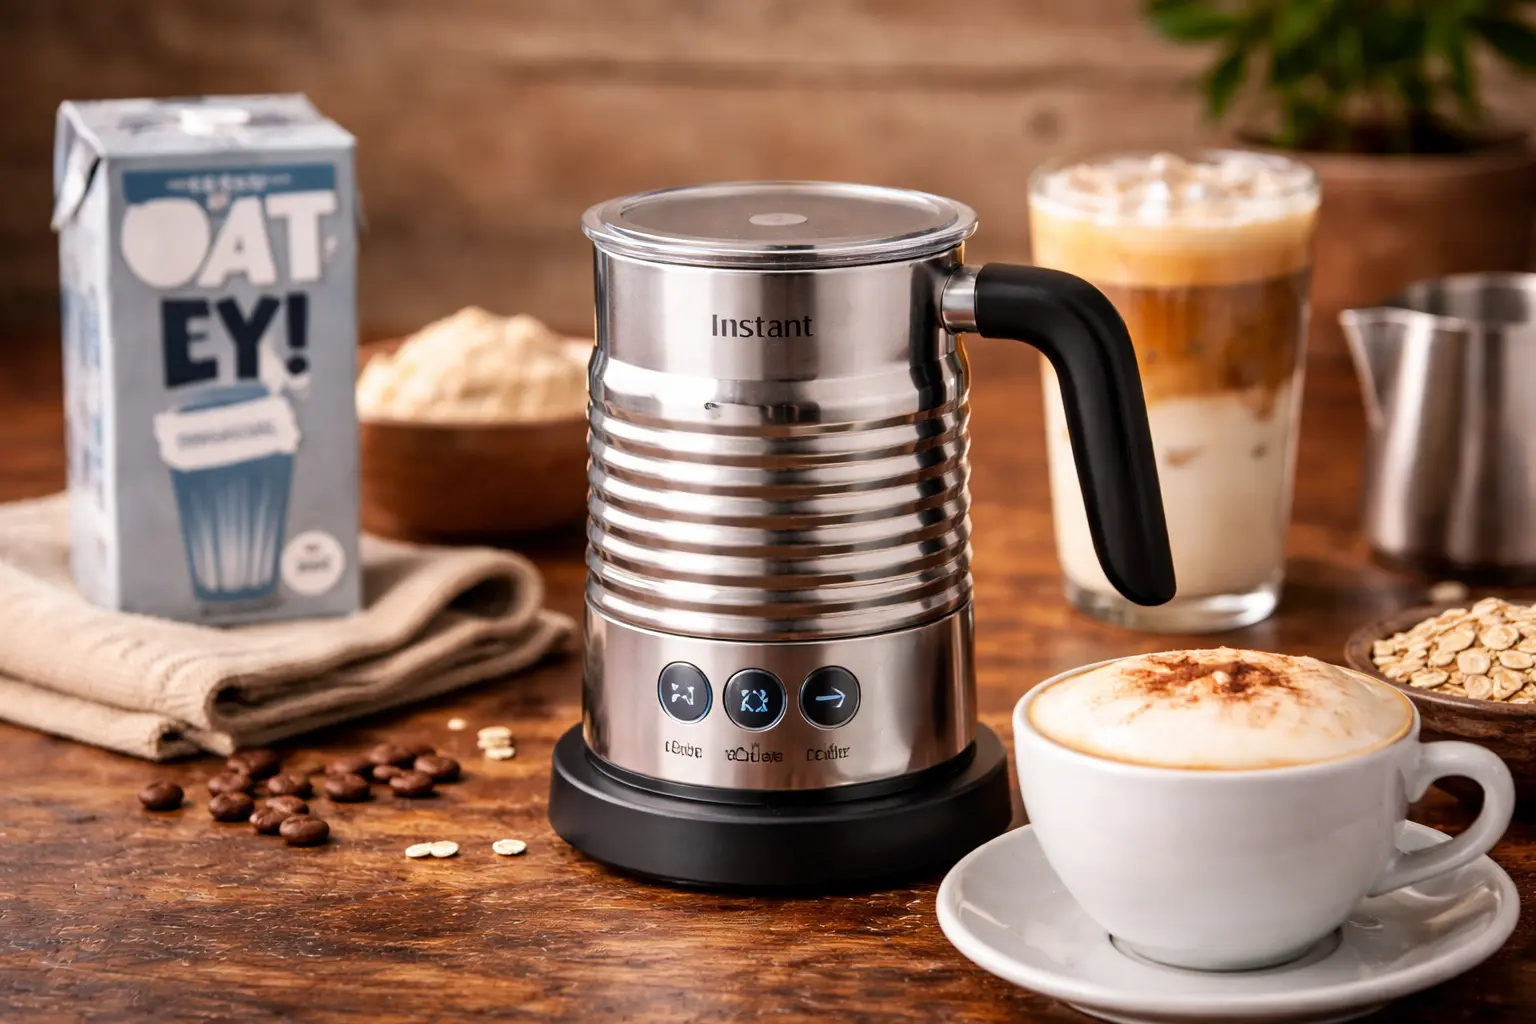
Nespresso Aeroccino 4 — One-button foam
Heats and froths in one step, with settings for hot foam, hot milk, and cold foam. Popular for barista-style oat and almond milks.
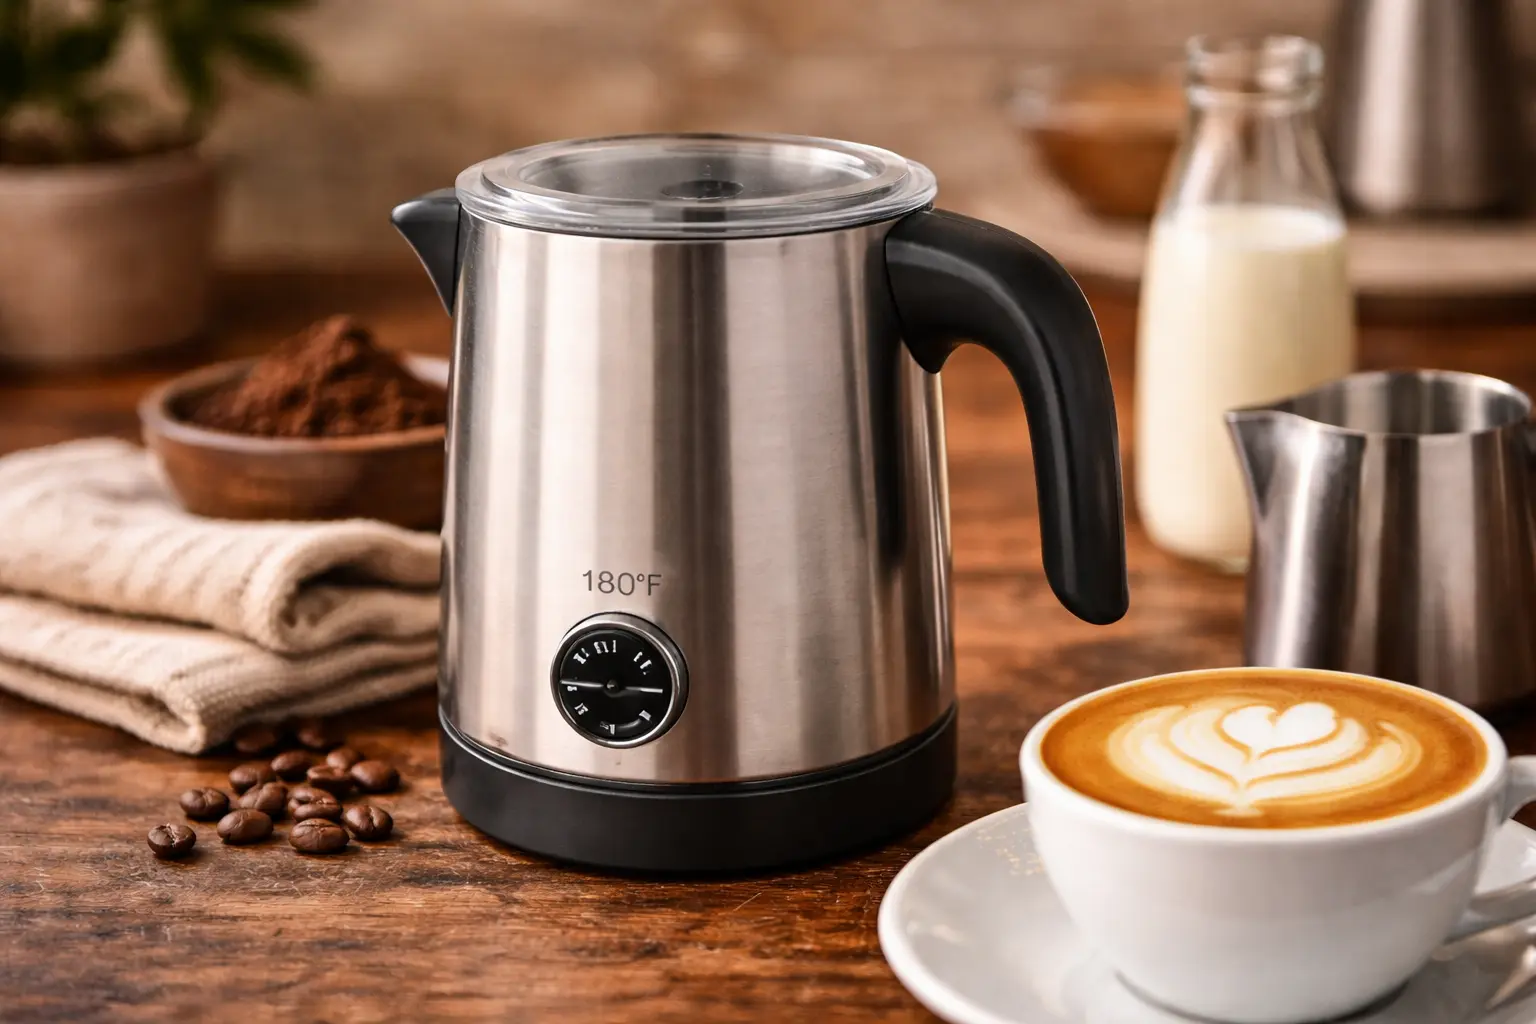
Breville Milk Café — Best texture
Adjustable temperature and interchangeable discs make it one of the closest steam-wand alternatives for silky latte milk.
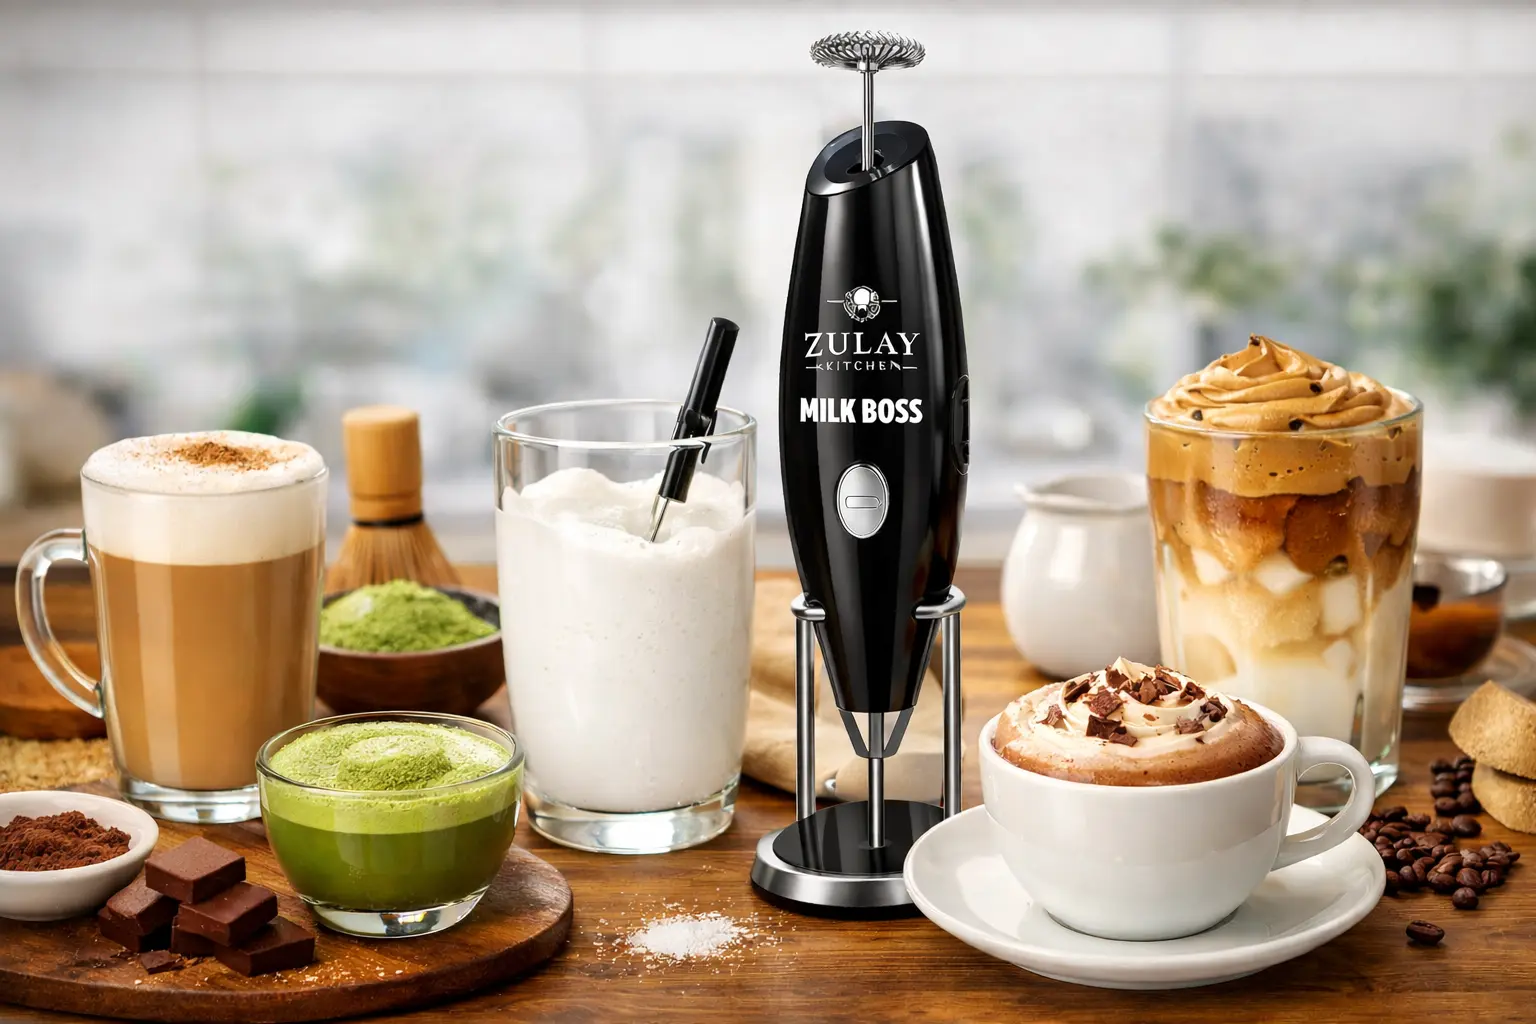
Zulay Milk Boss — Budget handheld
A powerful, inexpensive wand for quick single-cup foam. Heat the milk separately first.
Affiliate disclosure: Amazon links may earn CoffeeGearHub a commission at no additional cost to you. Prices and availability can change.
What a Steam Wand Does, and How to Copy It
Steamed milk feels luxurious for a simple reason: it is hot, it holds a little air, and that air is broken into bubbles so small you cannot see them. Baristas call it microfoam, and its glossy, wet-paint texture is what lets milk blend into espresso instead of sitting on top of it as a dry cap.
A steam wand creates all three conditions at once. Without one, you recreate them in sequence. First, heat the milk to roughly 55–65°C (130–150°F), hot to the touch but nowhere near boiling. Above about 70°C (158°F), milk proteins change, the taste turns cooked, and foam collapses quickly. Second, add air near the surface for a few seconds. Third, keep mixing below the surface so large bubbles are broken into small ones, then tap the container on the counter and swirl until the surface turns glossy.
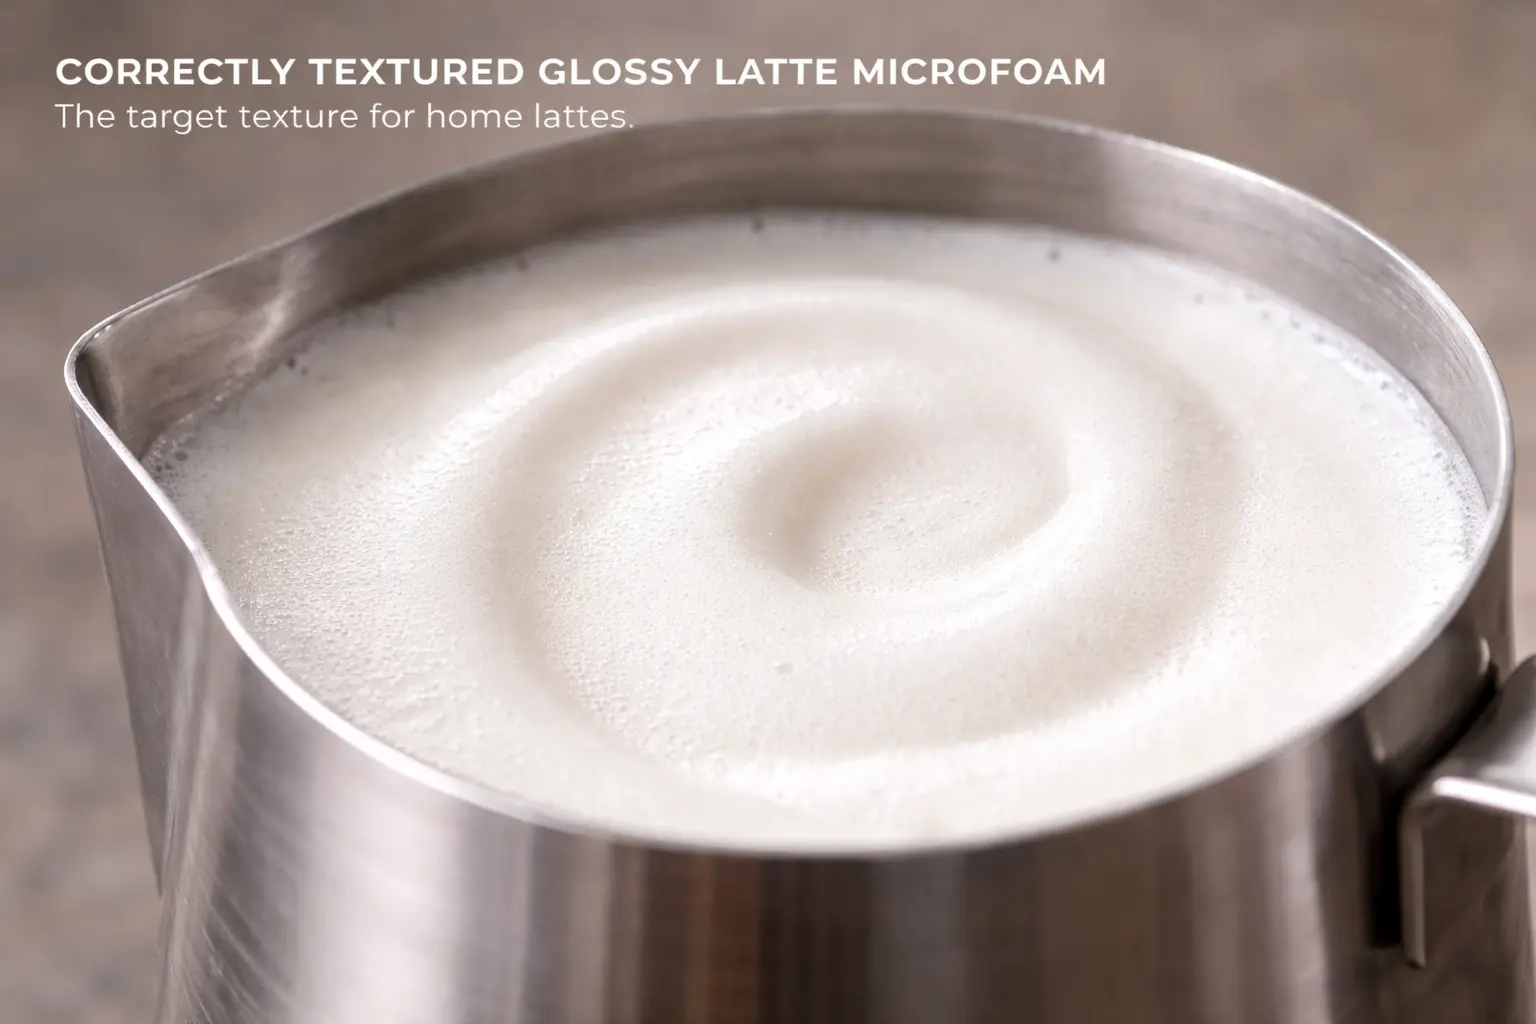
How much air you add decides the drink. A latte wants silky milk that grows by about a quarter to a third, with only a thin layer of foam. A flat white wants even less, just enough to give the milk a satin sheen. A cappuccino wants the milk to roughly double, with a thicker, airier cap. A cortado is barely textured at all. If you are unsure which drink you are aiming for, our latte vs cappuccino vs flat white and cortado vs macchiato guides explain the differences.
Seven Ways to Froth Milk at Home
Every method below follows the same heat, air, texture logic. They differ in how much of the work they do for you, how fine the foam gets, and what they cost. The table gives the overview; the sections that follow explain when each one makes sense.
| Method | Foam quality | Effort | Cost | Best for |
|---|---|---|---|---|
| Electric frother | Very good, consistent | Lowest | Moderate | Daily lattes and cappuccinos |
| Handheld wand frother | Good with practice | Low | Low | Single cups on a budget |
| French press | Very good microfoam | Medium | Low (if you own one) | Latte-style milk |
| NanoFoamer-style tool | Very fine microfoam | Medium | Low to moderate | Latte art practice |
| Jar and microwave | Fair to good | Low | Free | Occasional drinks |
| Whisk | Fair | High | Free | When you have nothing else |
| Stovetop steamer | Closest to steam | Medium | Moderate | Real steamed milk without an espresso machine |
Electric frothers: the easy daily answer
If you make milk drinks most days, an electric frother is the method most people end up keeping. It heats and froths at the same time with a spinning whisk or magnetic disc: pour cold milk to the marked line, choose hot foam, hot milk, or cold foam, press a button, and walk away. Most finish in a minute or two and switch themselves off, which makes the result remarkably repeatable.
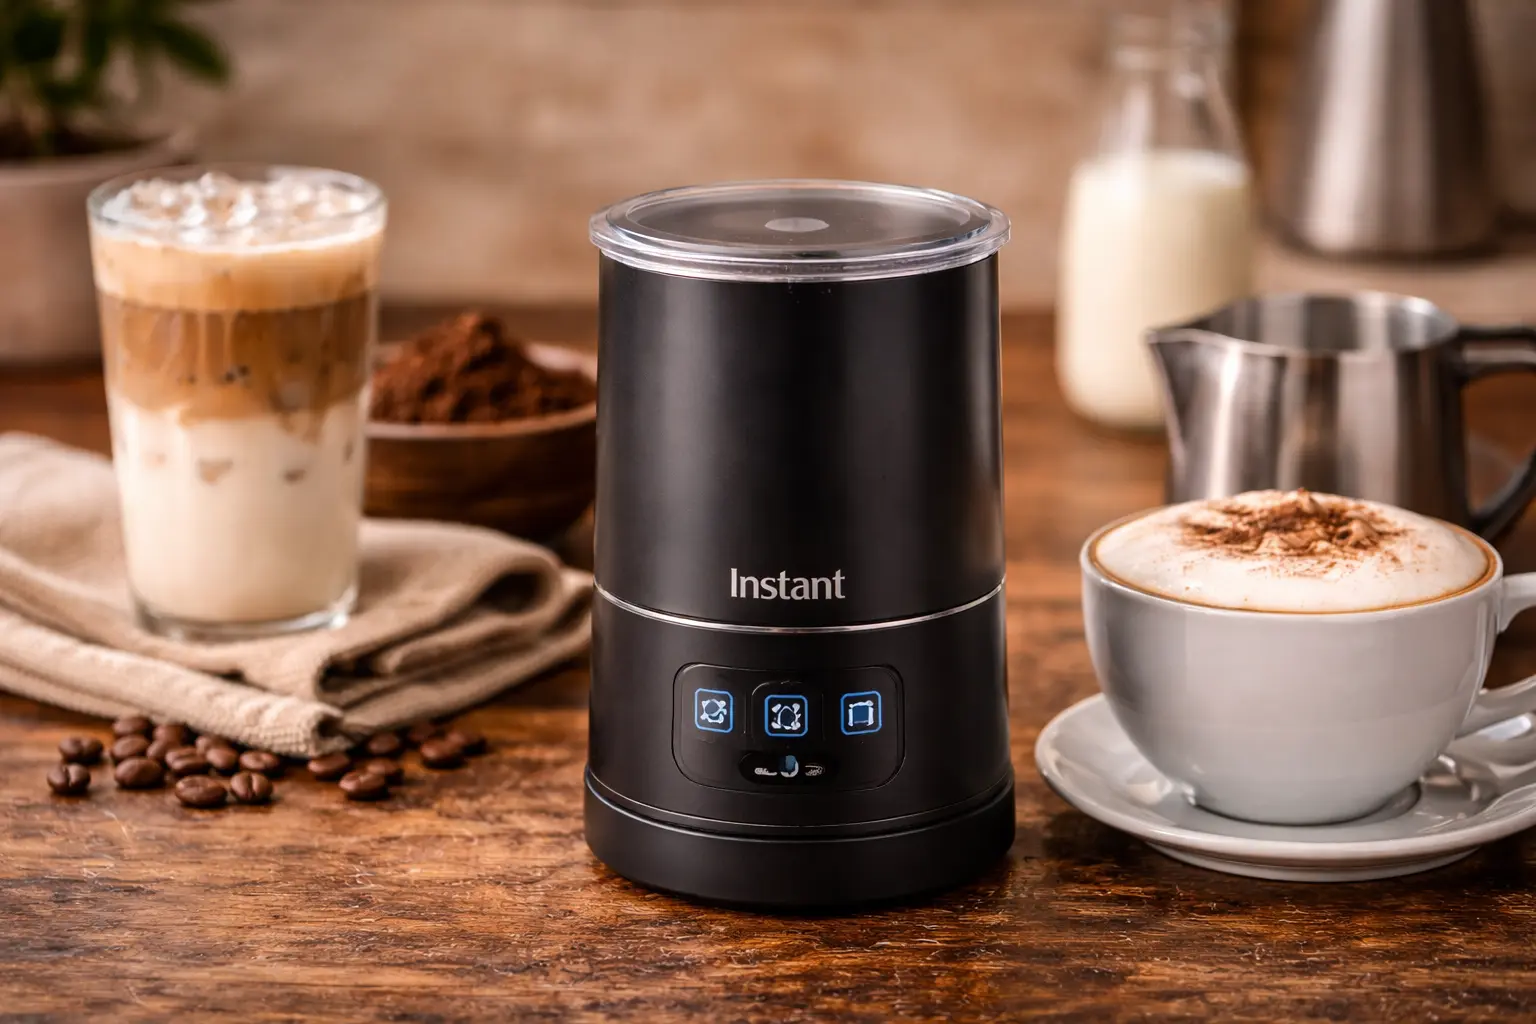
The Nespresso Aeroccino 4 is the simplest of the popular options, with no temperature setting to think about and a strong reputation with barista oat and almond milks. The Breville Milk Café costs more but adds adjustable temperature, a larger jug, and interchangeable discs for latte or cappuccino texture, and its milk is about as close to a steam wand as a jug frother gets. If you want an electric frother for less, the Instant Milk Frother handles everyday drinking foam well, though its foam is rarely fine enough for latte art. Whichever you use, start with cold milk, respect the fill lines, and rinse the jug while the milk is still easy to wipe away.
Handheld wand frothers: cheap and fast, if you heat first
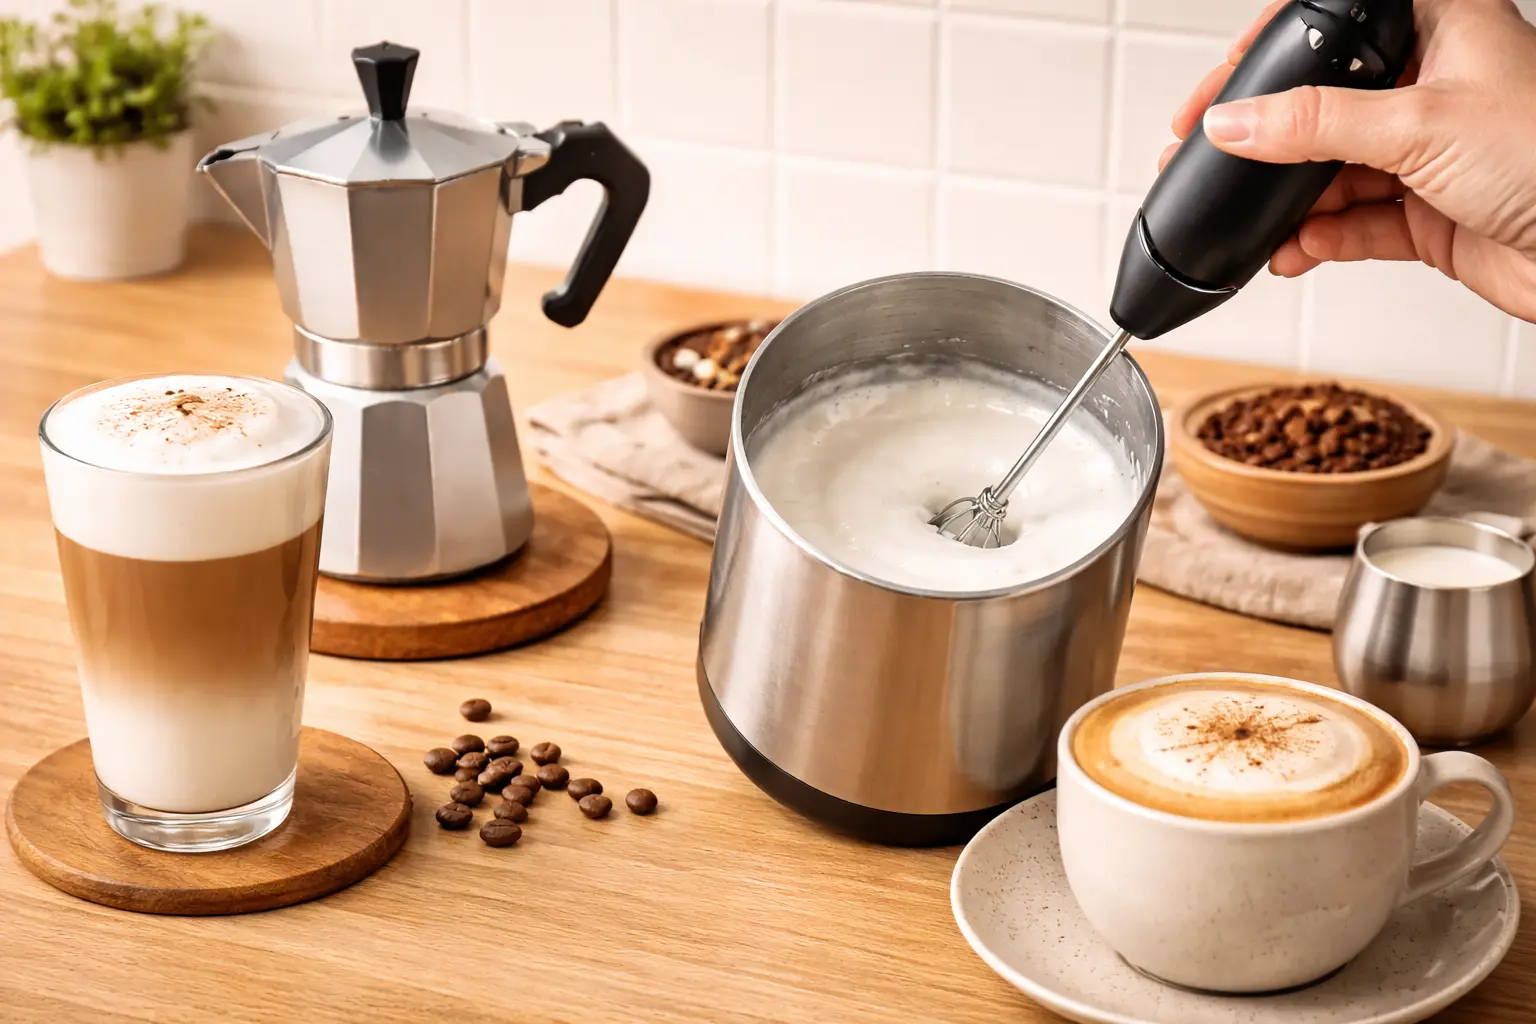
A battery-powered wand like the Zulay Milk Boss spins a small whisk very fast. It adds air beautifully but does not heat, so warm the milk first in a microwave or saucepan. Hold the whisk just below the surface for two or three seconds to draw in air, then sink it deeper for another ten to fifteen seconds to break the bubbles down.
Technique matters more here than with any electric jug, and the container matters too. A tall, narrow pitcher keeps the milk swirling in a vortex; a wide mug lets it splash and produces coarse, soapy foam. Used well, a wand is the cheapest way to make a perfectly respectable cappuccino.
French press: the best free microfoam
If you already own a French press, you own one of the best manual milk tools there is. The mesh screen acts like a fine sieve, shearing bubbles smaller with every plunge, and the result can be glossy, pourable milk that is genuinely suitable for a latte. The routine takes about a minute:
- Heat milk to about 60°C and pour it into a clean French press, filling no more than a third of the way.
- Put the lid on and pump the plunger quickly near the surface 10–15 times to add air.
- Make slower, deeper pumps for another 10–15 seconds to refine the foam.
- Remove the lid, tap the press on the counter, swirl until glossy, and pour.
Keep the press clean, or reserve one just for milk, because leftover coffee oils flatten foam. Pumping longer gives drier, stiffer foam for a cappuccino; stopping earlier keeps the milk silky for a latte or flat white.
NanoFoamer-style tools: for latte art practice
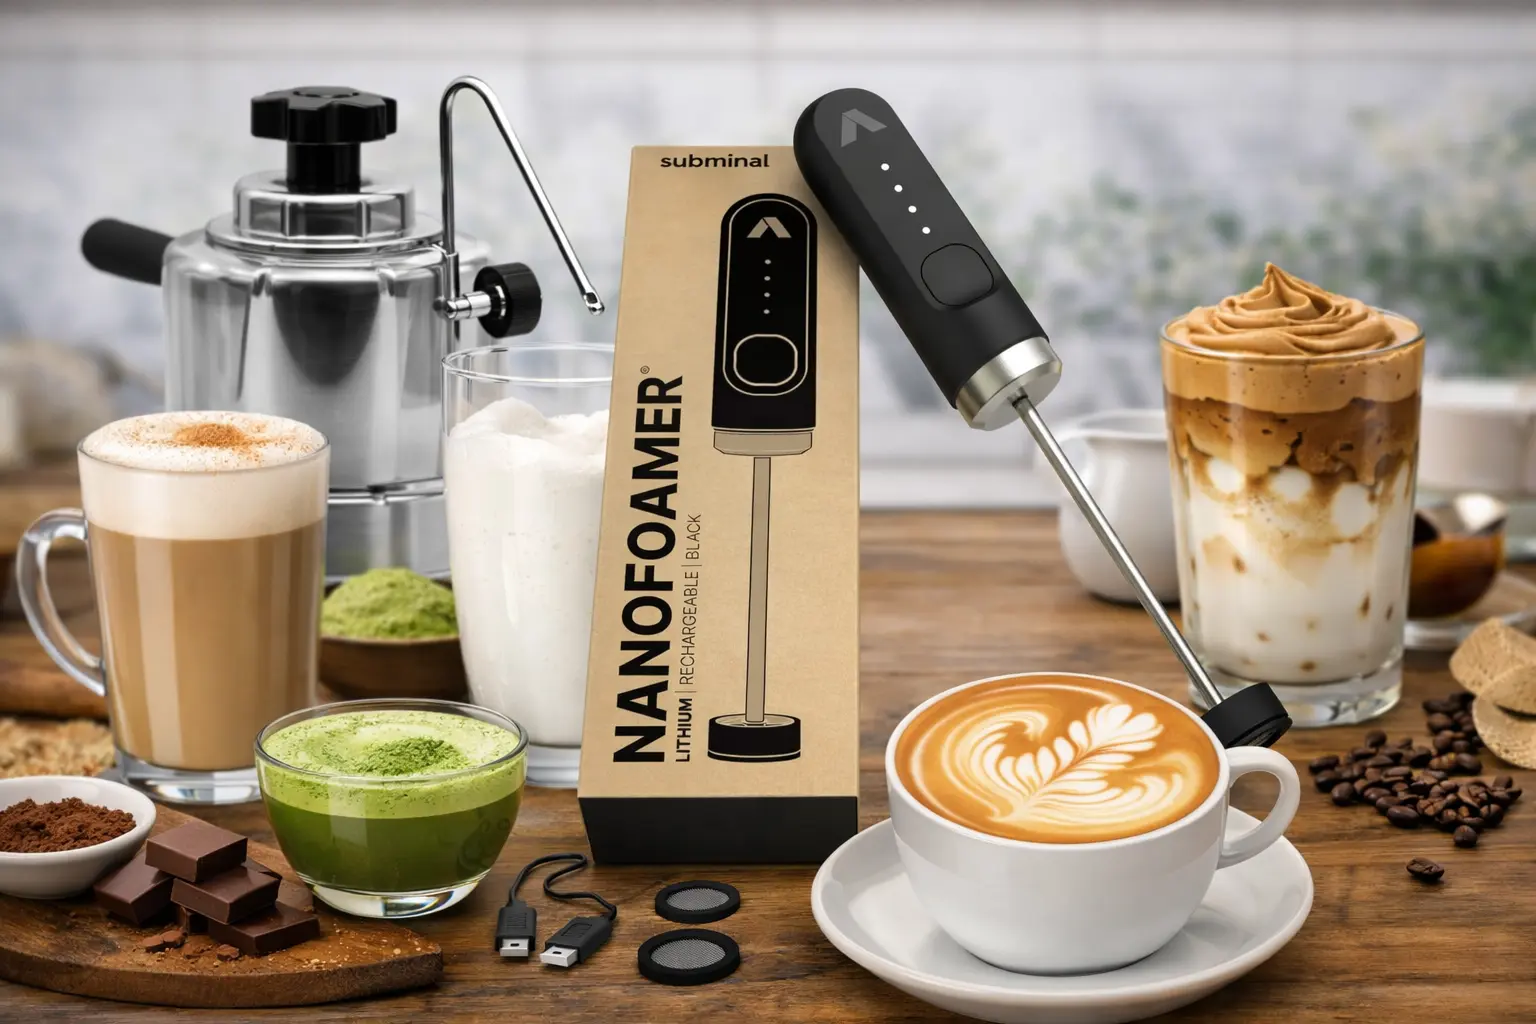
The Subminimal NanoFoamer looks like a handheld wand, but its fine screens are designed to make microfoam rather than ordinary bubbles. Heat the milk to about 60°C, aerate briefly, then texture for fifteen to twenty-five seconds until the surface turns glossy.
It asks for a little more technique than an electric jug and still needs a separate heating step, but for people who want to practice pouring hearts and tulips without an espresso machine, it is one of the most capable small tools available.
Jar and microwave, or a whisk: when you have nothing else
The jar method costs nothing and works surprisingly well for a quick cappuccino-style drink. Fill a microwave-safe jar no more than halfway with cold milk, screw the lid on tightly, and shake hard for thirty to sixty seconds until the milk roughly doubles. Then take the lid off completely and microwave the jar for about thirty seconds; the heat sets the foam and it rises to the top. Never microwave a sealed jar. The foam is coarser than other methods, so spoon it over the coffee rather than trying to pour art.
A whisk is the last resort, and it does work. Warm the milk in a small saucepan, tilt the pan, and whisk vigorously back and forth at the surface for about a minute. Your arm will notice, and the foam will be coarse, but you will have a hot, foamy milk drink with nothing more than a kitchen drawer.
Stovetop steamer: real steam without an espresso machine
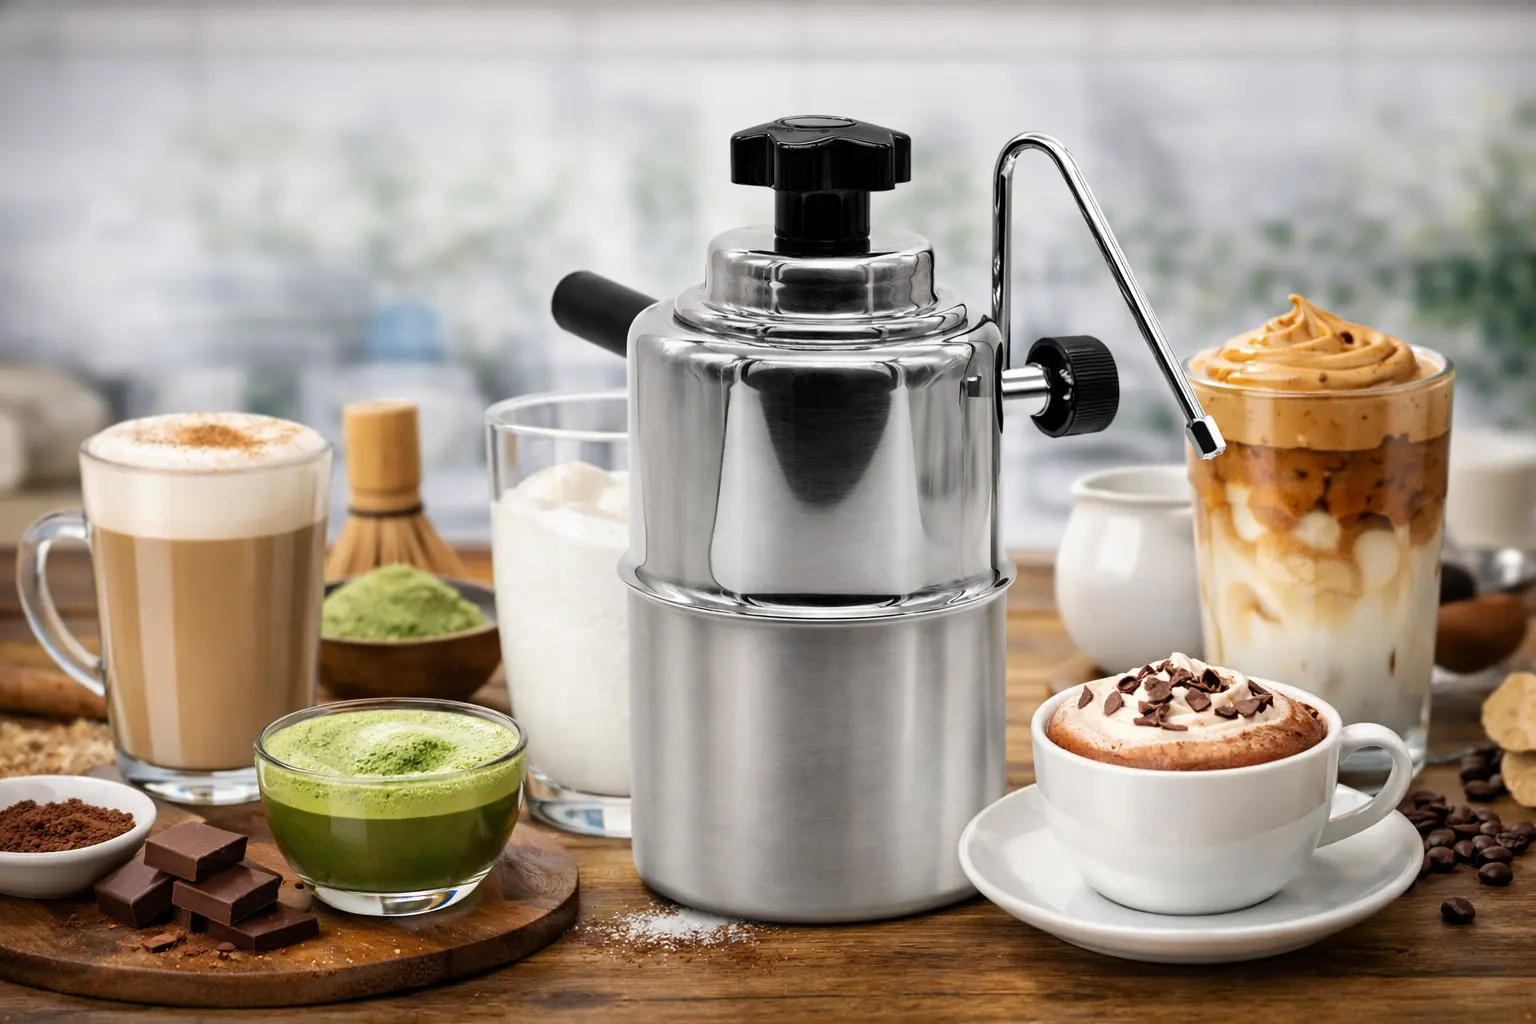
A stovetop steamer such as the Bellman is a small pressurized boiler with its own steam wand. You heat it on the stove and steam milk exactly as you would on an espresso machine, which makes it the only method in this guide that produces true steamed milk. It is a natural partner for a moka pot or AeroPress setup.
It is also the most involved option. The routine is slower, there is a learning curve, and because it holds pressurized steam you must follow the manufacturer’s instructions exactly. For people who want café-quality microfoam without buying an espresso machine, it is worth the effort.
Choosing the Right Milk
Milk choice changes foam more than most people expect. Proteins hold bubbles in place while fat adds body and sweetness, so different milks behave very differently under the same frother.
| Milk | Foam | Taste | Tips |
|---|---|---|---|
| Whole dairy | Creamy, stable, silky | Sweet and rich | The easiest milk to froth well |
| 2% dairy | Foams easily, slightly thinner | Lighter | Good balance of foam and body |
| Skim dairy | Lots of stiff, dry foam | Thin, less sweet | Great for big cappuccino foam, less silky |
| Barista-style oat | Smooth and stable | Creamy, naturally sweet | Choose “barista” versions for best foam |
| Soy | Foams well | Nutty | Do not overheat or it can separate |
| Almond | Thin unless a barista blend | Light, nutty | Barista blends foam far better |
Whole milk is the easiest to get right and the most forgiving of imperfect technique. Skim produces impressive mountains of foam but tastes thin. Among plant milks, the word “barista” on the carton matters: those versions add fat and stabilizers specifically so they foam like dairy, while regular oat or almond milk often turns thin and bubbly. Whatever you choose, fresh, cold milk foams best, and milk that is close to its date or has already been warmed once tends to disappoint.
Cold Foam for Iced Drinks
Cold foam is simply milk frothed without heat and spooned over iced coffee or cold brew, where it floats as a soft, sweet cap. Lower-fat milks and barista oat milk whip up best when cold, so skim or 2% is a good place to start. Use an electric frother’s cold setting or a handheld wand, and stop when the foam is thick enough to hold a spoon briefly. A splash of vanilla or simple syrup added before frothing turns it into the sweet cold foam coffee shops charge extra for. It is especially good on our cold brew and iced coffee recipes.
The Coffee Underneath Matters
Milk dilutes coffee, so the base has to be strong or the drink tastes like warm milk with a rumor of coffee in it. Without an espresso machine, a moka pot is the classic answer: it brews a concentrated, rich coffee that holds its own under a latte’s worth of milk, and our moka pot guide shows how to get it right. An AeroPress brewed short and strong works just as well, and our AeroPress latte recipe walks through the ratios. Capsule machines offer the quickest route of all, as our Nespresso vs espresso machine comparison explains. Even regular drip or French press coffee can work if you brew it stronger than usual, around 1:10 to 1:12.
Four Drinks to Make Tonight
Moka pot latte. Brew a three-cup moka pot with about 15–17 g of medium-fine coffee and pour 60–90 ml into a mug. Froth about 180 ml of milk to a silky latte texture, growing it by roughly a quarter. Pour the milk in, holding the foam back with a spoon at first, then finish with a thin layer of foam on top.
AeroPress cappuccino. Brew a short concentrate with about 18 g of fine-medium coffee and 80–90 g of water, steep for a minute, and press. Froth about 120 ml of milk until it roughly doubles, then pour it into a five- or six-ounce cup so the drink is close to equal parts coffee, milk, and foam.
Iced latte with cold foam. Fill a glass with ice, add 60–90 ml of strong coffee or cold brew concentrate, and pour in about 120 ml of cold milk. Froth another 60–90 ml of cold skim or barista oat milk until fluffy and spoon it over the top.
Café au lait. Brew strong drip or French press coffee at about 1:12. Heat an equal amount of milk to about 60°C and froth it only lightly. Pour the coffee and milk into a wide mug at the same time, in roughly equal parts, for the soft, comforting drink French cafés have served for generations.
Matching the Method to the Drink
For a silky latte or flat white, the Breville Milk Café and the French press produce the finest everyday texture, with a NanoFoamer close behind. For a foamy cappuccino, an electric frother on its foam setting does the job with no effort, and the jar method is a perfectly good free substitute. If latte art is the goal, the stovetop steamer and the NanoFoamer are the tools that make it realistic. For cold foam, use an electric frother’s cold setting or a handheld wand. And if speed matters most on busy mornings, nothing beats a one-button frother like the Aeroccino.
For any method that involves a wand, a NanoFoamer, or a stovetop steamer, a small stainless pitcher such as the Rattleware 12 oz makes a real difference: it keeps the milk spinning while you texture it and gives you a spout to pour from. In every case, the method matters less than getting the temperature right and pouring promptly, before foam and milk separate.
When Foam Goes Wrong, and How to Keep Gear Clean
Most foam problems trace back to one of three causes: too much air, too much heat, or waiting too long. Big, soapy bubbles mean you added air for too long or did not texture long enough afterward; aerate briefly, mix deeper, then tap and swirl before pouring. Foam that collapses within a minute usually means the milk overheated past about 65°C or the bubbles were too coarse to hold. Milk that tastes cooked has simply been heated too far, so stop around 60°C. If foam and milk separate into layers in the jug, you waited too long; swirl right before pouring and pour immediately.
If milk refuses to foam at all, check its freshness first, then the type. Old milk, milk that has been warmed before, and regular plant milks without stabilizers all struggle. Electric frothers also foam best when the milk starts cold. And if an electric frother begins to scorch milk, the culprit is almost always residue from the last batch.
That makes cleaning part of good technique rather than an afterthought. Rinse electric jugs with warm water right away and clean the whisk or disc separately, avoiding abrasive scrubbers on nonstick interiors. Run a handheld wand in a cup of warm water for a few seconds after use and wipe the shaft, without submerging the motor. Rinse French presses and NanoFoamers immediately, before milk proteins dry onto the mesh.
Our Recommendation
If you make milk drinks most days, buy an electric frother. The Nespresso Aeroccino 4 is the simplest choice and a reliable performer with plant milks; the Breville Milk Café costs more but gives you temperature control and the silkiest milk of any jug frother. Either one turns a moka pot, AeroPress, or capsule coffee into a café-style drink with almost no effort.
If you only want an occasional latte, start with what you have. A French press makes excellent microfoam for free, and a jar and microwave will carry you through a cappuccino craving. If you find yourself chasing latte art, that is the moment to look at a NanoFoamer or a stovetop steamer.
Pick a Frother
The Aeroccino is the simplest one-button choice; the Breville Milk Café gives the silkiest latte milk.
As an Amazon Associate, CoffeeGearHub earns from qualifying purchases.
Editorial bottom line: You do not need a steam wand for good milk drinks. Heat milk to about 60°C, add a little air, and texture until glossy. An electric frother is the easiest daily option, a French press or NanoFoamer gives the finest manual foam, and a jar and microwave work in a pinch.
Frequently Asked Questions
What temperature should milk be for frothing?
About 55–65°C (130–150°F) for hot drinks. Avoid boiling; above about 70°C milk tastes cooked and foam breaks down.
Is a French press good for frothing milk?
Yes. Pumping warm milk with the plunger makes fine, pourable microfoam. Fill no more than a third of the press.
Do handheld frothers heat milk?
No. Handheld wands only add air, so warm the milk first in a microwave or saucepan.
Can I make latte art without a steam wand?
Simple latte art is possible with very fine microfoam from a NanoFoamer, French press, Breville Milk Café, or stovetop steamer. Jar and whisk foam is usually too coarse.
Why won’t my oat milk froth?
Regular oat milk often lacks the fat and stabilizers needed. Choose a barista version and do not overheat it.
Can I froth milk in advance?
It is best not to. Foam starts separating from the milk within a few minutes, so froth just before you pour.
Sources and Further Reading
Techniques follow manufacturer instructions for the frothers shown and CoffeeGearHub’s existing milk frother and steaming guides. Temperatures reflect established barista practice. Always follow the manufacturer’s safety instructions, especially for pressurized stovetop steamers.
CoffeeGearHub product shortlist
Continue with related products on CoffeeGearHub
Review product categories and current verified merchant offers on CoffeeGearHub before leaving the site.
Continue Learning
Coffee without an espresso machine