
Hario V60 Recipe: A Step-by-Step Pour-Over Method That Works (2026)
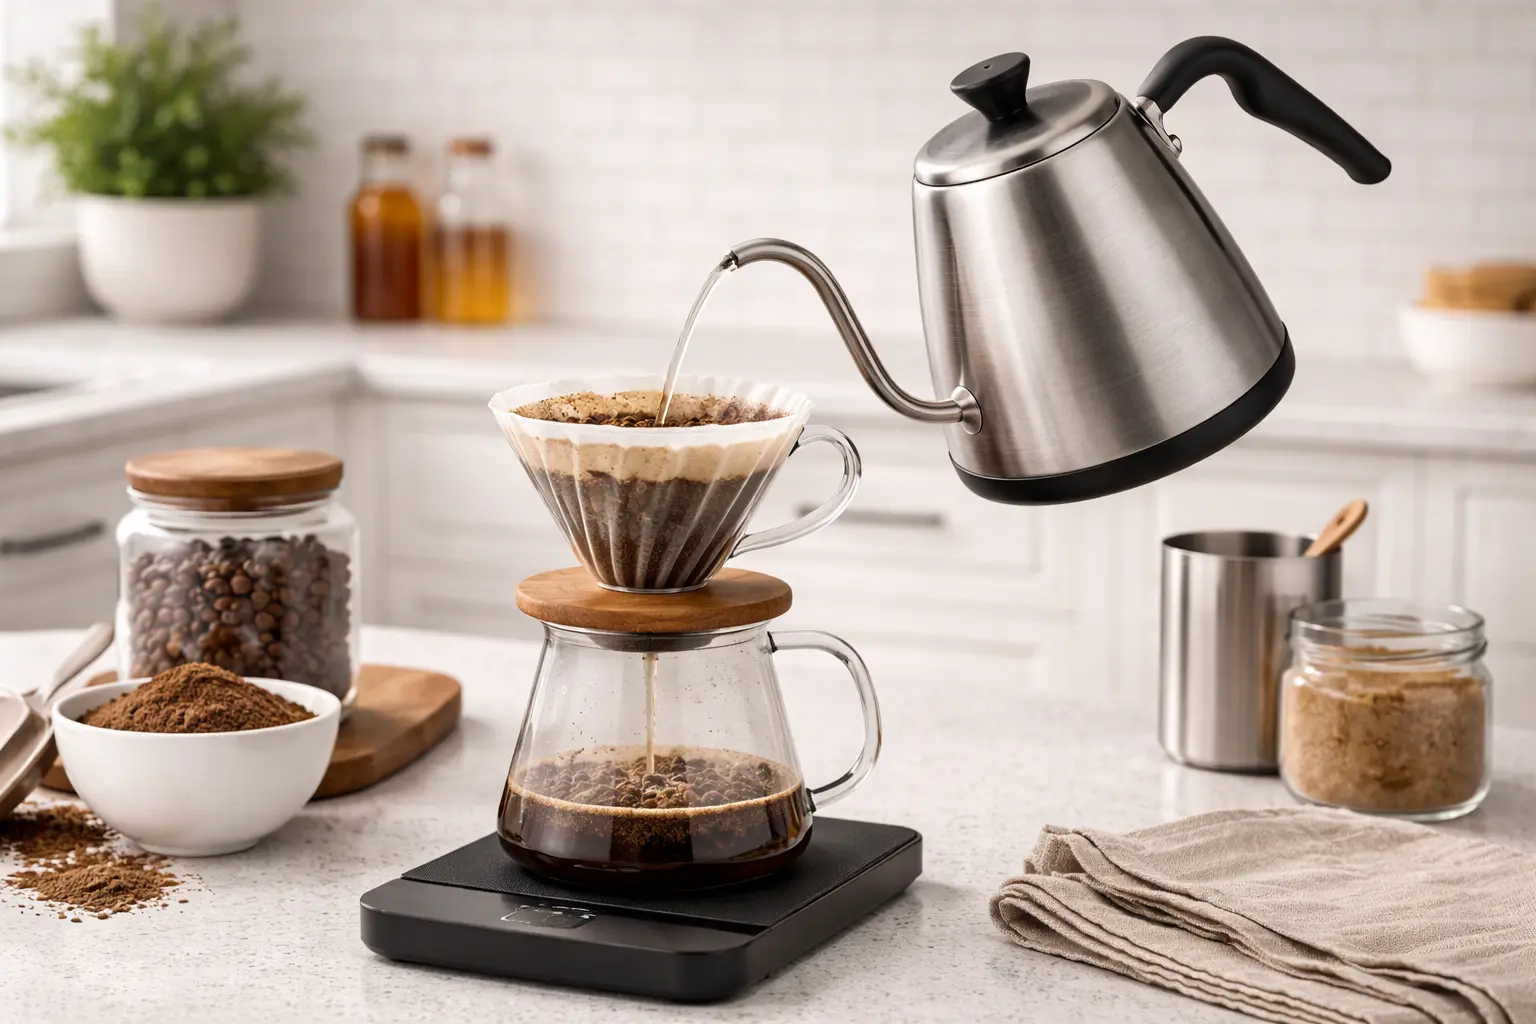
Editorial standards: this recipe reflects widely published pour-over practice, Hario’s brewing guidance, Specialty Coffee Association brewing ranges, and CoffeeGearHub’s existing pour-over guides. Treat every number as a starting point to adjust by taste. CoffeeGearHub does not claim hands-on testing where it has not occurred.
At a glance
What this V60 recipe guide covers
A complete 15 g / 250 g V60 recipe with timings, why the cone shape makes a recipe matter, rinsing and setup, the bloom, pour technique, reading the drawdown, how to dial in sour or bitter cups, how to scale the recipe for two or more people, and the gear that makes it repeatable.
Editorial analysis
The V60 does exactly what you tell it to, which is why a recipe matters
The Hario V60 has one large hole at the bottom and spiral ribs up the sides. Nothing slows the water down except the coffee bed itself. That design is why the V60 can produce such a clean, bright, layered cup, and also why it can produce a thin or harsh one the next morning with the same beans.
A good recipe takes the guesswork out. Fix the dose, the water, the temperature, and the timings, and the only thing left to adjust is grind size. This guide gives you a dependable starting recipe and then explains what each step is doing, so you know which lever to pull when a cup is not quite right.
The 30-Second Answer
Use 15 g of coffee to 250 g of water (about 1:16.7), ground medium-fine, with water at 200–205°F (93–96°C). Bloom with 45 g of water for 30–45 seconds, pour to 150 g by 1:15 and to 250 g by 1:45, and aim to finish draining between 2:45 and 3:30.
If the cup tastes sour or thin, grind finer; if it tastes bitter, dry, or drains slowly, grind coarser. Change only the grind until the cup tastes right. Our pour-over grind size chart has starting settings for common grinders.
Compare current options
Start with these representative choices
The three pieces of gear that make this recipe repeatable. Our pour-over brewing setup guide covers the full kit.
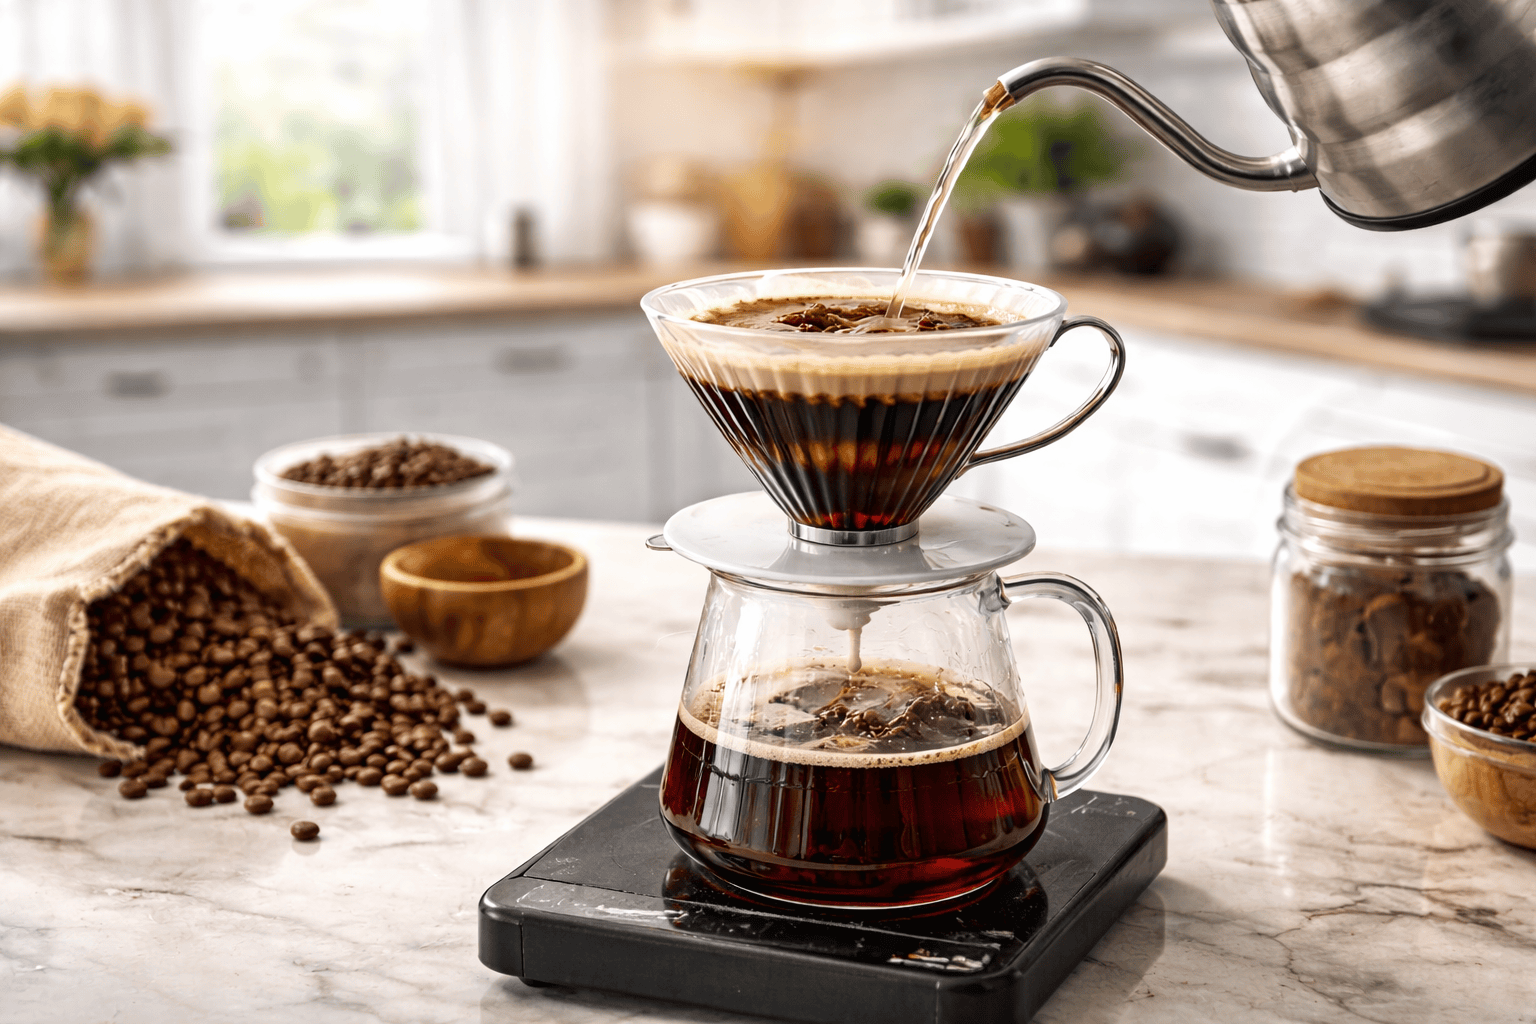
Hario V60 Plastic Dripper 02 — The brewer
The size 02 cone brews one or two cups. The plastic version holds heat well and is the most forgiving way to start.
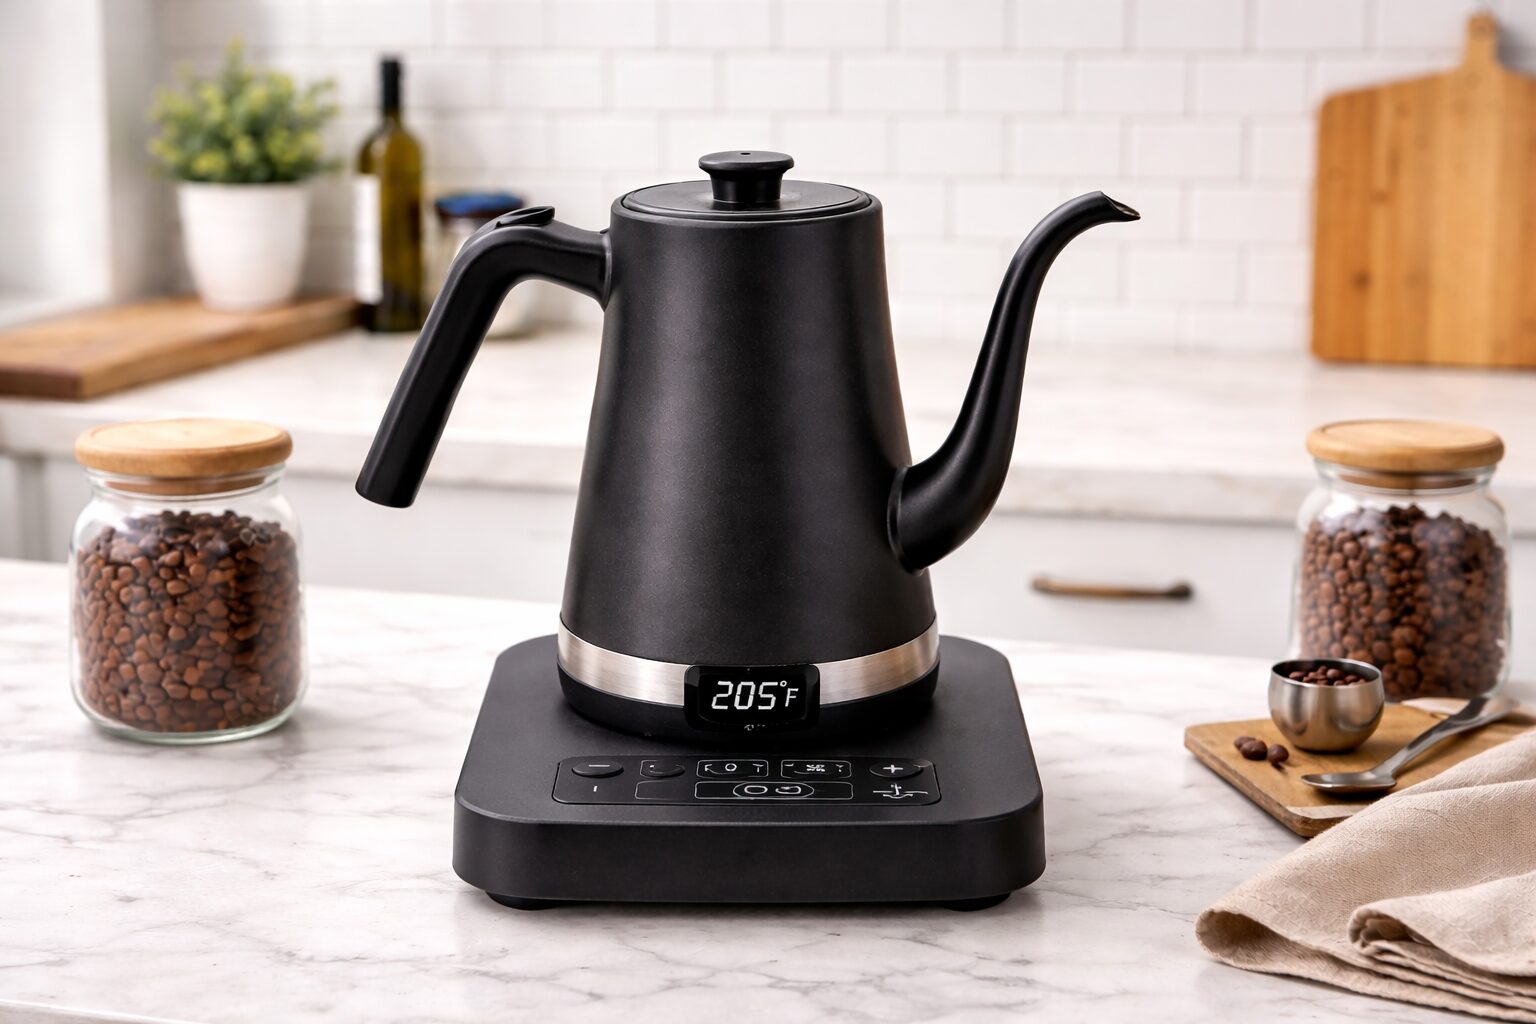
Fellow Stagg EKG — The kettle
A gooseneck spout for slow, controlled pours and a variable temperature setting so you hit the same water temperature every time.
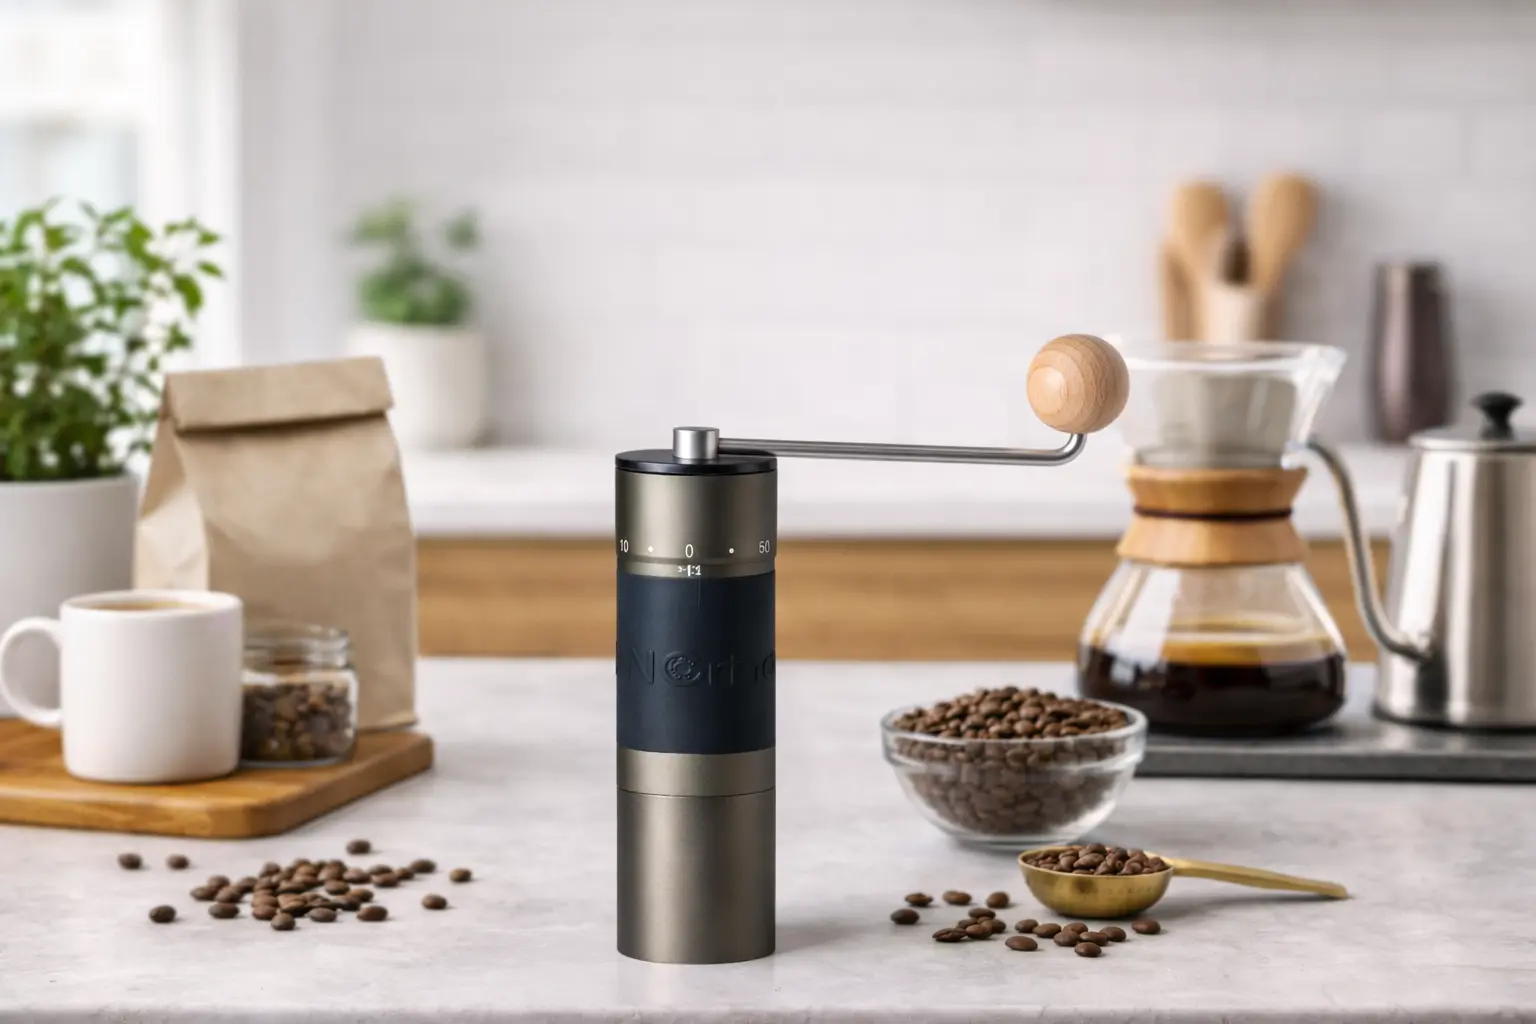
KINGrinder K6 — The grinder
A consistent burr grind with an external dial, so the one variable you adjust is easy to change in small steps.
Affiliate disclosure: Amazon links may earn CoffeeGearHub a commission at no additional cost to you. Prices and availability can change.
The V60 Recipe at a Glance
This is a balanced, single-cup recipe that suits most medium and light roasts. It is close to the approaches many experienced home brewers use, and it is deliberately simple: two main pours after the bloom, with clear checkpoints so you can tell whether you are on pace. Weigh everything, because a few grams either way changes the cup more than you might expect.
| Variable | Starting point |
|---|---|
| Coffee | 15 g, medium-fine |
| Water | 250 g (plus extra for rinsing) |
| Ratio | About 1:16.7 |
| Water temperature | 200–205°F (93–96°C); slightly cooler for dark roasts |
| Bloom | 45 g of water, 30–45 seconds |
| Pours | To 150 g by 1:15, to 250 g by 1:45 |
| Total time | About 2:45–3:30 |
| Yield | Roughly 215–220 g in the cup |
- Heat and rinse. Heat water to about 200–205°F (93–96°C). Place a paper filter in the V60, rinse it thoroughly with hot water to remove paper taste and preheat the dripper and server, then discard the rinse water.
- Grind and level. Grind 15 g of coffee medium-fine, a little finer than for drip. Add it to the filter, shake gently to level the bed, and tare the scale.
- Bloom. Start a timer and pour about 45 g of water, enough to wet every ground. Swirl the dripper gently and let it bloom for 30–45 seconds.
- Main pours. Pour in slow, steady circles to 150 g by about 1:15, then to 250 g by about 1:45, keeping the stream off the paper walls.
- Drawdown. Give the dripper a gentle swirl to flatten the bed and let it drain. Aim to finish between 2:45 and 3:30, then remove the dripper, swirl the server, and serve.
That is the whole method. The rest of this guide explains why each step is there, how to read what the brew is telling you, and how to adjust when the first cup is not quite right. If you are completely new to manual brewing, our how to make pour-over coffee guide is a gentler introduction.
Why the V60 Rewards a Recipe
Most drippers include something that slows the water down. A Kalita Wave has three small holes and a flat bed; a Melitta cone has a single tiny hole. The V60 has one large opening at the tip of a 60-degree cone, and spiral ribs that let air escape and keep the paper from sealing against the walls. The result is that flow rate is controlled almost entirely by your grind and your pouring, not by the brewer.
That freedom is the V60’s appeal. With a good recipe it produces a remarkably clean, bright cup with a lot of clarity, which is why so many specialty cafes use it to show off lighter roasts. The conical shape also builds a deep coffee bed at the center, so water passes through more coffee on its way out.
The same freedom makes it less forgiving than a flat-bottom brewer. Pour too fast and water channels down the sides; grind too coarse and it rushes through; grind too fine and it stalls. A fixed recipe narrows those variables to one, the grind, and makes the V60 as consistent as any other method. Our flat bottom vs cone pour-over comparison explains the design trade-off in more depth.
Rinse, Preheat, and Weigh: The Setup That Matters
Good V60 coffee starts before the coffee touches water. First, heat your water. For most medium and light roasts, 200–205°F (93–96°C) works well, and many people simply use water just off the boil for very light coffee. Darker roasts extract more easily and can taste bitter at full heat, so try around 195°F (90°C) for those. A variable-temperature kettle makes this repeatable, and our pour-over water temperature guide covers the reasoning in detail.
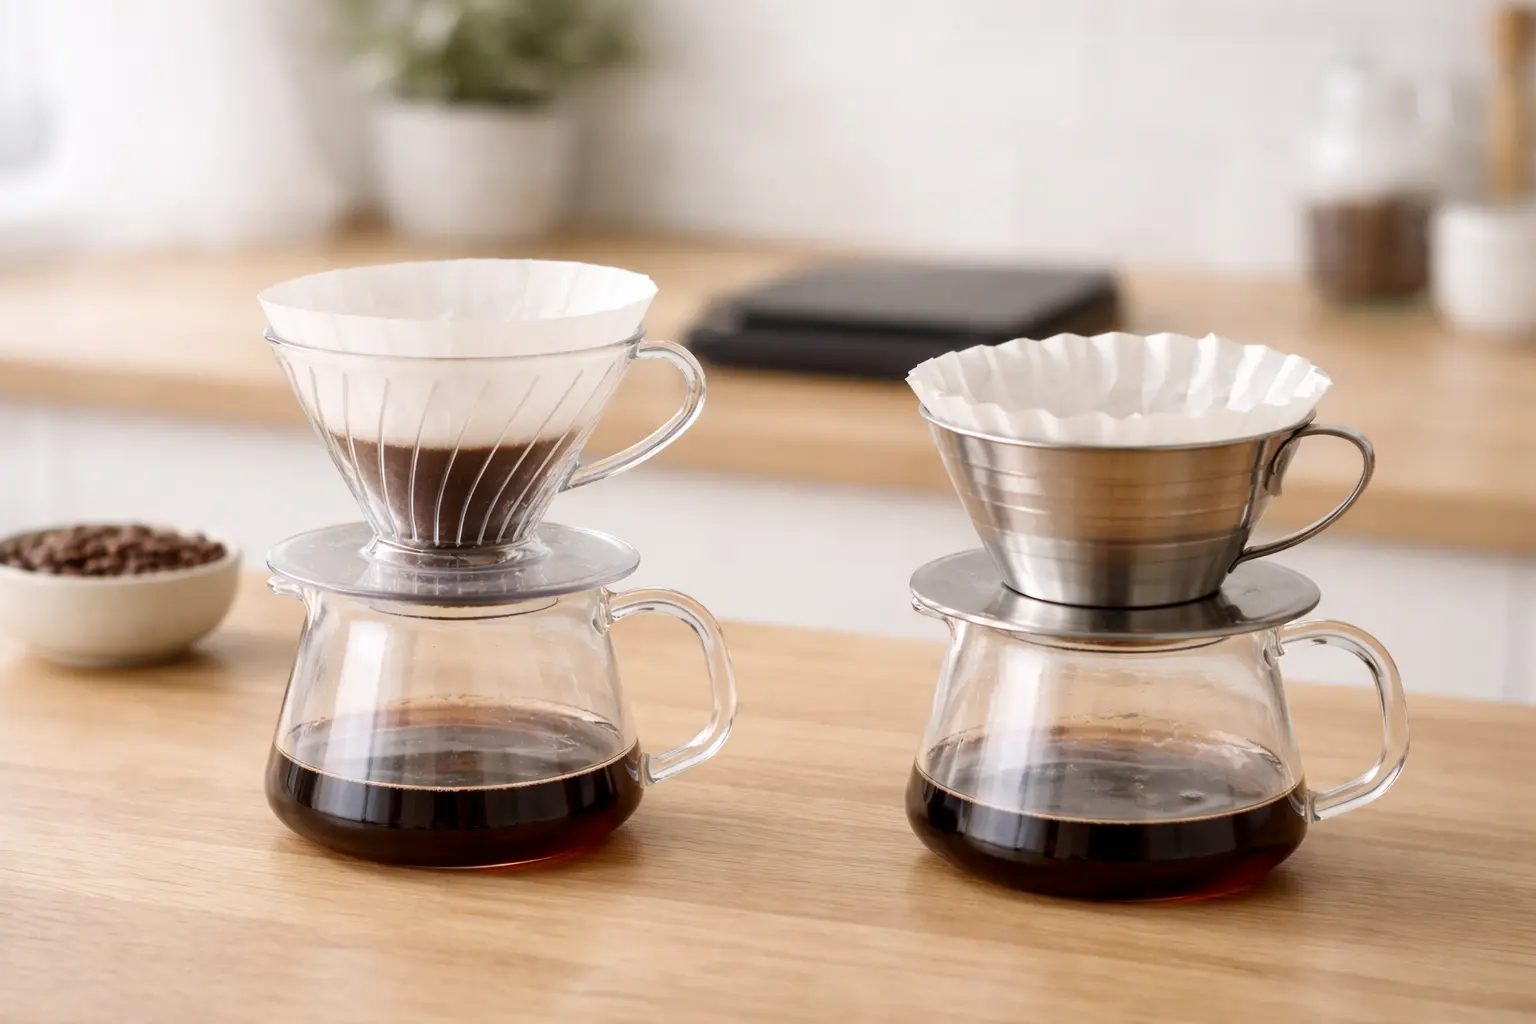
Next, fold the seam of the paper filter, open it into a cone, and seat it in the dripper. Pour hot water through it until the whole filter is wet and pressed against the ribs. This rinse does three things: it washes away papery flavors, it preheats the dripper and your server or mug, and it helps the filter sit evenly so water flows consistently. Discard the rinse water before you add coffee. Skipping this step is one of the most common reasons a V60 cup tastes flat or slightly cardboard-like.
Then weigh and grind. Put your server and dripper on a scale, add 15 g of freshly ground coffee, and give the dripper a gentle shake so the bed is flat. A level bed matters more than people expect, because water follows the path of least resistance. Tare the scale so it reads zero, and have a timer ready. A scale with a built-in timer, such as the OXO Brew Precision Scale, keeps both numbers in one place; our coffee scale guide shows the workflow.
The Bloom Is Where Most Cups Are Won
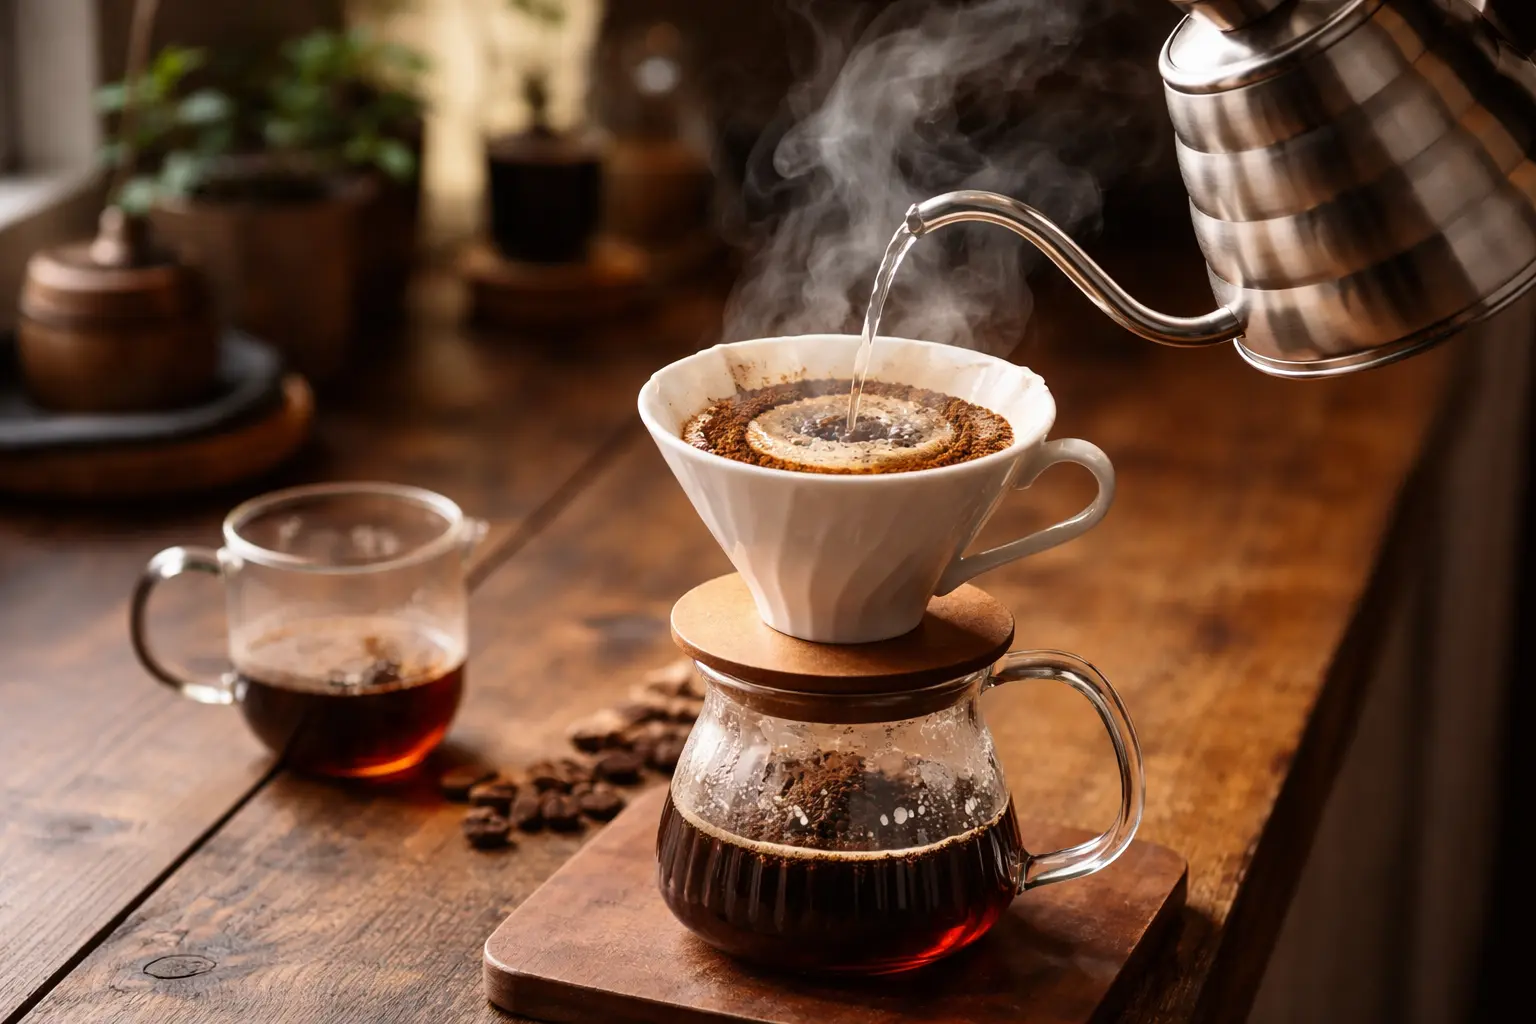
Freshly roasted coffee is full of carbon dioxide, a byproduct of roasting. When hot water hits the grounds, that gas rushes out, and if you pour all your water at once it pushes water away from the coffee and creates dry pockets. The bloom solves this. Pour roughly three times the coffee weight in water, about 45 g here, just enough to wet every ground, and then wait 30 to 45 seconds while the bed swells and bubbles.
A gentle swirl right after the bloom pour helps a great deal. Hold the dripper and rotate it a few times so the water and grounds mix and no dry clumps remain. Some brewers stir with a spoon instead; either works. You should see the bed puff up and crack slightly. Very fresh coffee blooms dramatically, while older coffee barely moves, which is a quick, useful freshness check.
Bloom longer, up to a minute, for very fresh or very light coffee that releases a lot of gas. Bloom shorter, around 30 seconds, for darker or older coffee. If your bloom never seems to rise, your beans may simply be past their best, and that is worth knowing before you spend time adjusting the grind.
Pouring: Pulses, Speed, and the Spin
After the bloom, the goal is to add water steadily and evenly without disturbing the bed so much that fines clog the filter. In this recipe that means two main pours. Start at the center and spiral outward in small, slow circles to about 150 g by roughly 1:15, stopping short of the paper itself. Pouring directly onto the paper lets water bypass the coffee and run down the sides, which thins the cup.
Pause briefly, let the level drop a little, and then pour to 250 g by about 1:45 with the same slow spiral. Keep the kettle spout low, a few centimeters above the bed, so the stream is gentle and controlled. A gooseneck kettle such as the Fellow Stagg EKG makes this far easier, because its thin spout gives you a steady, narrow stream at a consistent rate.
There are many good variations on this pattern. Some brewers prefer four or five smaller pulses, which keeps the water level lower and can produce a slightly cleaner cup. Others prefer one long continuous pour after the bloom. The well-known 4:6 method developed by brewer Tetsu Kasuya divides the water into five pours and uses the first two to adjust sweetness and acidity and the last three to adjust strength. All of these work. What matters is choosing one pattern and repeating it exactly, so that when you change the grind, the grind is the only thing that changed.
Reading the Drawdown
Once the last water is in, give the dripper one gentle swirl. This flattens the bed so the coffee settles evenly and the water drains through it uniformly rather than tunneling down one side. Then leave it alone and watch. The time it takes for the water to finish draining, called the drawdown, is the most useful piece of feedback the V60 gives you.
For this recipe, a total brew time between about 2:45 and 3:30 suggests your grind is in the right neighborhood. Finishing well under 2:30 usually means the grind is too coarse and the water rushed through, which tends to taste thin and sour. Running past four minutes usually means the grind is too fine or the bed clogged, which tends to taste bitter, dry, and heavy. Remember that time is a clue, not a rule: if the cup tastes excellent at 3:50, it is a good cup.
Look at the spent bed as well. A flat, even bed with a thin layer of fine particles on top means the water drained evenly. Grounds stuck high on the filter walls mean some coffee was left out of the brew; pour a little lower next time. A crater or a deep channel in the center usually means the pour was too aggressive. Finally, swirl the server before pouring into your cup, because the coffee that drips out first is stronger than the coffee that drips out last.
Dialing In: Change One Thing at a Time
When a cup is not right, adjust grind before anything else. It has the biggest effect, and with dose, water, temperature, and timings fixed by the recipe, it is the cleanest variable to isolate. Sour, sharp, thin, or salty cups are usually under-extracted, so grind a step finer. Bitter, harsh, dry, or hollow cups are usually over-extracted, so grind a step coarser. Make one change, brew again, and taste side by side if you can.
If the grind is right and the cup still tastes weak, change the ratio rather than the grind. Use 16 g of coffee instead of 15 g with the same 250 g of water, or reduce the water to 240 g. A slightly stronger ratio adds body without pushing extraction into bitterness. If the cup tastes flat or muted rather than sour or bitter, the beans may be stale, and no adjustment will fully fix that.
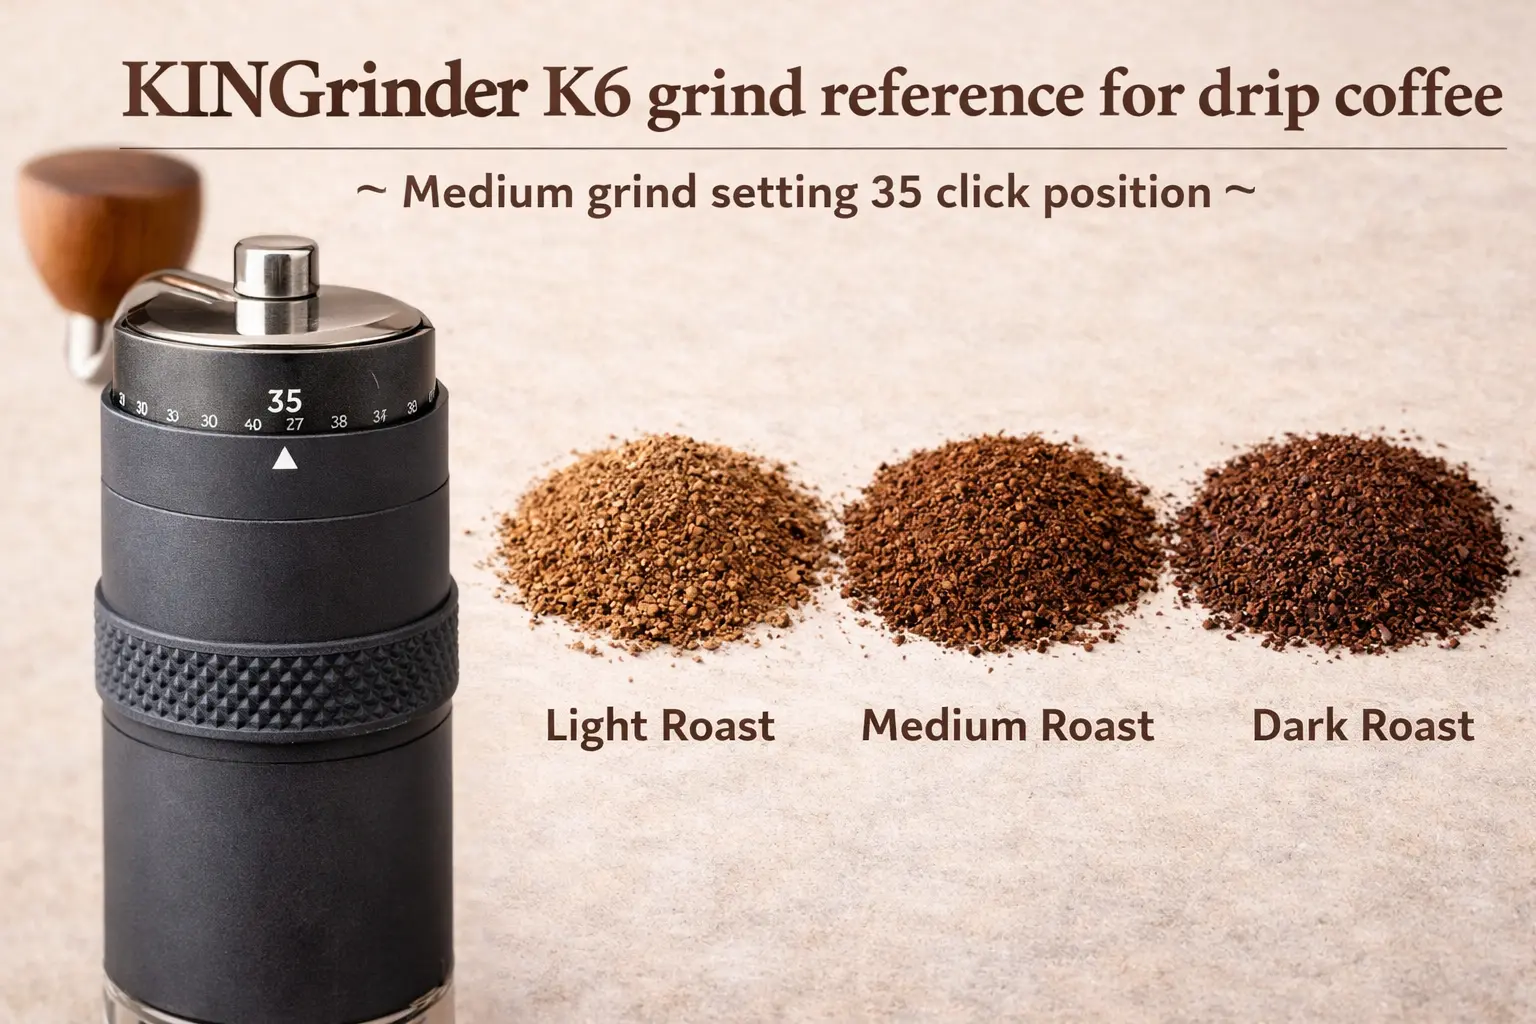
Grinder quality sets a ceiling on how well this works. A burr grinder that produces even particles, such as the KINGrinder K6 or the Baratza Encore, lets small adjustments make predictable changes. A blade grinder produces too much dust and too many chunks to dial in reliably. Our best burr grinders for pour-over guide compares options, and our pour-over troubleshooting guide covers more specific problems.
Scaling the Recipe for Two or More
The size 02 V60 comfortably brews one or two cups. To scale up, keep the ratio constant and expect the total time to stretch because there is more coffee for the water to pass through. You may also need to grind a touch coarser for larger batches so the deeper bed does not stall.
| Cups | Coffee | Water | Bloom | Target total time |
|---|---|---|---|---|
| 1 small cup | 12 g | 200 g | 36 g | 2:30–3:00 |
| 1 mug (this recipe) | 15 g | 250 g | 45 g | 2:45–3:30 |
| 1 large mug | 20 g | 330 g | 60 g | 3:00–3:45 |
| 2 mugs | 30 g | 500 g | 90 g | 3:30–4:15 |
For two mugs, split the main pours into three or four pulses rather than two, so the water level never rises close to the rim. Anything larger than about 30 g is usually easier in a bigger brewer such as a Chemex or the size 03 V60. If you regularly brew for a household, our drip coffee vs pour over comparison is worth a read; a good SCA-certified drip machine can be a sensible complement to a V60 for weekday mornings.
The Gear That Makes the Recipe Repeatable
You can brew a decent V60 with a dripper, filters, and a regular kettle, but four pieces of gear make the recipe genuinely repeatable. The dripper itself comes first. The Hario V60 Plastic Dripper 02 is the most practical starting point: it is inexpensive, nearly unbreakable, and holds heat well, so you do not need to preheat it as carefully as ceramic or glass. Use genuine V60 paper filters or a quality alternative designed for the cone; our pour-over filter comparison covers the options.
A gooseneck kettle is the next most useful upgrade. The Fellow Stagg EKG combines a precise spout with variable temperature control, so you can hit 203°F for a light roast and 195°F for a dark one without a thermometer. Our best gooseneck kettles guide includes stovetop and lower-cost electric options, and our Fellow Stagg EKG review covers that kettle in depth.
Then a scale with a timer and a burr grinder. A scale such as the OXO Brew Precision Scale makes your dose and pours consistent and shows you whether you are on pace. A hand grinder like the KINGrinder K6 gives you the even, adjustable grind this recipe depends on; an electric option such as the Baratza Encore is more convenient if you brew every day for more than one person.
Our Recommendation
Start with 15 g of coffee and 250 g of water at about 203°F, bloom with 45 g for 30–45 seconds, pour to 150 g by 1:15 and to 250 g by 1:45, and aim to finish around three minutes. Repeat that exact pattern every time and adjust only the grind until the cup tastes sweet and clear. Once that is dialed in, experiment with ratio, temperature, and pour patterns one at a time.
If you are building a V60 setup from scratch, the Hario V60 Plastic Dripper 02, the Fellow Stagg EKG, and the KINGrinder K6 cover the three things that matter most: the brewer, pour control, and grind consistency.
Build a Repeatable V60 Setup
A V60, a gooseneck kettle, and a burr grinder are the core of consistent pour-over coffee.
As an Amazon Associate, CoffeeGearHub earns from qualifying purchases.
Editorial bottom line: Use 15 g of coffee to 250 g of water at 200–205°F, bloom for 30–45 seconds, finish pouring by about 1:45, and target a 2:45–3:30 total time. Keep the recipe fixed and adjust grind only: finer for sour cups, coarser for bitter ones.
Frequently Asked Questions
What is the best coffee-to-water ratio for a V60?
Most people land between 1:15 and 1:17. This recipe uses 15 g to 250 g, about 1:16.7, which suits medium and light roasts. Go toward 1:15 for a stronger, heavier cup; our coffee brew ratio guide covers the trade-offs.
How long should a V60 brew take?
For a single cup, a total time between about 2:45 and 3:30 is a good target. Larger batches run longer. Time is a diagnostic, not a goal: if the cup tastes good at 3:45, the time is fine.
What grind size should I use for a V60?
Medium-fine, a little finer than for a drip machine and roughly like table salt. Grinders vary, so use taste and drawdown time to adjust; our KINGrinder K6 settings chart lists a pour-over starting point.
Do I need a gooseneck kettle for a V60?
It is not strictly required, but it helps a great deal. A gooseneck lets you pour slowly and precisely, which keeps the bed even. With a regular kettle, pour in smaller pulses and expect a little more variation.
Is the plastic, glass, ceramic, or metal V60 best?
They brew very similarly. Plastic holds heat well, is inexpensive, and is hard to break, which makes it a strong first choice. Ceramic and glass look great but need thorough preheating. See our V60 vs Chemex vs Kalita Wave comparison for more.
Why does my V60 drain too slowly?
Usually the grind is too fine or has too many fines, the pour is agitating too much, or the filter is clogging against the ribs. Grind a step coarser, pour more gently, and make sure the filter is rinsed and seated flat against the cone.
Sources and Further Reading
Brewing ranges are consistent with the Specialty Coffee Association‘s published brewing guidance and with Hario‘s V60 instructions. Technique notes draw on CoffeeGearHub’s existing pour-over, water temperature, and troubleshooting guides. Adjust every number to your beans and taste.
CoffeeGearHub product shortlist
Continue with related products on CoffeeGearHub
Review product categories and current verified merchant offers on CoffeeGearHub before leaving the site.