
How to Use a Coffee Scale: Weigh Coffee and Water for Better Brews (2026)
Editorial standards: guidance is based on manufacturer instructions, Specialty Coffee Association brewing standards, published brewing guides, and CoffeeGearHub’s existing ratio and brew guides. CoffeeGearHub does not claim hands-on testing where it has not occurred.
At a glance
What this coffee scale how-to covers
Why weighing beats scoops, the buttons and modes you will actually use, how to weigh for pour-over, French press, AeroPress, drip, and espresso, how to check accuracy, and the common mistakes that throw off your numbers.
Editorial analysis
A scale turns “it tasted great yesterday” into a recipe
Scoops measure volume, and coffee volume changes with roast level, bean size, and grind. Two level scoops of a light roast and a dark roast can differ by a few grams, which is enough to move a cup from balanced to weak or harsh.
Weighing removes that guesswork. Once you know your dose and your water weight, you can repeat a good cup exactly and change one thing at a time when you want to improve it. You do not need an expensive scale; you need one that reads in 0.1 g steps and that you use the same way every time.
The 30-Second Answer
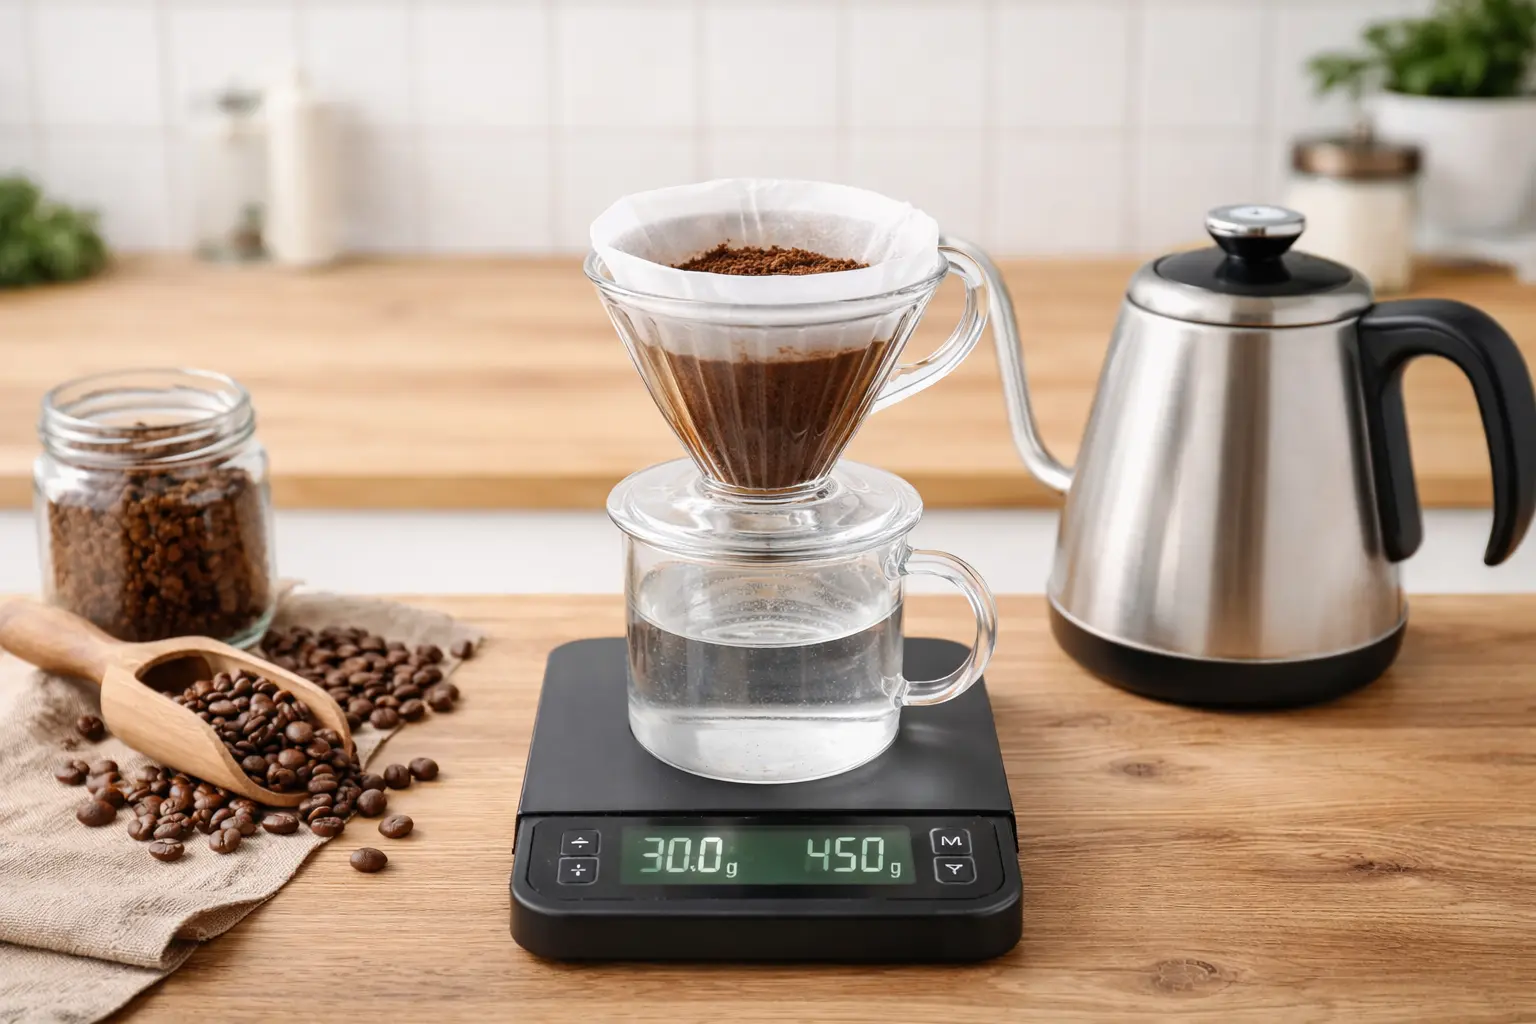
To use a coffee scale: put your brewer or cup on the scale, press tare to zero it, add coffee to your target dose, tare again (or note the reading), then start the timer and pour water until you reach the target water weight.
Use grams. A good starting ratio for most filter methods is 1:15–1:17, for example 20 g of coffee to 300–340 g of water. For espresso, weigh both the dry dose and the liquid yield, starting around 1:2 (18 g in, about 36 g out).
Compare current options
Start with these representative choices
Three scales that cover most home brewing. Our best coffee scales and best espresso scales guides compare more options.
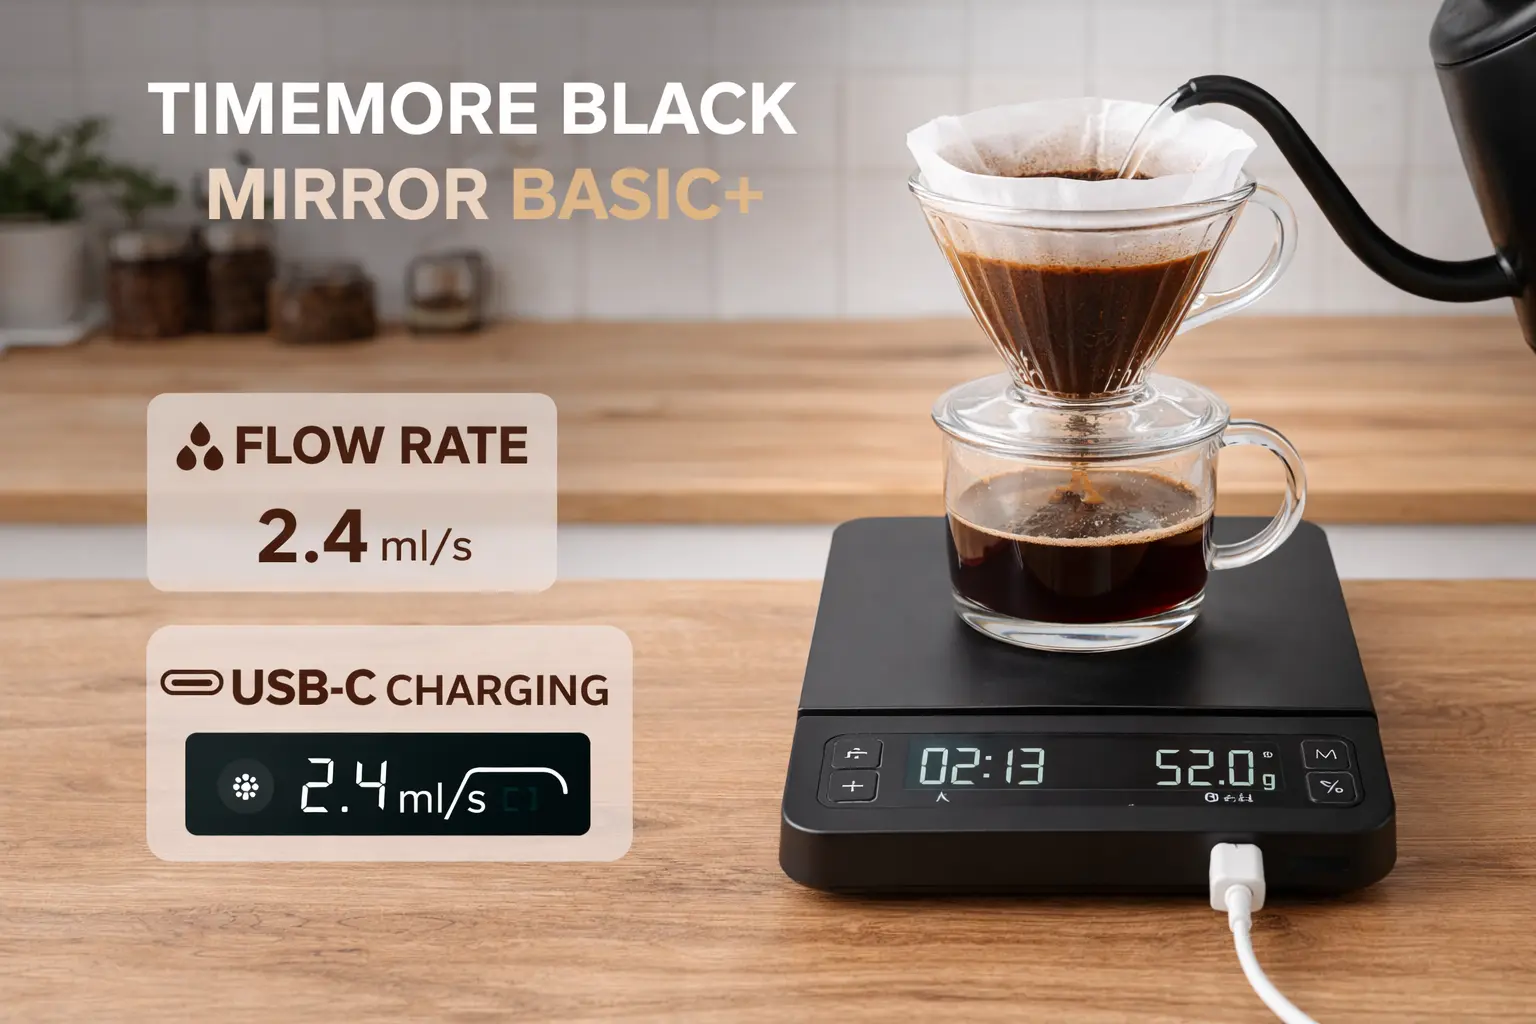
Timemore Black Mirror Basic 2 — Best all-rounder
0.1 g resolution, auto-timer, flow-rate display, and USB-C charging. Small enough for many espresso drip trays and great for pour-over.
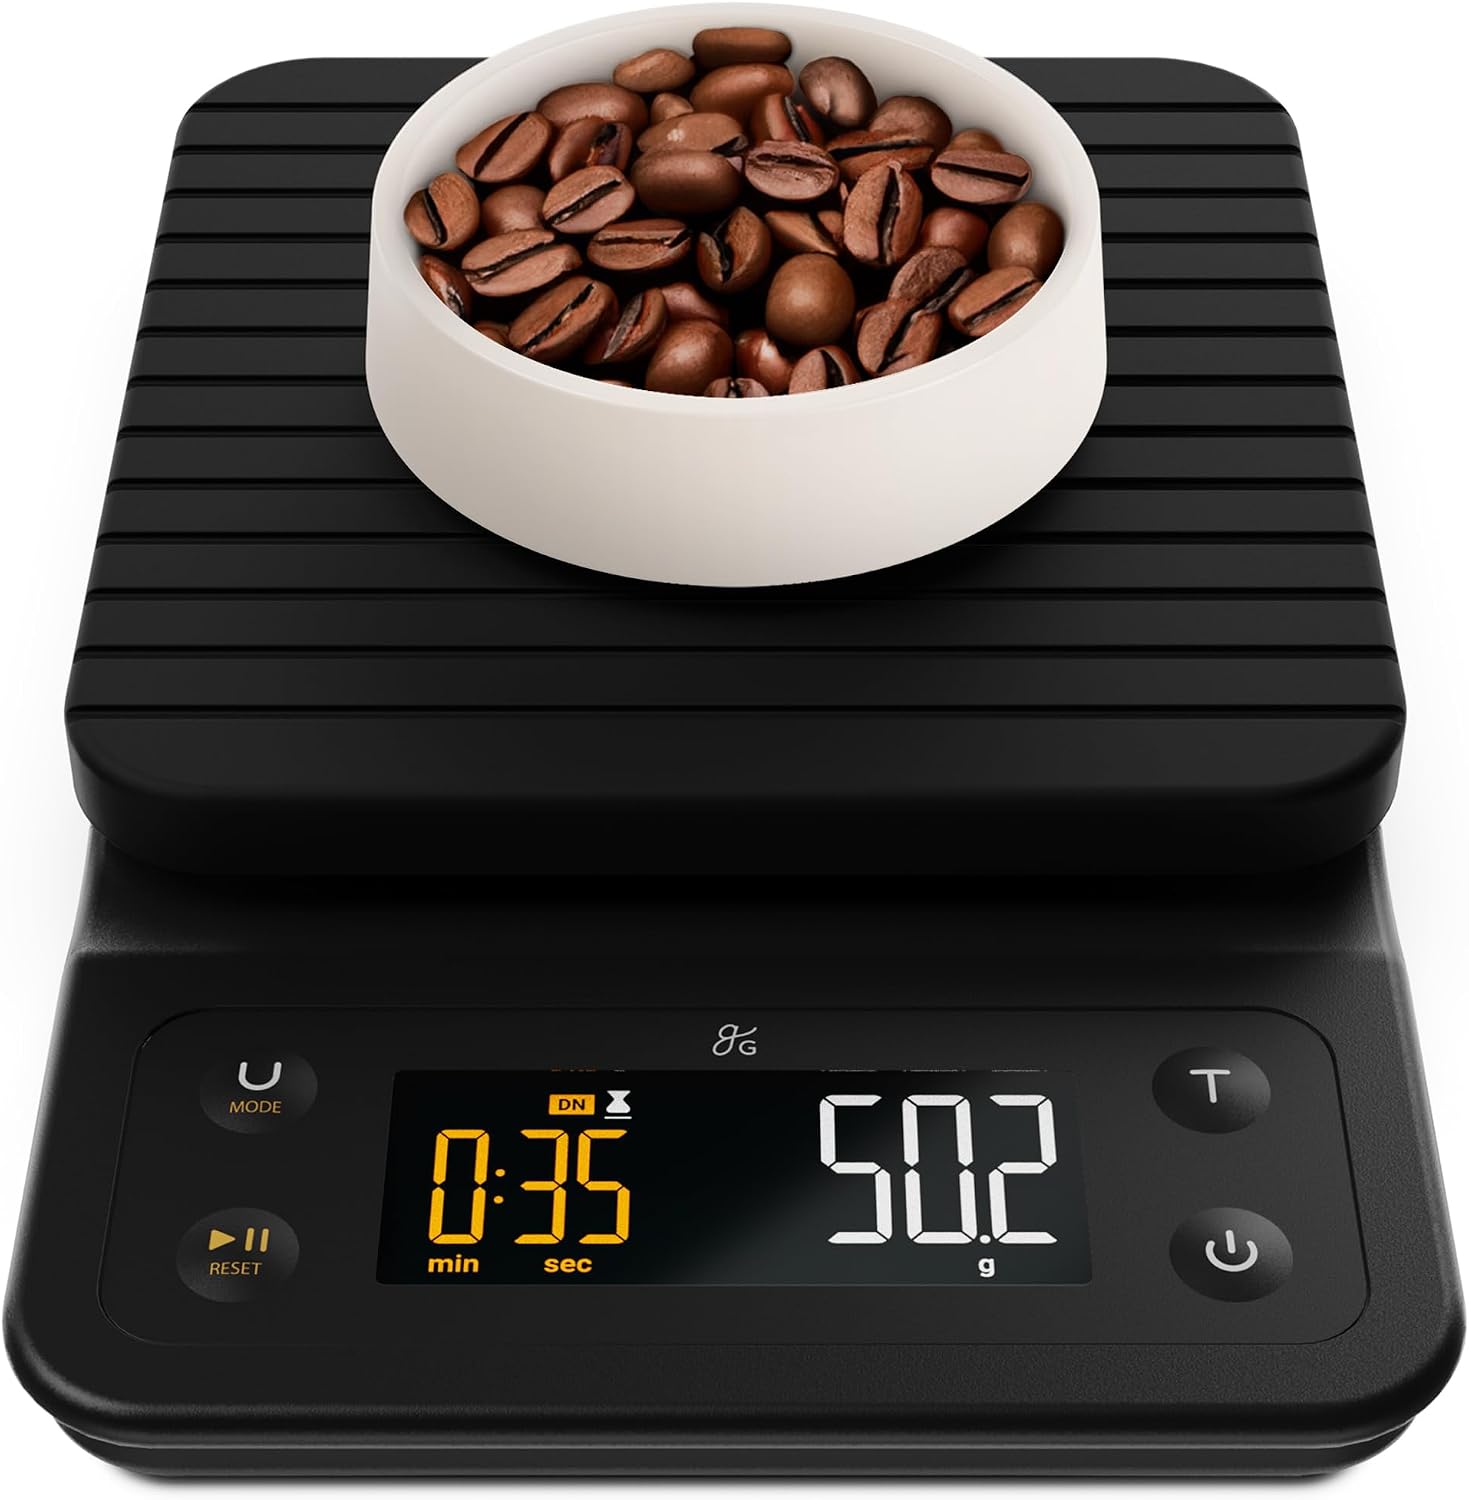
Greater Goods Digital Coffee Scale — Budget pick
An inexpensive 0.1 g scale for weighing doses and water for drip, French press, and pour-over. No built-in timer, so use your phone.
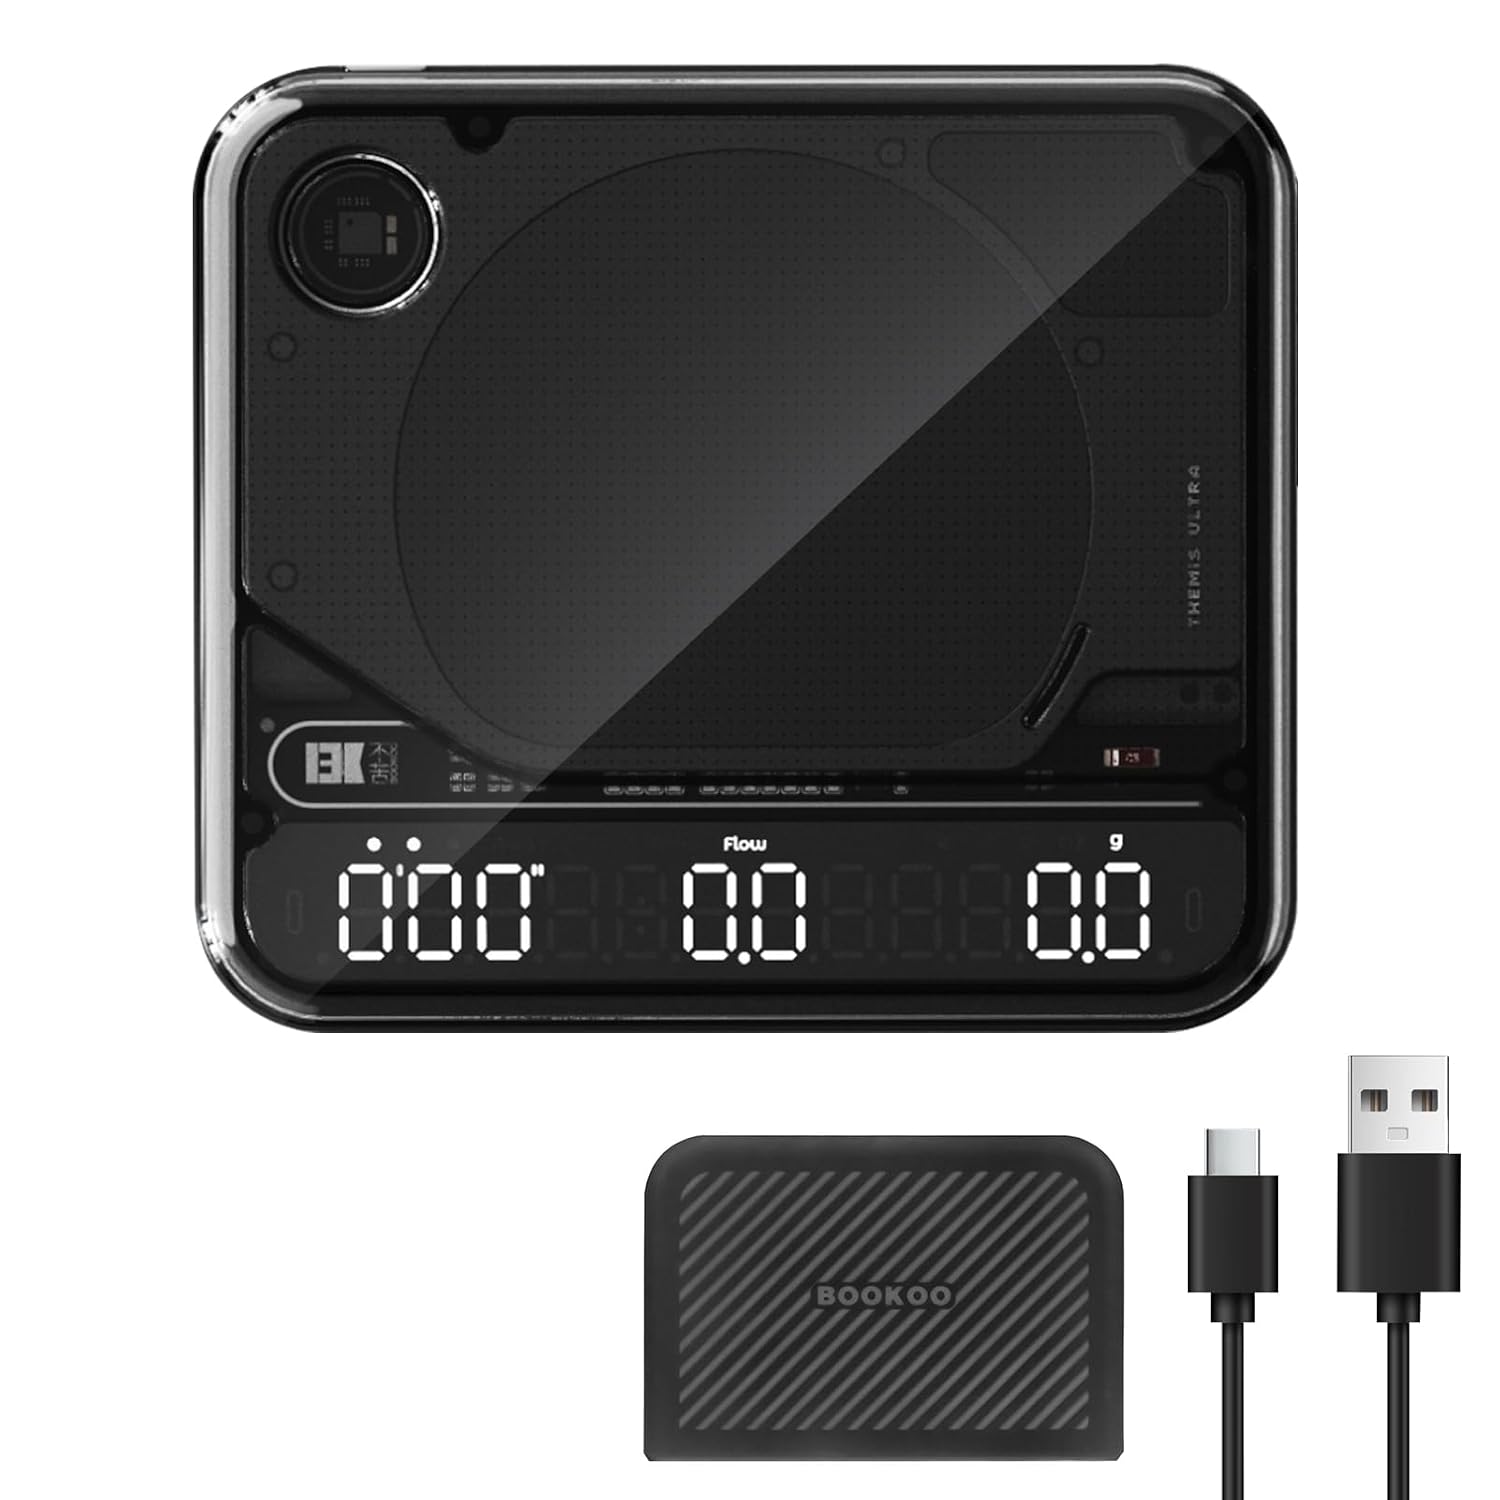
BOOKOO Themis Ultra — Premium smart scale
Very fast response, flow and ratio modes, Bluetooth app support, and an IP67 waterproof rating. Larger than compact espresso scales.
Affiliate disclosure: Amazon links may earn CoffeeGearHub a commission at no additional cost to you. Prices and availability can change.
Why Weigh Coffee Instead of Using Scoops?
A “scoop” or tablespoon measures how much space the coffee takes up, not how much coffee there is. Darker roasts are less dense than lighter roasts, larger beans pack differently from smaller ones, and ground coffee settles differently depending on grind size. The result is that the same scoop can hold noticeably different amounts of coffee.
Weight does not change with any of that. Ten grams is ten grams. Weighing also makes ratios simple: if you like 1:16, you multiply your coffee dose by 16 to get your water. Our coffee brew ratio guide covers ratios for every method.
| Measuring by… | What it tells you | Problem |
|---|---|---|
| Scoop or tablespoon | Volume of coffee | Changes with roast, bean size, and grind |
| Cups marked on a carafe | Approximate water volume | Carafe “cups” are not standard 8 oz cups |
| Scale in grams | Exact weight of coffee and water | None, once you tare correctly |
The Buttons and Modes You Will Use
- Tare (or “zero”): resets the display to zero with whatever is on the platform. You will press it after placing your brewer, and often again after adding coffee.
- Units: set the scale to grams. Ounces are too coarse for coffee doses, and 1 ml of water weighs about 1 g, which makes grams easy for water too.
- Timer: starts and stops a brew timer. Some scales start the timer automatically when weight is added (auto-timer or auto-start).
- Espresso or auto mode: on many coffee scales, this mode starts the timer when the first drops of espresso land in the cup.
- Flow rate: shows how many grams per second are being added. Useful for steady pour-over pours and for watching espresso flow.
- Auto-off: many scales switch off after a few minutes of inactivity. If your scale turns off mid-brew, look for a setting to extend or disable it.
Step-by-Step: Weighing a Brew
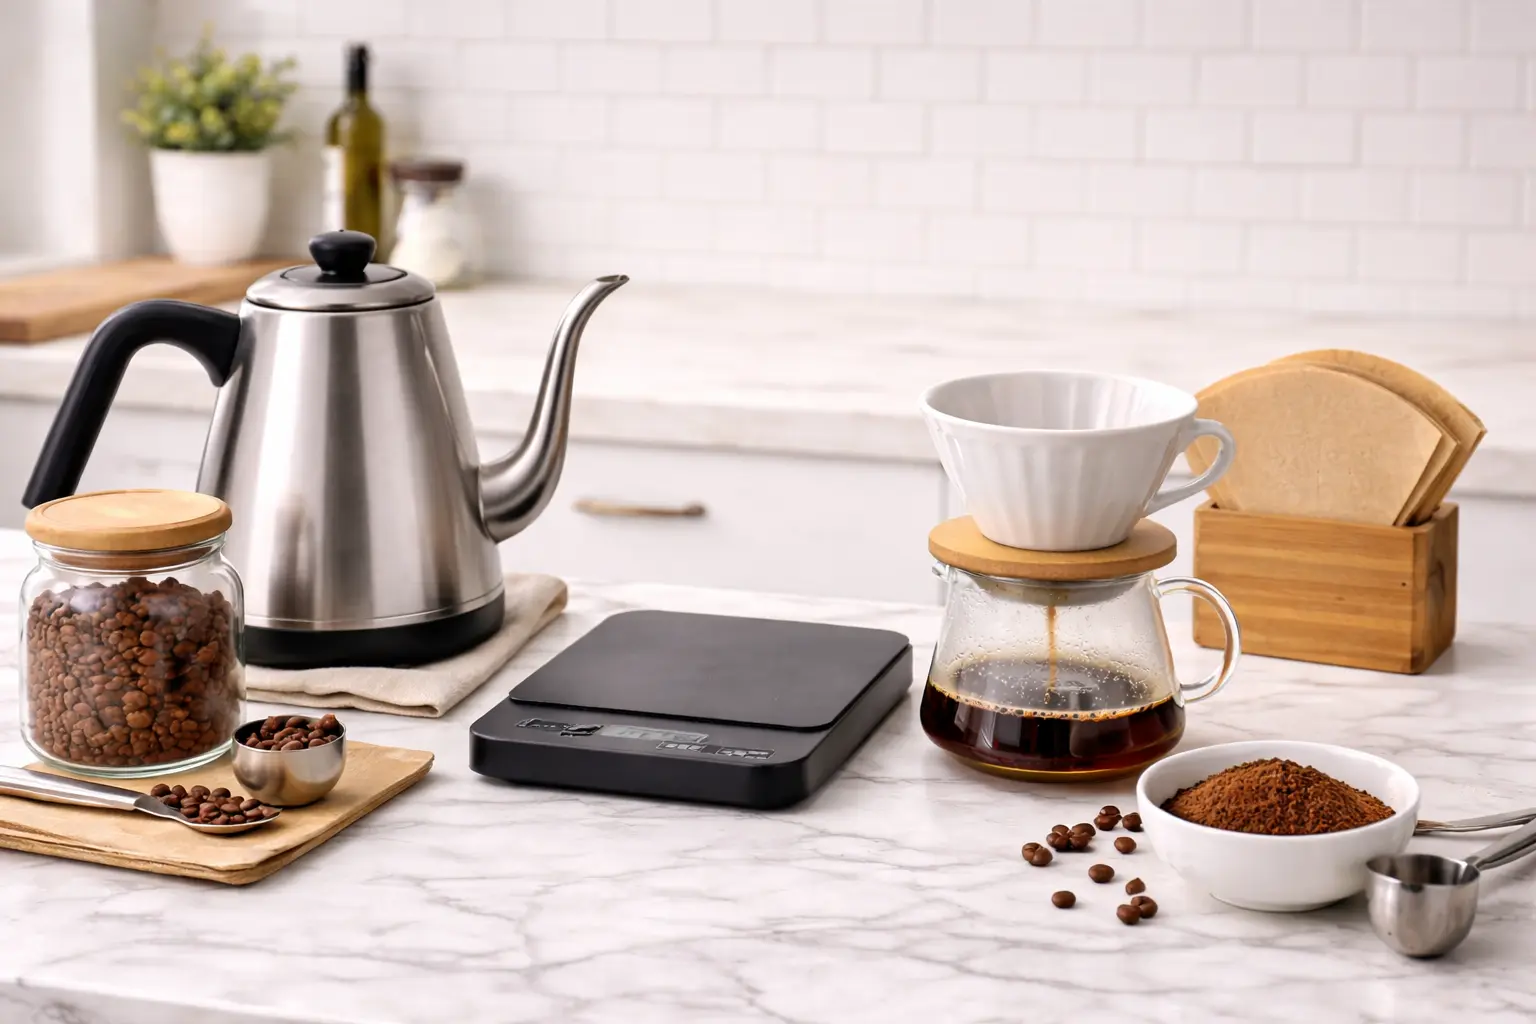
The routine below works for pour-over, French press, AeroPress, and most manual brewers. The key idea is simple: zero the scale before each new ingredient, so the display only ever shows what you are adding at that moment.
Keep the scale centered under the brewer, on a flat counter, and start the timer at the same moment as your first pour. That way your times and weights line up with any recipe you follow.
- Choose your recipe. Decide on a dose and a ratio, for example 20 g of coffee at 1:16, which means 320 g of water.
- Weigh the beans. Put a small cup on the scale, tare, and weigh out your dose in whole beans. Weighing beans before grinding means less mess and less waste.
- Grind and load the brewer. Grind the beans and add them to your brewer (with its filter rinsed if you use paper).
- Tare with the brewer on the scale. Place the brewer, with coffee inside, on the scale and press tare so the display reads zero.
- Start the timer and pour. Start the timer as you begin pouring. The display now shows only the water you have added.
- Pour to target. Follow your recipe’s stages (for pour-over, a bloom then staged pours) until you reach your target water weight.
- Note the result. Write down dose, water, grind setting, and total time. If you change one of those next time, you will know why the cup changed.
Using a gooseneck kettle with the scale makes it much easier to hit your water target without overshooting. Our pour-over guide has a full staged recipe.
How to Weigh for Each Brew Method
| Method | Starting ratio | Example | What to weigh |
|---|---|---|---|
| Pour-over (V60, Kalita, Chemex) | 1:15–1:17 | 20 g coffee, 300–340 g water | Dose, then water added during the pour |
| French press | About 1:15–1:16 | 30 g coffee, 450–480 g water | Dose, then water; time the steep |
| AeroPress | About 1:12–1:16 (recipe dependent) | 15 g coffee, 200–240 g water | Dose and water; scale under the AeroPress |
| Automatic drip | About 1:16 | 60 g coffee, about 960 g (ml) water | Dose, and water into the reservoir |
| Cold brew | 1:4–1:5 concentrate or about 1:8 ready to drink | 100 g coffee, 800 g water | Dose and water before steeping |
| Espresso | About 1:2 | 18 g in, about 36 g out | Dry dose in the portafilter and liquid yield in the cup |
These match our method guides, including the French press ratio chart, AeroPress guide, and cold brew ratio chart. Adjust stronger or weaker to taste.
Three Recipes to Try With Your Scale
These recipes show exactly where the scale fits into each brew. Weights are in grams; times are from the moment water first hits the coffee.
Pour-over (V60 or Kalita Wave): 20 g to 320 g
| Time | Pour to (scale reading) | What you are doing |
|---|---|---|
| 0:00 | 50 g | Bloom: wet all the grounds and let gas escape |
| 0:45 | 150 g | First main pour in slow spirals |
| 1:15 | 240 g | Second pour, keeping the bed level |
| 1:45 | 320 g | Final pour, then a gentle swirl |
| About 2:45–3:30 | — | Drawdown finishes |
Grind medium-fine for a V60 and medium for a Kalita Wave, with water around 92–96°C (198–205°F). If the cup is sour, grind finer; if it is bitter or drains slowly, grind coarser. Our pour-over guide covers technique in detail.
French press: 30 g to 480 g
- Put the empty press on the scale and tare. Add 30 g of coarse coffee.
- Tare again, start the timer, and pour hot water to 480 g, making sure all grounds are wet.
- Steep 4 minutes, break the crust, skim the foam, then press slowly and pour right away.
AeroPress: 15 g to 230 g
- Set the AeroPress (standard or inverted) on the scale with a mug underneath if brewing standard. Tare.
- Add 15 g of medium-fine coffee, tare, and pour water to 230 g over about 10 seconds.
- Stir, steep to about 1:30–2:00, then press gently for about 30 seconds.
For more variations, see our AeroPress guide and French press brew guide.
Using a Scale for Espresso

Espresso is where a scale makes the biggest difference, because the numbers are small. A 1 g change in dose or a few grams of yield noticeably change the shot.
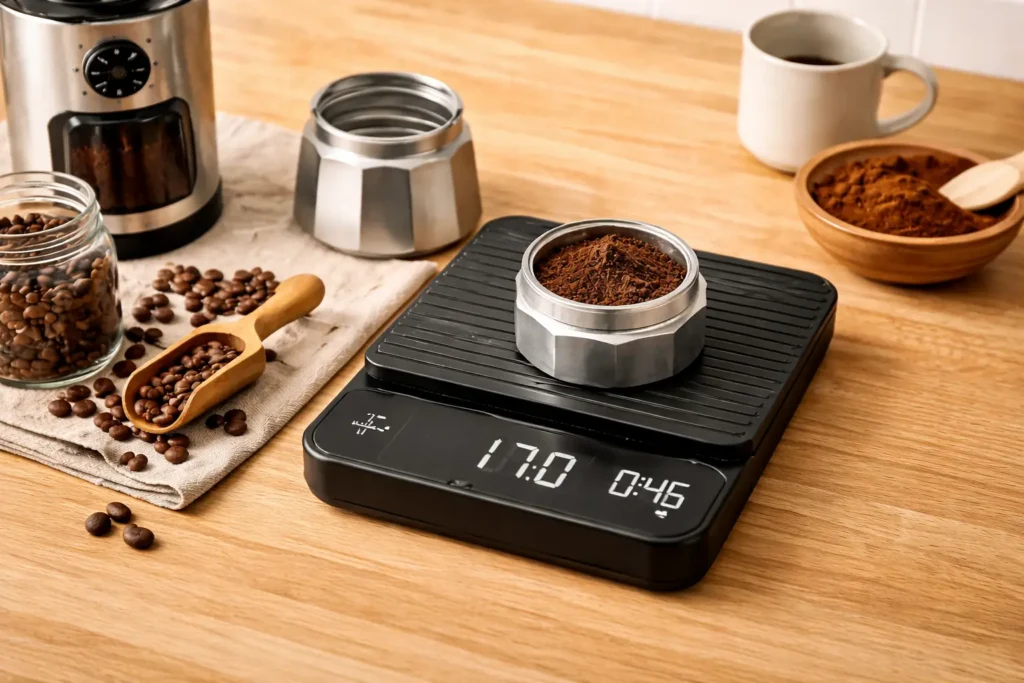
1. Weigh the dose. Put the portafilter (or dosing cup) on the scale, tare, and grind or add beans to your target, often 18 g for a double basket.
2. Weigh the yield. Put the cup on the scale under the portafilter, tare, and start the shot. Stop when the cup reaches your target yield, such as 36 g for a 1:2 ratio.
3. Time it. Use the timer or the scale’s espresso mode. Many recipes aim for roughly 25–35 seconds, but taste matters more than the clock.
The scale must fit on your drip tray with a cup on top under the portafilter. Our best espresso scales guide covers compact options, and espresso brew ratio and how to dial in espresso explain what to change.
How to Check Your Scale’s Accuracy
Most coffee scales are accurate enough out of the box, but it is worth a quick check if your numbers seem off.
- Use a known weight. A calibration weight is best. If you do not have one, a U.S. nickel is specified by the U.S. Mint at 5.00 g, so five nickels should read close to 25 g. Coins wear slightly, so expect small differences.
- Check repeatability. Weigh the same item three times, taring between each. The readings should match or differ by no more than 0.1 g.
- Check the platform edges. Place the weight at the center and then near each edge. Big differences suggest the scale needs recalibration or is damaged.
- Recalibrate if needed. Many scales have a calibration mode that uses a specific reference weight (often 500 g or 1 kg). Follow your manual, because the steps differ by model.
Keep the scale on a flat, stable surface, away from drafts and vibration, and let it settle for a second before reading.
Common Mistakes to Avoid
| Mistake | What happens | Fix |
|---|---|---|
| Forgetting to tare | The brewer’s weight is counted as coffee or water | Tare after placing the brewer, and again after adding coffee if your recipe counts water only |
| Weighing in ounces | Readings are too coarse for doses | Switch to grams |
| Pouring onto the edge of the platform | Readings jump or lag | Center the brewer on the scale |
| Scale shuts off mid-brew | You lose your total | Disable or extend auto-off, or keep the timer running |
| Water or heat damage | Erratic readings or failure | Use the silicone pad if supplied and wipe spills quickly; check the water-resistance rating |
| Weak battery | Drifting or slow readings | Charge or replace batteries |
Best Coffee Scales for Each Brewing Style
If you do not own a scale yet, or yours is slow or lacks a timer, these are the models we recommend across CoffeeGearHub’s scale guides. They cover every budget and brew method.
How we chose
We compared manufacturer specifications for resolution, capacity, response speed, timer functions, size, power, and water resistance, and checked how each fits common brewing setups (pour-over stations, drip machines, and espresso drip trays). CoffeeGearHub does not claim hands-on testing; these picks are based on published specifications, established brewing practice, and our best coffee scales and best espresso scales guides.
| Scale | Resolution / capacity | Timer | Extras | Best for |
|---|---|---|---|---|
| Timemore Black Mirror Basic 2 | 0.1 g / 2 kg | Yes, auto-start | Espresso and filter modes, flow rate, USB-C | Pour-over and espresso in one scale |
| Hario V60 Drip Scale | 0.1 g / 2 kg | Yes | Simple two-button design | Pour-over classics |
| OXO Brew Precision Scale | See listing | Yes, auto-start | Large platform | Carafes, iced coffee, and cold brew batches |
| Greater Goods Digital Coffee Scale | 0.1 g / 3 kg | No | High capacity for the price | Budget drip and dosing |
| BOOKOO Themis Ultra | 0.1 g / 2 kg | Yes, auto-start modes | Under 100 ms response, flow and ratio modes, IP67, Bluetooth | Enthusiasts who log every brew |
Best overall
Timemore Black Mirror Basic 2
The Basic 2 is the scale we point most readers to. It reads in 0.1 g steps up to 2 kg, has standard, espresso, and filter modes with an auto-timer, shows flow rate, and charges over USB-C. It is compact enough for many espresso drip trays and responsive enough to follow a pour-over in real time.
Pros: one scale for every method; fast, readable display; flow rate helps steady pours.
Cons: larger than espresso-only minis; not fully waterproof, so wipe spills promptly.
Skip it if: you only weigh doses for a drip machine; a budget scale does that job.
Best pour-over classic
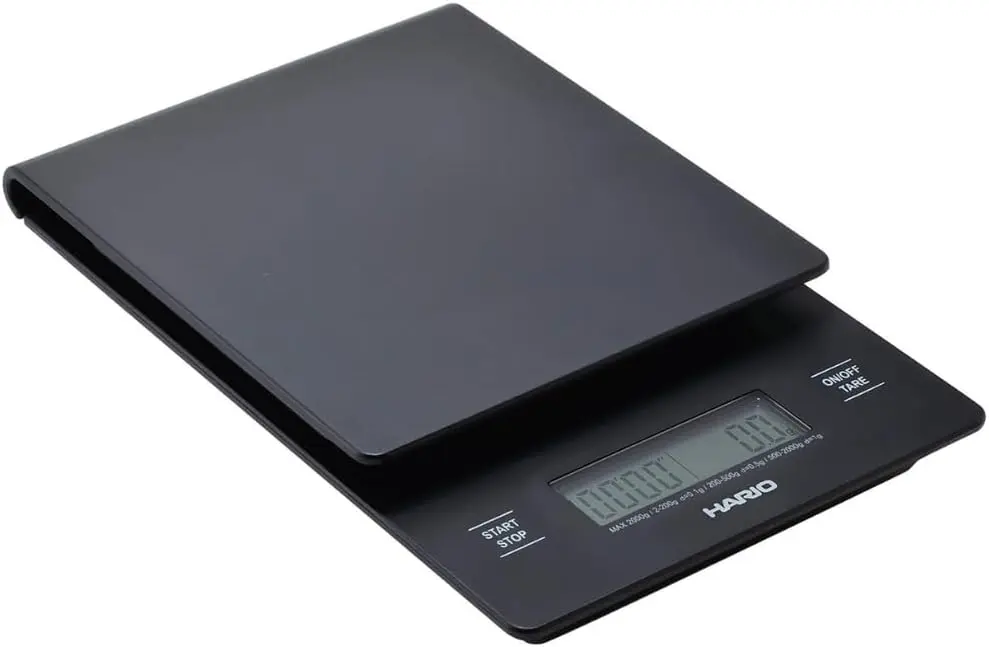
Hario V60 Drip Scale
The Hario V60 Drip Scale has been a standard pour-over scale for years. It reads 0.1 g up to 2 kg and has an integrated timer, with a compact footprint that fits under a dripper and server without overhang. Many published recipes assume a scale like this one.
Pros: dead-simple two-button design; compact; built for pour-over.
Cons: slower refresh than the Timemore during fast pours; no flow-rate or espresso mode.
Skip it if: you also want to weigh espresso shots in real time.
Best for big batches
OXO Brew Precision Scale
OXO’s precision scale is a beginner-friendly pick with a timer that starts automatically when liquid hits the platform and a platform large enough for carafes, Chemex brewers, and cold brew pitchers. It is a practical choice if you brew larger batches more often than single cups or espresso.
Pros: simple operation; auto-start timer; large platform.
Cons: too big for espresso drip trays; check the listing for resolution at the weights you use.
Skip it if: you mainly brew espresso.
Best budget
Greater Goods Digital Coffee Scale
If you mainly want to stop guessing with a drip machine or French press, the Greater Goods scale does the essential job: 0.1 g readings and a 3 kg capacity, enough for a full drip carafe. It has no built-in timer, so you would use your phone for pour-over timing.
Pros: inexpensive; high capacity; simple controls.
Cons: no timer; slower display than coffee-specific scales; usually too large for espresso drip trays.
Skip it if: you pour-over every day and want a timer and faster response.
Best premium
BOOKOO Themis Ultra
The Themis Ultra is a flagship smart scale. BOOKOO lists 0.1 g readability up to 2 kg, a response time under 100 milliseconds, weight, flow, and ratio modes, an IP67 waterproof rating, a 2,000 mAh USB-C battery, and Bluetooth support for the BOOKOO app and third-party apps such as Beanconqueror.
Pros: very fast response; ratio mode does the math for you; can be rinsed under the tap.
Cons: costs more than most home brewers need; larger than compact espresso scales at about 12.7 × 11.2 cm.
Skip it if: you do not plan to use app logging or ratio modes.
What to Look For in a Coffee Scale
- 0.1 g resolution for doses and espresso. 1 g steps are acceptable only for large drip batches.
- A built-in timer saves juggling your phone; auto-start is a bonus.
- Fast response so the display keeps up with your pour or espresso flow.
- Size that fits your setup: compact for espresso drip trays, larger for carafes and Chemex brewers.
- Rechargeable battery and some water resistance make daily use easier.
| If you mostly brew… | Must-have features | Nice to have |
|---|---|---|
| Automatic drip | Capacity for a full carafe (2–3 kg) | 0.1 g resolution |
| French press or AeroPress | 0.1 g resolution | Timer |
| Pour-over | 0.1 g resolution, timer, fast response | Flow rate, auto-start |
| Espresso | 0.1 g resolution, fast response, fits the drip tray | Espresso auto-timer mode, water resistance |
| Iced coffee and cold brew | Large platform, capacity for ice and pitcher | Auto-start timer |
Caring for your scale
- Place hot brewers on the supplied heat pad or a folded cloth, not directly on the platform.
- Wipe spills right away and never submerge a scale unless it is rated for it (IP67, for example).
- Store it flat, without heavy items stacked on top, which can strain the load cell.
- Charge or replace batteries when the display dims or readings drift.
Pick a Scale for Your Brewing
A 0.1 g scale with a timer covers pour-over and espresso. The Greater Goods scale is a simple budget choice for weighing doses and water.
As an Amazon Associate, CoffeeGearHub earns from qualifying purchases.
Editorial bottom line: A coffee scale is the cheapest way to make your coffee consistent. Work in grams, tare before each step, use a ratio around 1:15–1:17 for filter coffee or 1:2 for espresso, and write down what you did. Then change one variable at a time.
Frequently Asked Questions
How do I tare a coffee scale?
Place your brewer, cup, or portafilter on the scale and press the tare (or zero) button. The display resets to 0 so you only measure what you add next.
How many grams of coffee per cup?
For an 8 oz (about 240 g) cup at 1:16, use about 15 g of coffee. For a 12 oz (about 355 g) mug, use about 22 g.
Should I weigh coffee before or after grinding?
Before is easier and cleaner. You lose a small amount in the grinder, so if you need exact numbers, weigh again after grinding.
Do I need a 0.1 g scale for drip coffee?
It helps but is not essential for large drip batches. For espresso, AeroPress, and small pour-overs, 0.1 g resolution is worth having.
Is 1 ml of water equal to 1 g?
Close enough for brewing. Hot water is very slightly less dense, but the difference is too small to matter for a coffee recipe.
Can I use a kitchen scale for coffee?
Yes, if it reads in 0.1 g steps or you brew large batches. Coffee scales add timers, faster response, and sometimes flow-rate and espresso modes.
How do I calibrate a coffee scale?
Most scales have a calibration mode in the manual that asks for a specific reference weight, often 500 g or 1 kg. Use a proper calibration weight for this; coins are fine for a quick accuracy check but not for calibration.
Why does my scale reading drift?
Drift usually comes from a weak battery, an uneven surface, drafts, vibration, or heat from a hot brewer sitting directly on the platform. Charge the scale, use a heat pad, and place it on a solid counter.
What is a good coffee-to-water ratio to start with?
1:16 is a reliable starting point for filter coffee: 20 g of coffee to 320 g of water. Go to 1:15 for a stronger cup or 1:17 for a lighter one.
Do I need a scale with a flow-rate display?
No, but it helps with pour-over. Flow rate shows how fast you are pouring, which makes it easier to repeat the same pour speed each day.
Sources and Further Reading
Ratios and brewing guidance follow the Specialty Coffee Association brewing standards and CoffeeGearHub’s existing brew guides. The 5.00 g nickel specification comes from the U.S. Mint’s nickel specifications. Scale features are taken from manufacturer documentation for the models shown. Treat recipe numbers as starting points.
CoffeeGearHub product shortlist
Continue with related products on CoffeeGearHub
Review product categories and current verified merchant offers on CoffeeGearHub before leaving the site.
Continue Learning
Ratios and recipes
Scales and kettles