
How to Make Espresso at Home
Editorial standards: this guide uses current manufacturer specifications, established espresso brewing principles, and practical troubleshooting logic. CoffeeGearHub does not claim hands-on testing where it has not occurred.
At a glance
What this guide covers
Equipment, machine and grinder choices, a repeatable shot workflow, brew ratio, dialing in, milk steaming, troubleshooting, cleaning, and current beginner gear examples.
Editorial analysis
The fastest path is measurement, not more accessories
For a beginner, repeatable dose, beverage yield, grinder adjustment, puck preparation, and cleanliness matter more than chasing a long accessory list. Build a stable baseline first, then add tools only when they solve a specific workflow problem.
The 30-Second Answer
Use an espresso-capable grinder, weigh dose and beverage yield, start with a sensible brew ratio such as 1:2, keep puck preparation consistent, and change one variable at a time. The machine matters, but a repeatable workflow is what lets you diagnose and improve the shot.
What Is Espresso, Really?
Espresso is a concentrated brewing method that uses finely ground coffee and pressure to produce a small beverage with high strength and body. Around 9 bar is a common brew-pressure reference on many modern machines, but the useful recipe is defined by dose, beverage yield, grind, temperature, and taste—not by one universal shot time.
Espresso is not a type of bean, a roast level, or a flavour profile. Any coffee can be brewed as espresso. What makes it espresso is the brewing method: fine grind + pressure + short extraction time = a small, intense, concentrated shot (typically 1–2 oz) that forms the base for lattes, cappuccinos, and Americanos.
A practical starting point is a 1:2 brew ratio—for example, 18g of coffee in and about 36g of beverage out—using a brew temperature appropriate for the coffee and machine. Use shot time as a diagnostic rather than a pass/fail target: taste the result and adjust grind first when the shot is clearly too fast, too slow, thin, sour, harsh, or drying.
Espresso vs Regular Coffee
| Feature | Espresso | Drip / Pour-Over |
|---|---|---|
| Brew time | 25–30 seconds | 2–4 minutes |
| Grind size | Fine (like fine salt) | Medium to coarse |
| Pressure | ~9 bars | Gravity only |
| Flavor | Concentrated, syrupy, intense | Clean, diluted, bright |
| Volume | 1–2 oz | 8–12 oz |
| Margin for error | Low — variables interact tightly | Higher — more forgiving |
What Espresso Should Taste Like
When espresso is dialed in, it is balanced: you get sweetness, complexity, and a pleasant lingering finish — without sharp sourness or harsh, drying bitterness. A small pool of honey-coloured crema on top indicates a healthy extraction from fresh beans.
| What You Taste | What It Means | Fix |
|---|---|---|
| Sweet, rounded, complex, pleasant finish | Balanced — this is the target | Record your recipe and repeat it |
| Sour, sharp, thin, salty | Under-extraction | Grind finer (or increase yield slightly) |
| Bitter, harsh, dry, hollow | Over-extraction | Grind coarser (or reduce yield slightly) |
If a shot tastes wrong, check the measurable variables before blaming the machine: dose, yield, grind, puck preparation, coffee freshness, water, temperature, and cleanliness. The extraction section below explains how to isolate the likely cause.
Beginner Expectations: Your First Week at Home
Here is the honest version: your first few shots will probably run too fast or taste sour. If you are using a bottomless portafilter, they may spray. This is normal — espresso is a skill developed through repetition, not a button press. Expect a real learning curve, and expect it to feel frustrating before it clicks.
The useful milestone is not a fixed number of shots or days. Improvement comes much faster once you weigh dose and yield, keep puck preparation consistent, and change only one variable at a time. Record a workable recipe for each coffee and use that as the next session’s starting point.
Essential Equipment: What You Actually Need
The Espresso Machine
Your espresso machine provides heat and pressure. You do not need a commercial machine to pull great shots at home — but you do need temperature stability and consistent pressure at the group head. These two factors separate machines that teach you espresso from machines that frustrate you.
What to look for in a beginner machine
- Temperature stability: consistent water temperature throughout the shot — this is what separates okay from great at every price point
- Realistic group head pressure: ~9 bars is the classic target; some beginner machines run higher through the pump, which is fine as long as the basket restricts to ~9 bars at the puck
- Build quality: metal components, solid portafilter, reliable heating element — cheap plastic builds wear quickly under daily use
- Warm-up behavior: fast-heating systems can be ready very quickly, while traditional boiler machines may benefit from a longer thermal-stabilization period. Follow the manufacturer’s guidance rather than assuming one universal warm-up time.
Machine Types: Fast-Heating, Single Boiler, Heat Exchanger, and Dual Boiler
Heating architecture changes warm-up, temperature control, and brew/steam workflow. It does not by itself determine espresso quality.
| Type | How it behaves | Main advantage | Main trade-off | Typical fit |
|---|---|---|---|---|
| Fast-heating / ThermoJet-style | Heats water in a compact flow-through system | Very fast startup and small footprint | Less thermal mass than a traditional boiler | Convenience-focused home users; Bambino family |
| Single boiler | One boiler serves brewing and steaming | Traditional serviceable platform and strong thermal mass | Brew and steam happen sequentially | Hands-on learners; current Gaggia Classic Pro E24 |
| Heat exchanger | Steam-temperature boiler with a separate brew-water path | Can brew and steam in the same workflow | Temperature management depends on machine design | Higher-volume prosumer use |
| Dual boiler | Separate brew and steam heating circuits | Independent brew-temperature control and simultaneous steaming | Larger, more complex, and usually more expensive | Frequent milk drinks and advanced home use |
The Grinder: Don’t Skimp Here
The grinder is one of the most important purchases in a home espresso setup — and the part most beginners underestimate. Espresso demands a fine, uniform grind and the ability to make very small adjustments (one click at a time) to move the shot. An inconsistent grinder produces inconsistent extraction: sour and bitter in the same shot simultaneously, with no way to fix it by adjusting anything else. A consistent burr grinder makes every other variable in your setup readable and adjustable.
⚠️ The grinder rule: If you are debating between spending more on the machine or more on the grinder, spend it on the grinder. When the grinder cannot make small, repeatable espresso adjustments, a more expensive machine cannot compensate for that limitation.
Stepped vs Stepless
Stepless grinders offer infinite micro-adjustment — any position between clicks is valid. Stepped grinders have defined click positions. Both work well for espresso as long as the steps are fine enough to hit your sweet spot. What matters most is that the adjustment range covers espresso-fine and that adjacent steps produce a clear, readable difference in extraction.
Accessories: What Actually Makes a Difference
| Accessory | Why It Matters | Priority |
|---|---|---|
| 0.1g Scale | Weighing dose and yield is the single fastest way to accelerate dialing in — guessing by eye or feel produces inconsistent results that are impossible to diagnose | 🔴 Non-negotiable |
| Tamper (correct size) | Consistent, level tamping prevents channeling; most 58mm machines include a mediocre tamper — a spring-loaded model helps beginners tamp at consistent pressure and level | 🟠 High |
| WDT Tool | Breaks up clumps and distributes grounds evenly before tamping — often the fastest fix for spraying shots and channeling; inexpensive | 🟡 Medium–High |
| Dosing Cup / Puck Screen | Makes the workflow cleaner and more consistent; puck screens also help protect the shower screen from grounds | 🟢 Optional |
Build the core setup
Start with the machine and grinder—not accessories
For a beginner portafilter setup, the machine and grinder determine most of the workflow. These two examples represent a fast assisted machine and a simple espresso-focused grinder.
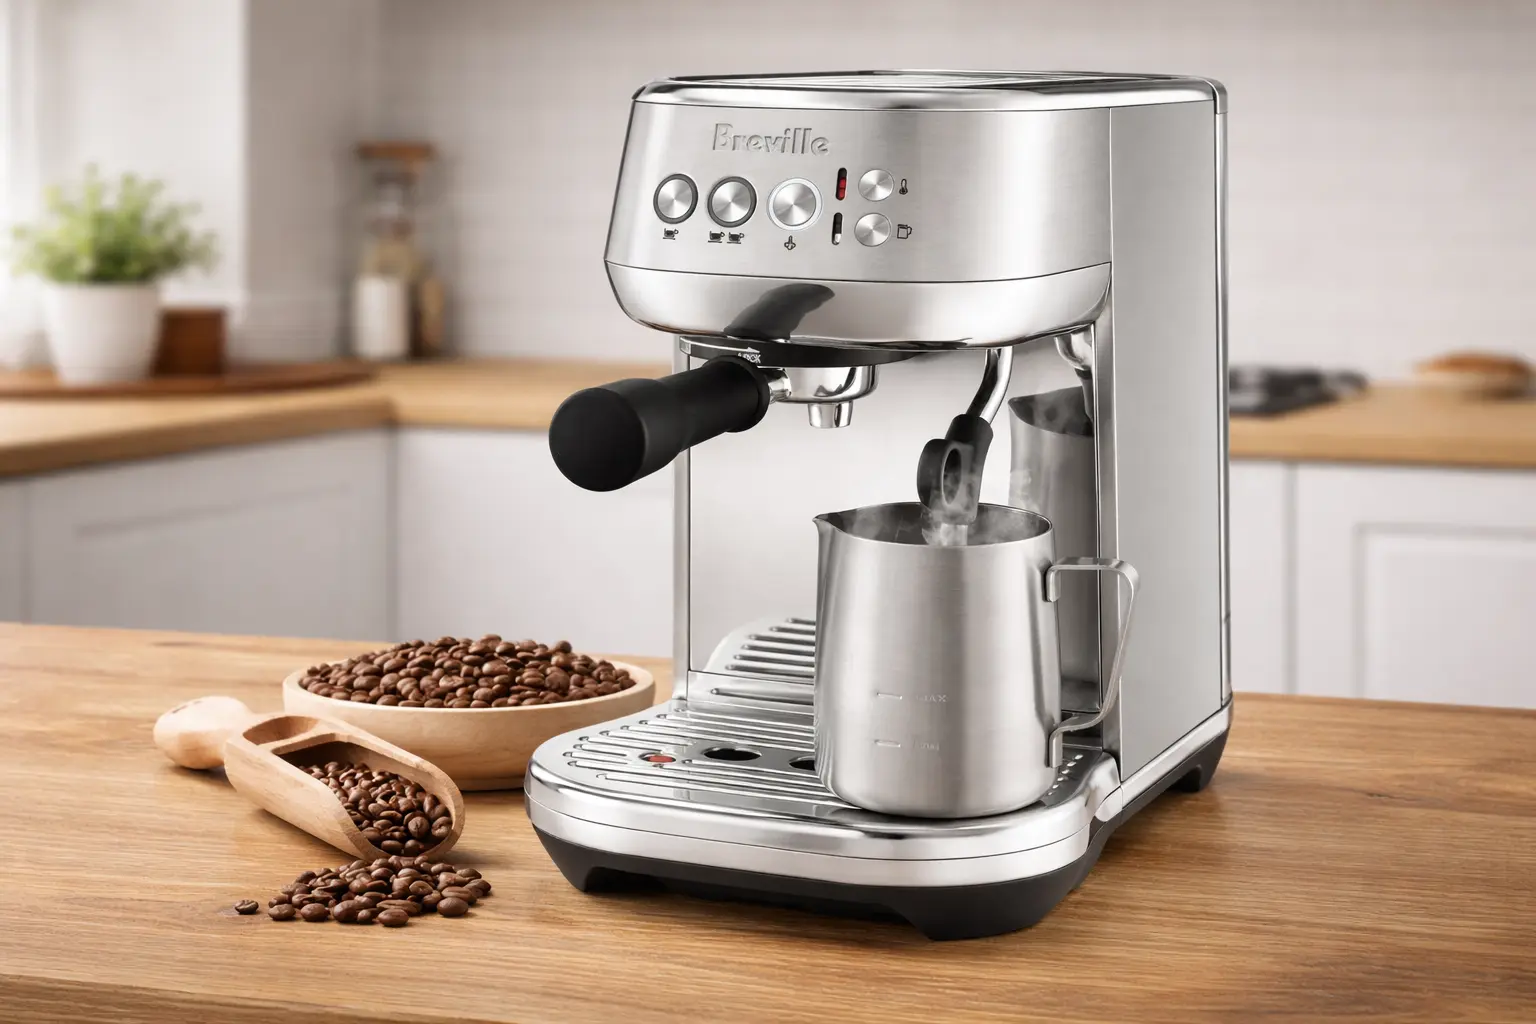 Breville Bambino PlusCompact 54 mm semi-automatic with rapid ThermoJet heating and automatic/manual milk texturing.Check current Amazon offer →
 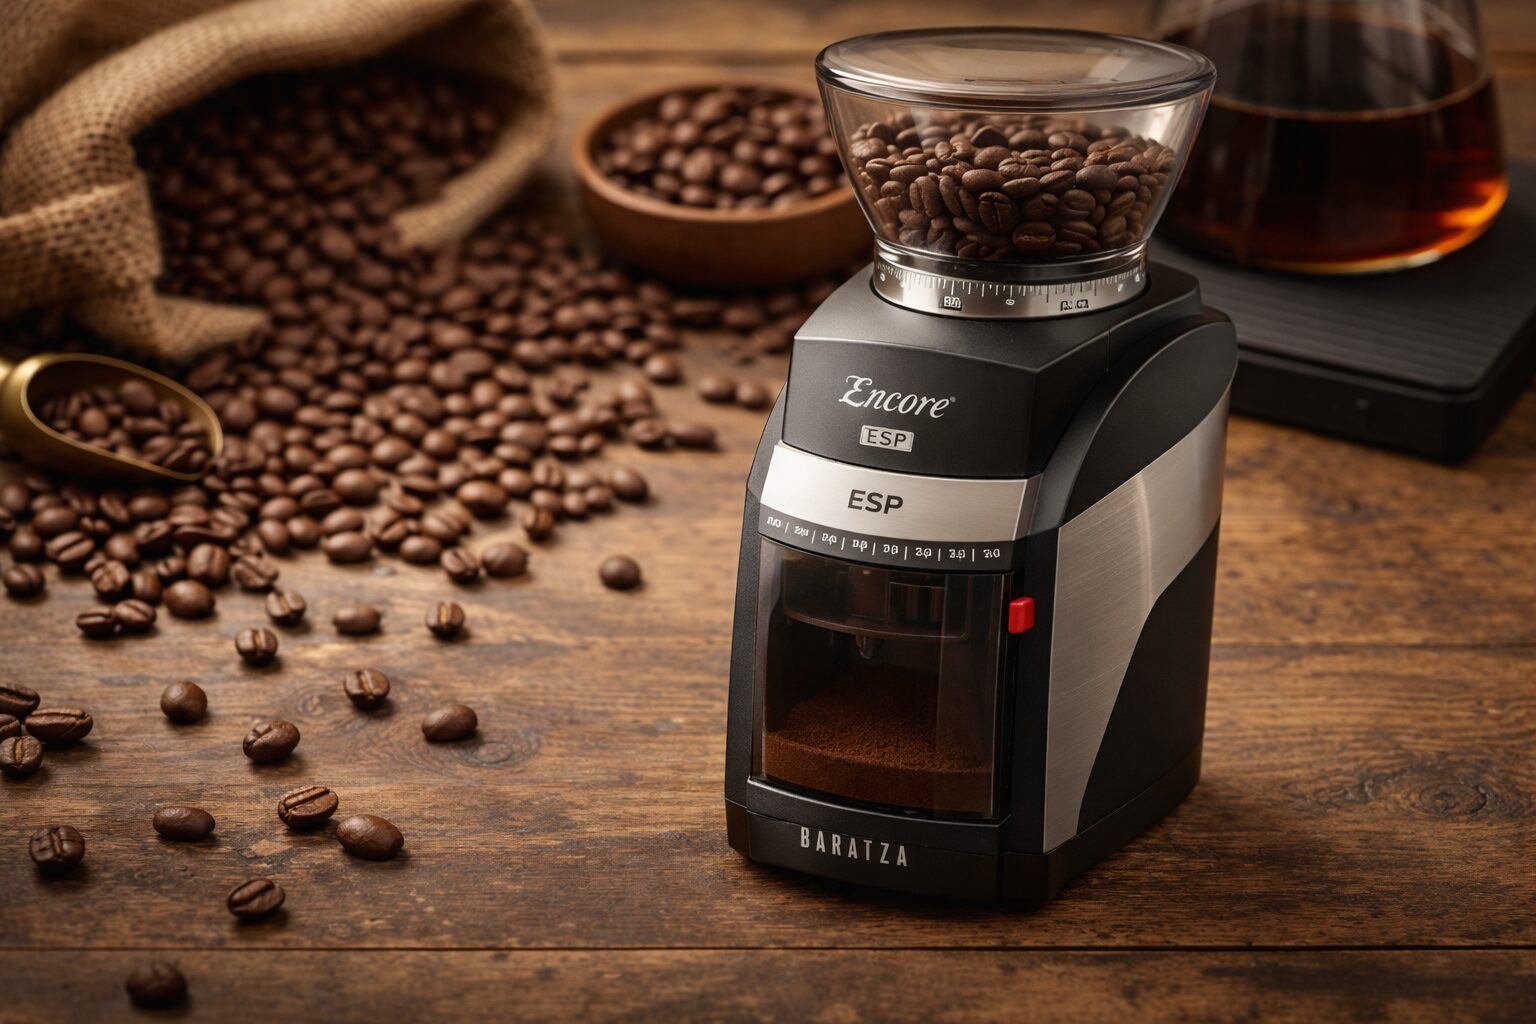 Baratza Encore ESPStepped grinder with higher-resolution espresso settings 1–20 and filter range 21–40.Check current Amazon offer →
Affiliate disclosure: These Amazon links may earn CoffeeGearHub a commission at no additional cost to you. Prices and availability can change.
Build the Setup by Capability, Not a Fixed Price Tier
Espresso prices move too often for a permanent dollar table to stay useful. Build the setup around capability instead: a machine whose workflow fits you, an espresso-capable grinder, a scale, and the minimum accessories required for consistent puck preparation.
| Setup direction | What to prioritize | Example pairing | Best for |
|---|---|---|---|
| Fast beginner workflow | Quick heat-up, forgiving milk workflow, capable stepped espresso grinder | Bambino Plus + Baratza Encore ESP | New users and milk-drink households |
| Traditional hands-on workflow | 58 mm portafilter platform, manual steam wand, serviceable grinder | Gaggia Classic Pro E24 + espresso grinder | Users who want to learn a more traditional routine |
| Quiet stepless grinder upgrade | Fine stepless adjustment and lower grinding noise | Eureka Mignon Silenzio 55 with a compatible espresso machine | Users who value quiet operation and fine control |
| Bean-to-cup convenience | Integrated grinder and automated drink workflow | Super-automatic machine | Households prioritizing repeatability and fewer preparation steps |
Compare the complete workflow, not just the espresso-machine sticker price. A separate-grinder setup and a bean-to-cup machine package different components into the purchase.
Current Beginner Gear Examples
These are current reference points for different beginner workflows. CoffeeGearHub may earn a commission from eligible Amazon purchases at no additional cost to you. Verify the exact model shown by the retailer before purchasing.
Breville Bambino Plus — fast, assisted semi-automatic
Breville currently specifies a 54 mm stainless-steel portafilter designed around an 18 g dose, a ThermoJet heating system ready in about three seconds, and automatic or manual milk texturing with three temperature and three texture settings. It keeps the portafilter workflow while reducing warm-up and milk-steaming friction.
Best fit: beginners who want a compact machine and make frequent milk drinks.
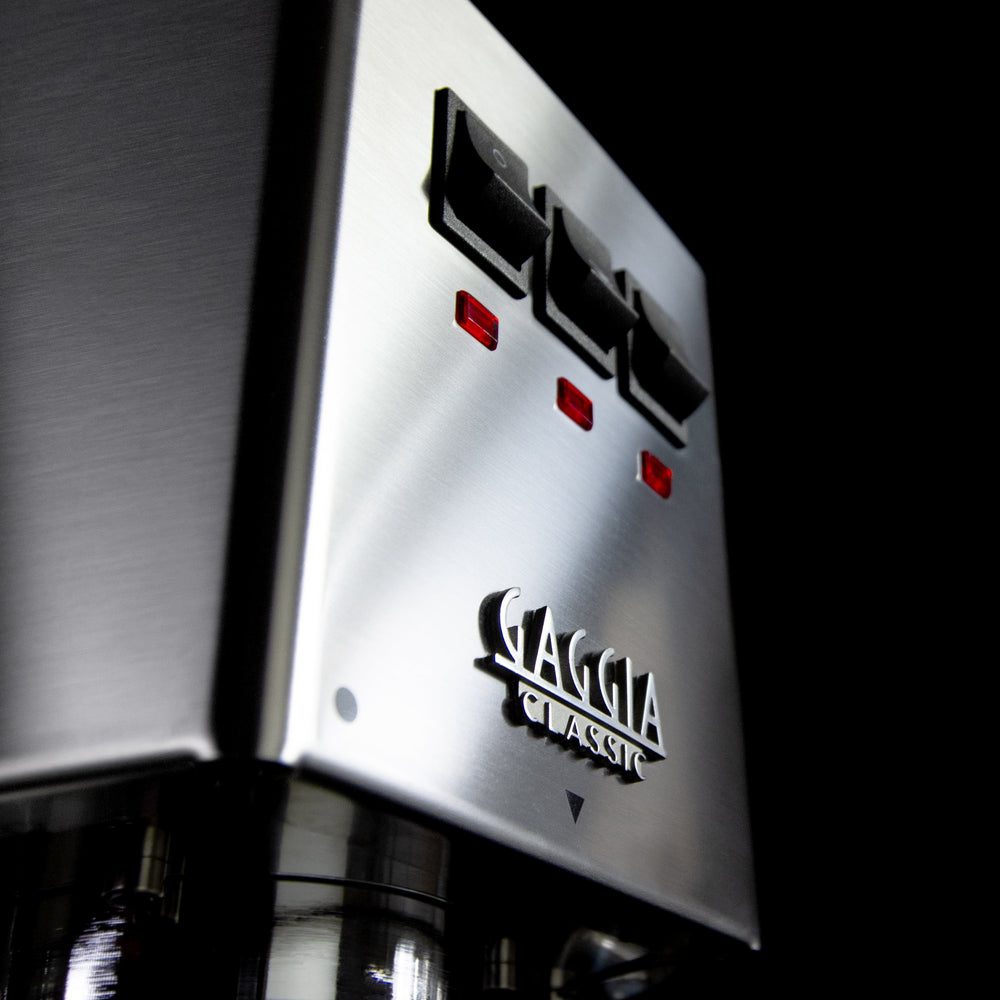
Gaggia Classic Pro E24 — current traditional Classic
Gaggia North America currently lists the Classic Pro E24 with a solid brass boiler and group head, 58 mm stainless-steel portafilter, mechanical rocker switches, and a commercial-style steam wand. It is a more traditional workflow than the Bambino Plus and rewards a user who wants to manage more of the thermal and milk-steaming process.
Best fit: beginners who specifically want a 58 mm platform and manual steam workflow.
Check current Gaggia Classic listing →
The short link predates the E24 update; confirm the retailer listing is the current E24 generation before purchasing.
Baratza Encore ESP — simple stepped espresso adjustment
Baratza currently defines settings 1–20 as the higher-resolution espresso range and 21–40 for filter brewing. The M2 40 mm conical burr, quick-release burr system, and straightforward adjustment make it a practical first espresso grinder.
Best fit: beginners who want simple numbered settings and also brew filter coffee.
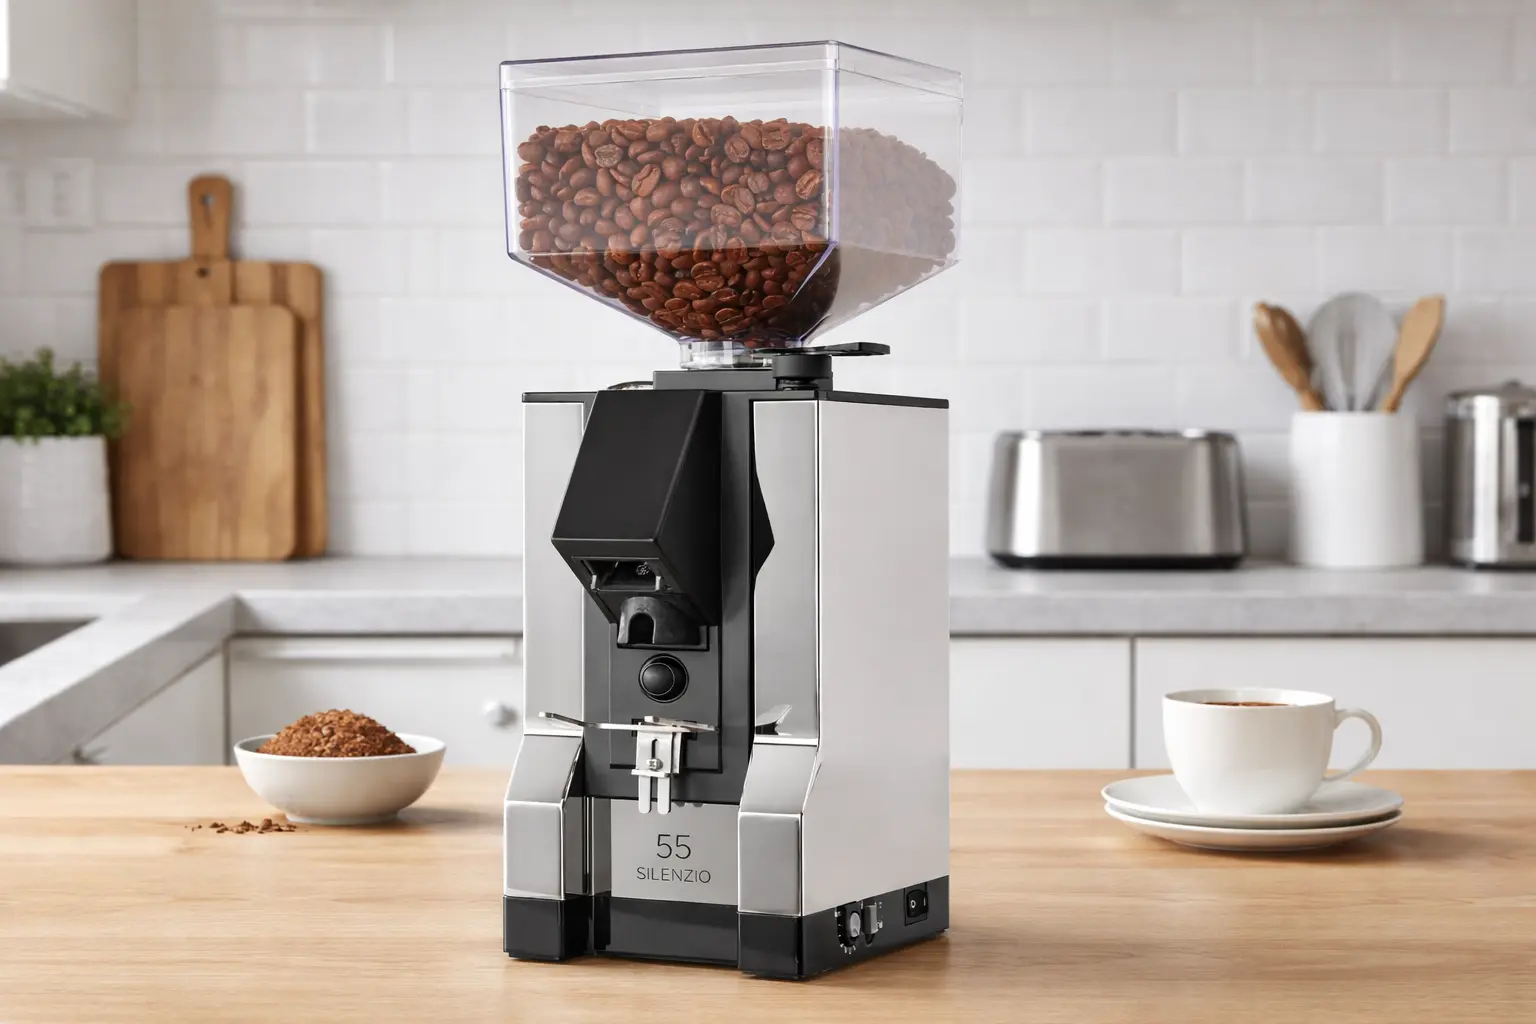
Eureka Mignon Silenzio 55 — quiet stepless option
Eureka’s current Silenzio 55 uses 55 mm hardened-steel flat burrs, its stepless micrometric adjustment system, Silent Technology, and manual/timer activation. It makes sense when quiet operation and fine stepless control matter more than numbered repeatability.
Best fit: users who expect to stay focused on espresso and prefer stepless adjustment.
Choosing Coffee Beans for Espresso
Freshness is non-negotiable
Espresso is an unforgiving brewing method — the pressure and concentration amplify everything, including staleness. Always buy beans with a printed roast date on the bag. For espresso, a resting window of after an appropriate rest period for the roast and coffee is the sweet spot: fresh enough to retain aromatics, but rested enough that excess CO2 (which causes uneven extraction) has dissipated. Most coffees roasted specifically for espresso will note a recommended rest period on the bag.
Best roast level for beginners
Medium to medium-dark roasts are the most forgiving when you are learning. They extract reliably within a wider temperature range, require less precise dialing in, and produce the classic espresso flavour profile most beginners are aiming for. Light roasts can produce exceptional espresso — but they are denser and less soluble, requiring tighter temperature control and a finer grind than medium roasts. Save light-roast espresso for after you have the process locked in.
Blends vs single origin
Espresso blends are formulated specifically to balance and perform consistently across a range of temperatures and ratios — they are more forgiving day-to-day and bag-to-bag. Single origin espresso can be extraordinary, but each bag may need significant dialing in and the extraction window is often narrower. Start with a quality espresso blend and graduate to single origins once your workflow is consistent.
For specific bean recommendations, see our Best Coffee Beans for Espresso guide.
The Basic Espresso Process (Step by Step)
This is the repeatable workflow that turns espresso from a mystery into a system. Follow these steps in order every time — consistency in process is what makes dial-in adjustments readable.
- Warm up your machine fully: thermoblock machines are ready in under 30 seconds; single-boiler machines need 15–20 minutes for full thermal stability. Run a blank (water-only) shot through the portafilter to pre-heat the group head and basket.
- Weigh your dose: target 18g for a standard double shot on a 0.1g scale. Zero out the scale with the portafilter on it, then dose directly.
- Grind fresh: grind directly into the portafilter or a dosing cup. Do not grind in advance — espresso stales in minutes once ground.
- Distribute the grounds: level the bed with a gentle finger sweep and use a WDT tool to break up clumps. Even, clump-free distribution is the foundation of a clean extraction.
- Tamp level: apply firm, even pressure straight down — level and consistent matters more than “as hard as possible.” A spring-loaded tamper helps beginners apply consistent pressure.
- Lock in and start the shot + timer together: lock the portafilter into the group head, place your cup on the scale, tare to zero, and start both the shot and a timer simultaneously.
- Stop at target yield: stop the shot when your scale reads 36g out (1:2 ratio from 18g dose). Note the time — your target is 25–30 seconds. Too fast = grind finer next shot. Too slow = grind coarser.
- Taste and record: drink the shot and note what it tastes like. Sour = under-extracted. Bitter = over-extracted. Balanced and sweet = you are there. Record the grind setting.
- Clean immediately: knock the puck, rinse the basket under hot water, and run a short group flush to clear grounds from the shower screen. Do not leave spent grounds in the portafilter.
Understanding Extraction (The Science Made Simple)
Extraction is how much flavour you dissolve from coffee grounds into water. Espresso is intense, so the difference between “too little” and “too much” is obvious in the cup. Understanding this one concept explains every sour shot, every bitter shot, and every dial-in decision you will ever make.
When hot water contacts coffee, it dissolves soluble compounds in sequence. Acids dissolve first — bright, clean flavours that become sharp and sour if they are all you get. Sugars and complex aromatics dissolve next — this is the sweet spot where espresso tastes balanced. Bitter polyphenols dissolve last — harsh, drying, unpleasant if over-extracted. Great espresso lives in the middle of this sequence. Grind size is the primary lever that controls how quickly you move through it.
| Extraction Stage | Flavours Released | Too Much Of This Tastes Like |
|---|---|---|
| Early (acids) | Citric, malic, acetic acid — brightness | Sour, sharp, vinegar-like, thin |
| Middle (sugars + aromatics) | Sweetness, complexity, body — the target zone | Balanced when correctly hit |
| Late (polyphenols) | Bitter chlorogenic acids, tannins | Harsh, dry, hollow, ashy aftertaste |
⚠️ The most important rule in espresso troubleshooting: Change one variable at a time. If a shot is bad, changing grind, dose, and temperature simultaneously makes it impossible to know what fixed it. Start with grind size when dose, yield, puck preparation, cleanliness, and temperature are already controlled; otherwise fix the uncontrolled variable first.
Dialing In Espresso: A Beginner Method That Works
Every new bag of beans needs dialing in — different beans extract differently, and what worked for your last bag may be one or two grind steps off for the new one. Here is the simplest method for getting to a good shot quickly.
The Dial-In System
- Lock your dose at 18g — do not change this during dial-in
- Lock your yield at 36g out (1:2) — do not change this during dial-in
- Adjust grind size to hit 25–30 seconds: too fast = finer, too slow = coarser
- Taste: if it tastes balanced, you are done — record the grind setting
- Fine-tune by yield if needed: still sour after grind is at ~28s? Try stopping at 38–40g. Still bitter? Try stopping at 32–34g
- Record and repeat: log grind setting + yield for this bag as your starting point
Taste → Variable → Direction
- Sour / sharp: Grind finer → 1 step; or increase yield to 38–40g
- Bitter / harsh: Grind coarser → 1 step; or reduce yield to 32–34g
- Watery / thin: Grind finer and/or increase dose by 0.5g
- Shot choking (barely drips): Grind coarser OR reduce dose by 0.5–1g
- Shot gushing (under 15s): Grind finer + check distribution
- Spraying (bottomless): WDT + level tamp — a puck prep issue, not grind
- Inconsistent times: Weigh every dose + fix your distribution routine
Beginner Espresso Troubleshooting Matrix
Use the symptom that most closely matches your shot. Start with the first fix listed — change one variable, pull a shot, and re-evaluate before moving to the next fix.
| Symptom | Most Likely Cause | First Fix | If Problem Persists |
|---|---|---|---|
| Sour, sharp, thin, salty | Under-extraction | Grind 1 step finer | Try increasing yield to 38–40g; confirm water is 92–96°C |
| Bitter, harsh, dry, hollow | Over-extraction or dirty equipment | Grind 1 step coarser | If gradual onset — clean basket, shower screen, and portafilter thoroughly before adjusting anything |
| Shot too fast (under 20 seconds) | Grind too coarse, or channeling | Grind finer + check distribution is even | WDT tool to break up clumps; verify tamp is level |
| Shot too slow / choking (barely drips) | Grind too fine or dose too high | Grind 1–2 steps coarser | Reduce dose by 0.5g and re-test |
| Spraying or channeling (visible in bottomless) | Uneven distribution or puck prep | WDT + level tamp + consistent distribution | Check for clumps in the grind; ensure basket is not overfilled |
| Shot time correct but tastes sour | Yield may be too low; or light roast needs finer grind | Increase yield to 38g and taste | For light roast: grind finer and raise temperature 1–2°C |
| Shot time correct but tastes bitter | Yield may be too high; or dirty equipment | Reduce yield to 32–34g; clean equipment | Grind 1 step coarser |
| Watery, weak, flat | Under-dosed, or stale beans | Verify dose is 18g by weight (not volume scoop) | Check beans: check roast date and whether the coffee has had an appropriate rest period for the roast |
| Inconsistent shot times day to day | Inconsistent puck prep or dose | Weigh dose every shot + repeat distribution routine exactly | Purge grinder before each session; check for retained grounds |
Common Beginner Mistakes (And How to Avoid Them)
| Mistake | Why It Causes Problems | Correct Approach |
|---|---|---|
| Buying stale coffee | Espresso amplifies stale flavours; flat, lifeless shots regardless of technique | Always buy beans with a printed roast date; buy coffee with a roast date and learn the rest window that works for that roast and recipe |
| Underbuying the grinder | An inconsistent grinder produces simultaneously sour and bitter shots that no recipe change can fix | Prioritise grinder budget over machine features; a better grinder always returns more than a better machine at this price level |
| Not weighing dose and yield | Dose variation of even 0.5g changes shot time meaningfully; yield guessing makes dial-in impossible | Weigh in (dose) and weigh out (yield) for every shot; a 0.1g scale is the lowest-cost, highest-impact accessory |
| Changing multiple variables at once | If grind, dose, and temperature all change simultaneously, you cannot identify what improved or broke the shot | Change one variable per shot; taste; record; adjust the next variable only if needed |
| Giving up too early | Espresso rewards repetition; the first bag of beans is a learning exercise, not a performance test | Budget at least one full bag of beans for dial-in practice before evaluating your setup |
| Neglecting cleaning | Coffee oil oxidises on basket, shower screen, and portafilter within days; produces progressive bitterness that no grind change fixes | Rinse portafilter and basket after every session; flush group head; full backflush weekly if machine supports it |
Milk Steaming Basics (Lattes & Cappuccinos)
Milk steaming is a separate skill from pulling espresso — but it is very learnable. The goal is microfoam: silky, glossy milk with tiny, uniform bubbles that integrate into the espresso rather than sitting on top as stiff “bubble bath” foam.
- Stretching (adding air): Position the wand tip just below the milk surface; a few seconds of air incorporation as the milk starts moving. You should hear a soft tearing sound, not a loud bubbling — too much air = stiff foam.
- Texturing (polishing): Submerge the wand tip slightly and create a whirlpool motion to incorporate the foam into the milk. Hold here until you reach temperature.
- Target temperature: 140–150°F (60–65°C) — this is sweet and stable. Above 160°F (71°C) the milk begins to scald and taste flat.
- Cleanup is immediate: wipe the wand and purge a short burst of steam right after every use. Milk residue dries and bakes onto the wand rapidly and is significantly harder to remove when dry.
Maintenance and Longevity
After Every Session
- Knock puck and rinse portafilter and basket under hot running water
- Run a short group head flush (1–2 seconds of water without portafilter)
- Wipe and purge the steam wand if used
- Empty drip tray
Weekly
- Backflush with water (if machine supports it); use Cafiza for a thorough chemical backflush monthly
- Remove and scrub the shower screen
- Soak basket in hot water and scrub to clear oil build-up
- Brush grinder chute and burr area to clear fines and retained grounds
Descaling: frequency depends on water hardness — every 4–8 weeks in hard water areas, every 2–3 months with filtered or soft water. Use filtered water daily to reduce scale buildup and improve flavour. Avoid distilled water unless your machine’s manufacturer specifically recommends it.
Is Home Espresso Right for You?
Home espresso is not difficult — it is precise. If you enjoy learning a repeatable skill and want café-quality espresso at home, the payoff is significant once the fundamentals click. If you want true push-button simplicity, a super-automatic machine or a different brew method (pour-over, AeroPress, Moka pot) may be a better fit for your lifestyle.
Start with fresh beans, a capable grinder, a scale, and a repeatable workflow. Give yourself 2–3 weeks and a full bag of beans for dial-in practice. You will be surprised how quickly it comes together.
FAQs: Making Espresso at Home
What equipment do I need to make espresso at home?
Can I use pre-ground coffee for espresso?
What is a good starting espresso recipe?
Why does my espresso taste sour?
Why does my espresso taste bitter or drying?
Do I need a separate grinder?
How do I know when espresso is dialed in?
Which Gaggia Classic is current in 2026?
CoffeeGearHub shortlist
Compare the setup before leaving the site
Use these CoffeeGearHub pages to compare specifications and related buying guidance.
Continue Learning
Dial in the shot
In this guide
- The 30-Second Answer
- What Is Espresso, Really?
- What Espresso Should Taste Like
- Beginner Expectations: Your First Week at Home
- Essential Equipment: What You Actually Need
- Build the Setup by Capability, Not a Fixed Price Tier
- Current Beginner Gear Examples
- Choosing Coffee Beans for Espresso
- The Basic Espresso Process (Step by Step)
- Understanding Extraction (The Science Made Simple)
- Dialing In Espresso: A Beginner Method That Works
- Beginner Espresso Troubleshooting Matrix
- Common Beginner Mistakes (And How to Avoid Them)
- Milk Steaming Basics (Lattes & Cappuccinos)
- Maintenance and Longevity
- Is Home Espresso Right for You?
- FAQs: Making Espresso at Home
- Continue Learning