
Beginner Coffee Guides: Learn to Brew Better Coffee at Home
Editorial standards: CoffeeGearHub separates learning resources from buying guides so readers can solve technique problems before replacing equipment. Guidance is based on published documentation, established brewing practice, current manufacturer information where relevant, and practical use cases. CoffeeGearHub does not claim hands-on product testing where it has not occurred. Product links may be affiliate links at no extra cost to you.
At a glance
What this guide does
This page is a directory, not another all-in-one beginner article. Use it to jump directly to brewing fundamentals, brew methods, grind size, ratios, troubleshooting, gear, and maintenance.
Editorial analysis
Learn one routine before buying more gear
Most beginners improve faster by making one brew method repeatable than by collecting more equipment. Fresh coffee, a sensible grind, a repeatable ratio, suitable water, and clean gear usually matter more than adding features.
Use the Coffee Brewing Academy for the guided roadmap, the complete beginner guide for one long tutorial, and this page when you already know which topic you need.
The 30-Second Answer
Start with one brew method, use fresh coffee, weigh coffee and water, adjust grind size by taste, and change only one variable at a time.
If you are completely new, begin with Coffee Brewing Foundations. If you want one long tutorial, read Coffee for Beginners: The Complete Starter Guide. Use the directory below when you want a specific answer.
Compare current options
Start with these representative choices
For a beginner setup, a consistent burr grinder matters more than buying a more expensive brewer. These two choices show the most useful starting split: electric convenience versus manual control and portability.
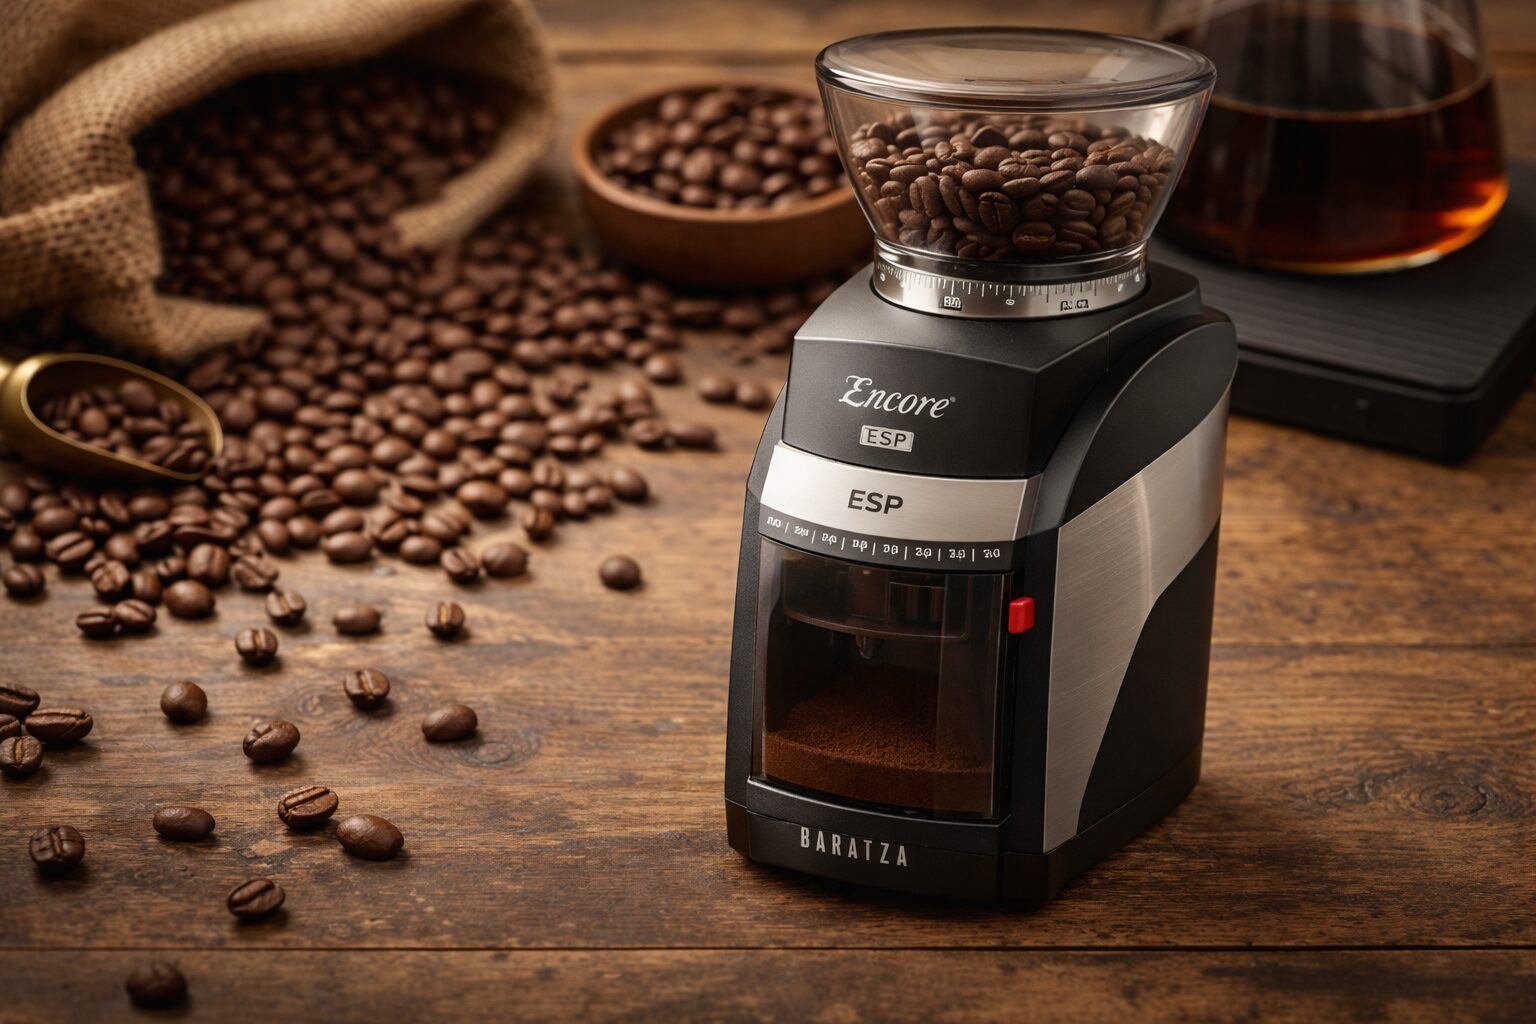
Electric Convenience — Baratza Encore ESP
A flexible first electric grinder for home brewers who want filter coffee now and room to explore espresso later.
Start here if: you want a straightforward countertop grinder that can grow with your brewing.
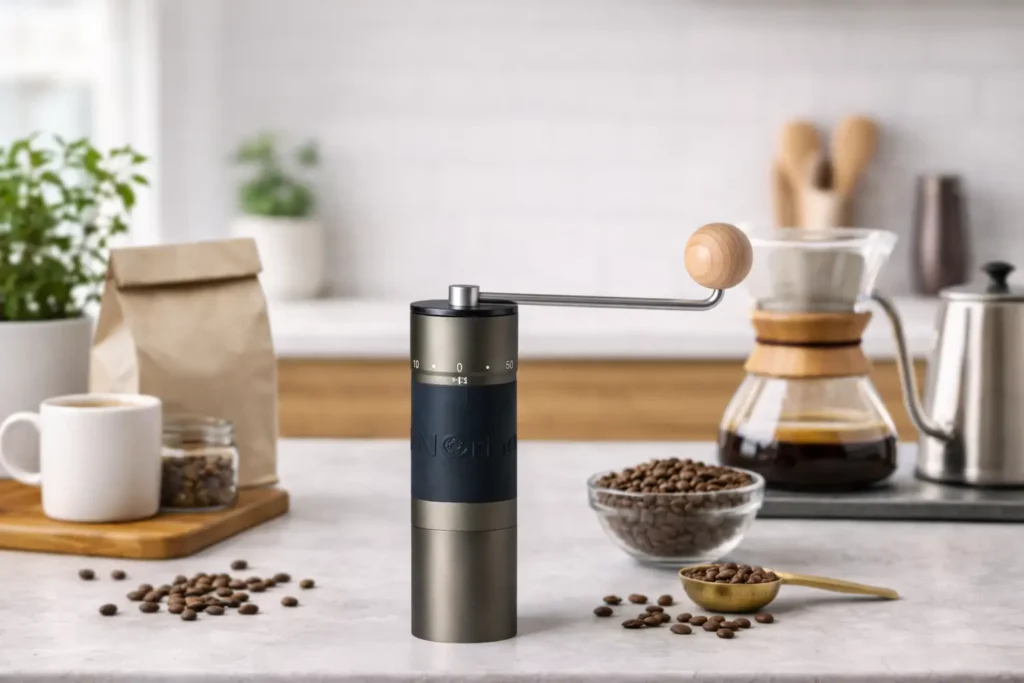
Manual Control — KINGrinder K6
A compact manual grinder with broad brew coverage when grind quality and portability matter more than push-button convenience.
Start here if: you want strong grind quality per dollar and do not mind hand grinding each dose.
Affiliate disclosure: Amazon links may earn CoffeeGearHub a commission at no additional cost to you. Prices and availability can change.
Learn the Brewing Fundamentals
The fastest way to improve coffee is to understand the variables that control extraction. These guides cover the concepts that apply across nearly every brew method.
Extraction and grind
Coffee Extraction Science →
Understand why coffee tastes sour, bitter, hollow, muddy, or balanced.
Grind Size Explained →
Learn when to grind finer or coarser and why small changes matter.
Ratio, water, and roast
Coffee Brew Ratio Guide →
Make recipes repeatable instead of guessing with scoops.
Water Quality for Better Coffee →
Fix flat, harsh, chalky, or muted coffee caused by water.
Coffee Roast Levels →
Understand how light, medium, and dark roasts differ.
Beans and Freshness: Start With Coffee You Can Actually Dial In
A beginner can do everything else correctly and still struggle if the coffee is stale, wildly inconsistent, or poorly matched to the brew method. Freshness does not mean using coffee immediately after roasting. Most whole-bean coffee becomes easier to brew after a short resting period, and different coffees age at different rates. The useful beginner rule is simpler: buy whole beans in quantities you can finish while they still smell lively and taste distinct, then grind immediately before brewing whenever possible.
For everyday home brewing, start with a medium roast if you are unsure what you like. Medium roasts are usually easier to dial in than very light roasts, which often need hotter water and more extraction, or very dark roasts, which can become bitter quickly when brewed too aggressively. Once your basic technique is consistent, move toward lighter or darker roasts based on flavor preference rather than assuming one roast level is automatically better.
Good beginner signs
The bag lists a roast date or at least a clear freshness window, the beans smell distinct rather than flat or oily-stale, and the coffee tastes recognizably different when you adjust grind size or ratio.
Common beginner mistake
Changing grinder settings, brew time, water temperature, and dose all at once while also switching beans. Keep the coffee constant long enough to learn what each variable actually changes.
Use Coffee Roast Levels to understand roast differences and How to Store Coffee Beans when you want to preserve freshness without overcomplicating storage.
Water, Ratio, and Grind: The Three Variables to Control First
Before chasing advanced techniques, make three things repeatable: how much coffee you use, how much water you use, and how fine or coarse you grind. Those variables determine strength, extraction, and consistency more than most accessories do.
Ratio controls strength. A common starting zone for many filter methods is roughly 1 gram of coffee for every 15 to 17 grams of water. That is not a universal rule, but it is a useful baseline. If the coffee tastes balanced but too weak, increase the coffee dose slightly. If it tastes balanced but too strong, use a little more water.
Grind controls extraction speed. Finer grounds expose more surface area and generally extract faster. Coarser grounds extract more slowly. If a cup is sour, sharp, or hollow, move slightly finer before changing several other variables. If it is bitter, dry, or harsh, move slightly coarser.
Water controls both extraction and flavor. Very hard water can mute acidity and build scale. Very soft or distilled water can make coffee taste thin or strangely sharp because it lacks enough minerals for balanced extraction. Filtered drinking water that tastes good on its own is usually the safest beginner starting point.
Keep it simple: weigh coffee and water, keep the recipe fixed for two or three brews, then move the grind one small step at a time. This is the fastest way to learn what your grinder and brewer are actually doing.
For deeper reference, use the Coffee Brew Ratio Guide, Grind Size Explained, and Water Quality for Better Coffee.
Which Brewing Method Is Easiest to Learn?
The easiest method is the one that fits your routine well enough that you will repeat it. A technically excellent brewer becomes a poor beginner choice if its workflow feels like a chore every morning.
| Method | Learning curve | Best for | Main beginner challenge |
|---|---|---|---|
| Automatic drip | Low | Multiple cups, convenience, consistent morning routines | Using the right grind and dose instead of relying on the machine alone |
| French press | Low | Full body, simple equipment, forgiving technique | Avoiding excessive sediment and over-extraction |
| AeroPress | Low–medium | Single cups, travel, recipe flexibility | Too many recipe choices before mastering one baseline |
| Pour-over | Medium | Clarity, control, lighter roasts | Pour technique, grind size, and drawdown all interact |
| Moka pot | Medium | Strong coffee without an espresso machine | Heat control and avoiding harsh, sputtering brews |
| Espresso | High | Concentrated coffee and milk drinks | Grinder precision, puck preparation, dose, yield, and shot time |
If you want the least complicated path, automatic drip, French press, or AeroPress are usually easier starting points than espresso. If you enjoy adjusting technique and chasing small flavor changes, pour-over gives you more control without requiring an espresso machine.
A Repeatable Beginner Brewing Workflow
Use the same sequence every time until you can make a good cup on purpose rather than by accident.
- Choose one coffee. Keep the beans constant while learning the brewer.
- Choose one recipe. Write down coffee dose, water amount, grind setting, temperature, and brew time.
- Prepare the brewer the same way. Rinse paper filters when appropriate, preheat equipment if the method benefits from it, and keep the brewer clean.
- Brew without improvising. Resist the urge to change several things mid-brew.
- Taste after the coffee cools slightly. Very hot coffee can hide bitterness, acidity, and sweetness.
- Change one variable. Grind size is usually the first variable to adjust when the ratio already feels sensible.
- Record the result. A simple note such as “setting 12, 18g coffee, 288g water, slightly sour” is enough to make the next brew more informed.
This approach turns brewing into a short feedback loop. You do not need laboratory precision; you need enough consistency to know why the next cup changed.
Choose Your Brew Method
Learn the method you actually use most often. Each path below starts with technique, then points to the most useful supporting guide.
Easy daily brewing
Drip coffee
How to Brew Better Drip Coffee →
Best Drip Coffee Makers →
French press
French Press Brew Guide →
French Press Grind Size →
Hands-on brewing
Pour-over
Pour-Over Brewing Setup →
Pour-Over Troubleshooting →
Strong and concentrated
Fix Coffee That Tastes Wrong
Do not buy new equipment until you can identify what is wrong with the cup. Start with taste, then adjust one variable.
Sour, thin, or sharp
Usually points toward under-extraction. Try a slightly finer grind, more contact time, or hotter water where appropriate.
Bitter, harsh, or dry
Usually points toward over-extraction. Try a slightly coarser grind, less contact time, or reduced agitation.
Weak or watery
Often a strength or ratio issue. Use more coffee, less water, or a more suitable recipe before replacing the brewer.
For the complete diagnosis, use Why Does My Coffee Taste Bad?, then work through How to Dial In Coffee at Home.
Beginner Gear: What to Buy First
Upgrade only when you can name the limitation you are trying to solve. For most beginners, grind consistency and repeatability matter more than replacing the brewer.
Beginner Troubleshooting Matrix
When coffee tastes wrong, diagnose the cup before blaming the equipment. The table below gives you the smallest useful change to try first.
| What you taste | Likely direction | First change to try | Do not change yet |
|---|---|---|---|
| Sour, sharp, hollow | Under-extracted | Grind slightly finer | Do not also increase dose, temperature, and brew time at once |
| Bitter, dry, astringent | Over-extracted or too aggressive | Grind slightly coarser | Do not immediately replace the brewer |
| Weak but clean | Strength issue | Use slightly more coffee or less water | Do not automatically grind much finer |
| Strong but sour | High strength, low extraction | Keep ratio similar and grind finer | Do not assume “strong” means over-extracted |
| Flat or dull | Stale coffee, water, or low extraction | Check freshness and water first | Do not add more equipment before ruling out basics |
| Muddy or silty | Too many fines or unsuitable filtration | Grind a little coarser and check grinder consistency | Do not shorten every brew dramatically |
If the problem persists, move to Why Does My Coffee Taste Bad? or Fix My Coffee for method-specific diagnosis.
When Should a Beginner Upgrade Coffee Gear?
Upgrade when you can identify a specific limitation, not because a more expensive product exists. A grinder that produces highly inconsistent particle sizes is a real limitation. A brewer that cannot hold a stable temperature may be a limitation. A scale that drifts or cannot measure small changes can make repeatability difficult. Those are practical reasons to upgrade.
By contrast, replacing a functional brewer because a newer model has more settings often produces less improvement than buying fresher coffee, improving grind consistency, or cleaning scale from the machine.
Upgrade first
Grinder: when grind consistency is poor or the adjustment steps are too large for the method.
Scale: when you cannot reproduce dose and water accurately.
Water treatment: when hard water causes scale or poor flavor.
Upgrade later
Brewer: when your current machine cannot meet your actual workflow or temperature needs.
Accessories: only when they solve a repeatability, cleanup, or workflow problem.
Specialty tools: after your basic recipe is already stable.
A Simple Coffee Equipment Maintenance Schedule
Clean equipment makes technique easier to evaluate because old oils and mineral scale are not adding their own flavors.
| Frequency | What to do | Why it matters |
|---|---|---|
| After each use | Discard grounds, rinse removable brew parts, wipe spills | Prevents old coffee residue from building up |
| Weekly | Wash removable parts thoroughly and brush loose grinder grounds | Reduces rancid oils and retained coffee |
| Monthly | Inspect grinder chute, seals, shower screens, and reusable filters | Catches buildup before performance changes noticeably |
| As water hardness requires | Descale coffee makers and espresso machines according to manufacturer guidance | Protects heating performance and water flow |
Always follow the manufacturer’s instructions for descaling products and removable parts. For deeper maintenance guidance, use Coffee Equipment Maintenance & Care.
A Seven-Day Beginner Practice Plan
You do not need to master coffee in a weekend. A short, deliberate practice sequence is more useful than reading dozens of guides without repeating a recipe.
- Day 1: choose one method and record your baseline recipe.
- Day 2: repeat the same recipe without changing anything.
- Day 3: adjust grind one small step based on taste.
- Day 4: repeat the better result and confirm it was not a one-off.
- Day 5: make one small ratio adjustment if strength still feels wrong.
- Day 6: check water, cleaning, and bean freshness.
- Day 7: write down the recipe you prefer and use it as your new baseline.
At the end of that week, you should know more about your brewer and grinder than you would from buying another accessory. From there, explore more advanced technique only where it helps solve a specific problem.
Cleaning and Maintenance
Old coffee oils, retained grounds, and mineral buildup can make good beans taste stale, bitter, or flat. Keep routine cleaning separate from equipment upgrades.
- Coffee Equipment Maintenance & Care
- Grinder Cleaning & Retention
- How to Clean and Descale a Drip Coffee Maker
- How to Clean a French Press
A Simple Learning Order
- Choose one brew method. Learn one routine before collecting equipment for several.
- Use fresh coffee and a repeatable ratio. Consistency makes improvement possible.
- Adjust grind size by taste. Change in small steps and taste again.
- Fix water and cleaning problems. Good technique cannot fully overcome poor water or dirty equipment.
- Upgrade only when you can identify the limitation. Buy the tool that solves a specific problem.
FAQs
What should a coffee beginner learn first?
Do beginners need expensive coffee equipment?
What matters more, the coffee maker or the grinder?
How do I fix sour or bitter coffee?
Which beginner guide should I read first?
Reference check
Sources and Verification
This directory routes readers to CoffeeGearHub’s current brewing, troubleshooting, maintenance, and buying guides. Technique guidance is kept consistent with the site’s established extraction, grind-size, ratio, water-quality, and maintenance references.
- CoffeeGearHub Coffee Extraction Science, Coffee Brew Ratio, Grind Size Explained, and Water Quality guides.
- Manufacturer documentation is used within product-specific guides where specifications, maintenance procedures, or model details require verification.
CoffeeGearHub product shortlist
Beginner gear worth comparing
Use these CoffeeGearHub product pages to compare specifications and current verified merchant offers before leaving the site.
Continue Learning
In this guide
- The 30-Second Answer
- Representative Choices
- Brewing Fundamentals
- Beans & Freshness
- Water, Ratio & Grind
- Which Method Is Easiest?
- Beginner Brewing Workflow
- Choose Your Brew Method
- Fix Coffee That Tastes Wrong
- Troubleshooting Matrix
- Beginner Gear
- When to Upgrade
- Maintenance Schedule
- Seven-Day Practice Plan
- FAQs
- Sources & Verification
- Continue Learning